Objective : Deploy Complex Virtual Machines
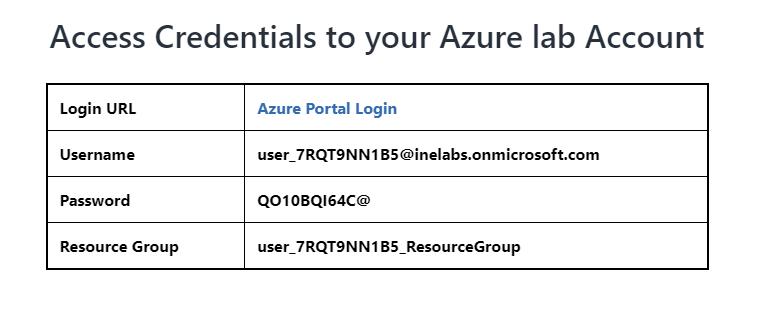
Step 1: Start the lab, agree after reading terms and conditions and check the credential/URL provided on the page.
Step 2: Open the Login URL link in incognito (Right click on the URL and select Open link in incognito Window option).
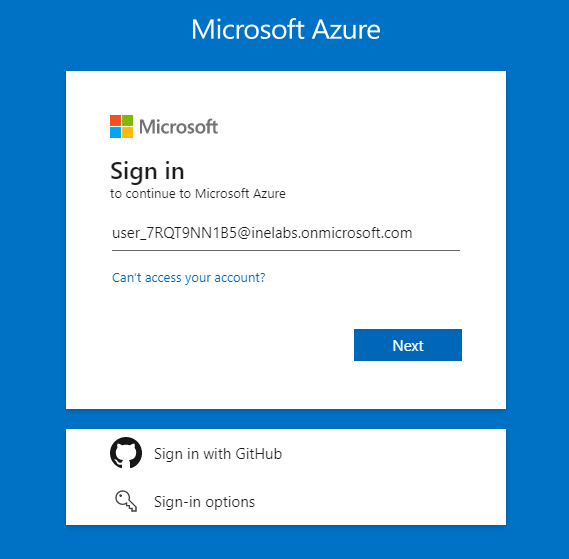
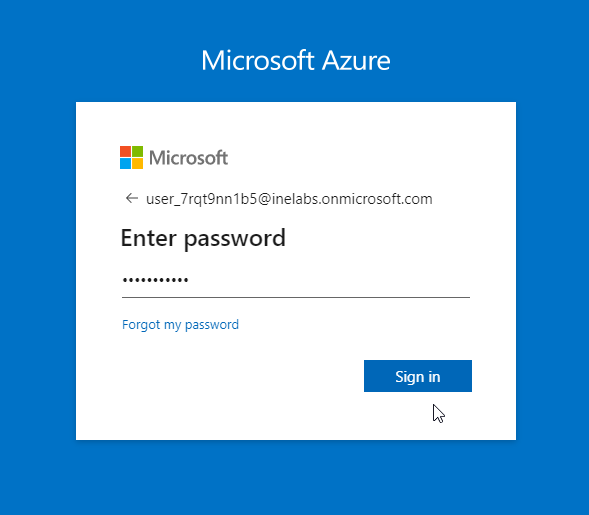
The URL will take you to the Azure Portal login page. Use the provided username and password to login into it.
Enter password
Step 3: An empty resource group will be visible. Open Azure Powershell/Azure Bash Terminal to create a Virtual Machine. Login to your account to account using azure command. As shown in the figure. And Hit Run
Connect-AzAccount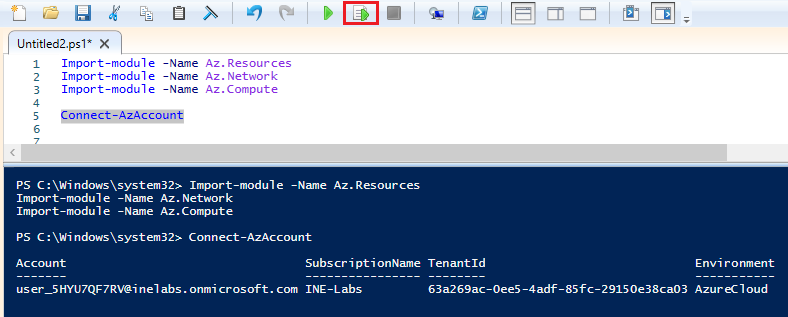
Step 4: Create a subnet using New-AzVirtualNetworkSubnetConfig Azure command as given below
$subnetConfig = New-AzVirtualNetworkSubnetConfig -Name default -AddressPrefix 10.0.0.0/24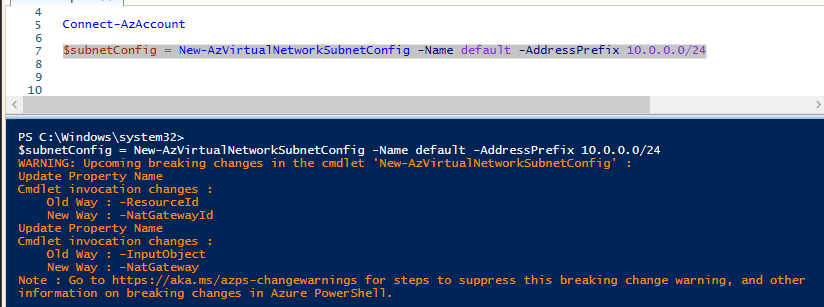
Create a Virtual Network using the subnet created in above step and New-AzVirtualNetwork azure command
$vnet = New-AzVirtualNetwork -ResourceGroupName <Resource-group-name> -Location <Location-name> -Name `
 <virtual-network-name> -AddressPrefix 10.0.0.0/16 -Subnet $subnetConfig
Create another subnet in the same Virtual Network using Add-AzVirtualNetworkSubnetConfig Azure command
 $vnet = Add-AzVirtualNetworkSubnetConfig -Name <subnet-name> -VirtualNetwork $vnet `
  -AddressPrefix 10.0.1.0/24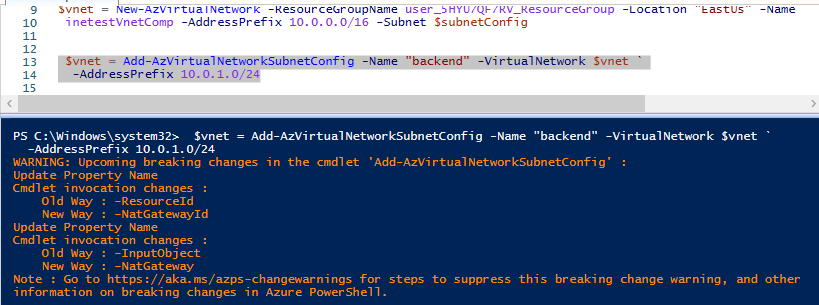
Set the current Network in a variable using Azure Set-AzVirtualNetwork command
$vnet = Set-AzVirtualNetwork -VirtualNetwork $vnet
Step 5: Create a public IP using Azure New-AzPublicIpAddress command
 $pip = New-AzPublicIpAddress -ResourceGroupName <Resource-Group-Name> -Location <Location-name> `
  -Name <IP name> -Sku Basic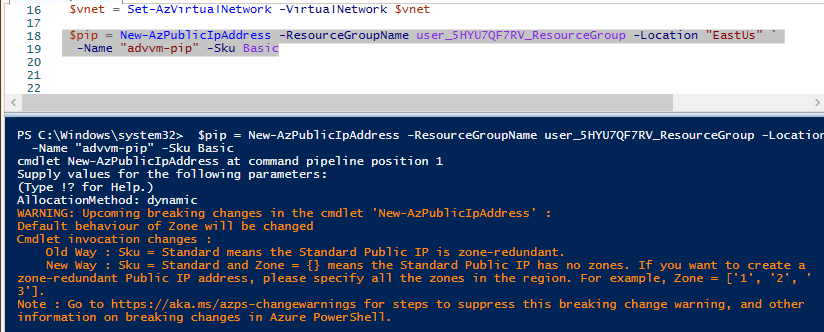
Create 2 Network Interfaces, using Azure New-AzNetworkInterface Command. Associate one of them with the Public IP created above (in Step 5)
$nic0 = New-AzNetworkInterface -Name advvm-nic1 -ResourceGroupName <Resource-group-name> `
-Location <Location-name> -SubnetId $vnet.Subnets[0].Id -PublicIpAddressId $pip.Id
$nic1 = New-AzNetworkInterface -Name advvm-nic2 -ResourceGroupName <Resource-group-name> `
-Location <Location-name> -SubnetId $vnet.Subnets[1].Id 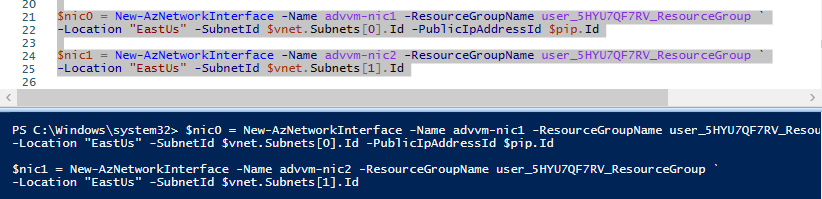
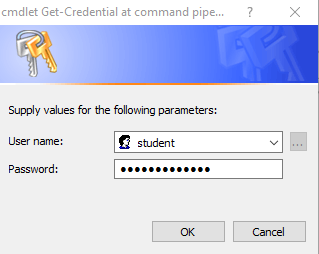
Enter the Credentials for Administrative account using Azure Get-Credential Command
$cred = Get-Credential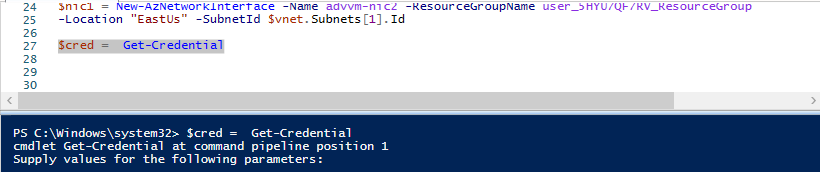
Following window will prompt to fetch Credentials. Then Click OK
Step 6: Configure a Virtual Machine using the following Azure Command
$vmConfig = New-AzVMConfig -VMName <VirtualMachine-name> -VMSize Standard_D2s_v4 | `
Set-AzVMOperatingSystem -Windows -ComputerName <VirtualMachine-name> -Credential $cred | `
Set-AzVMSourceImage -PublisherName MicrosoftWindowsServer -Offer WindowsServer `
-Skus 2016-Datacenter -Version latest | `
Add-AzVMNetworkInterface -Id $nic0.Id -Primary | `
Add-AzVMNetworkInterface -Id $nic1.Id 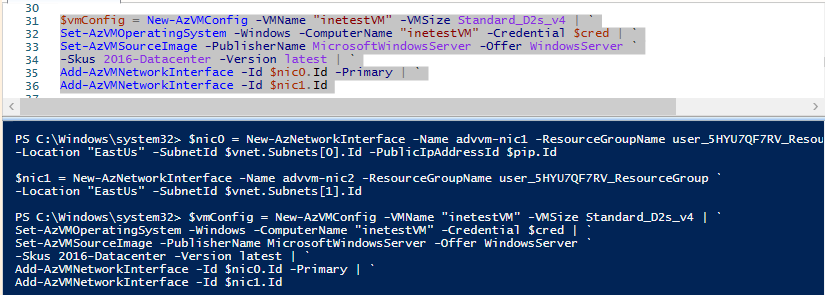
Deploy the Virtual Machine as given below
New-AZVm -ResourceGroupName <resource-group-name> -Location <location-name> -VM $vmConfig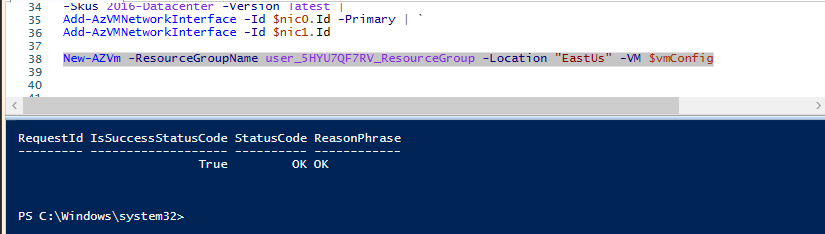
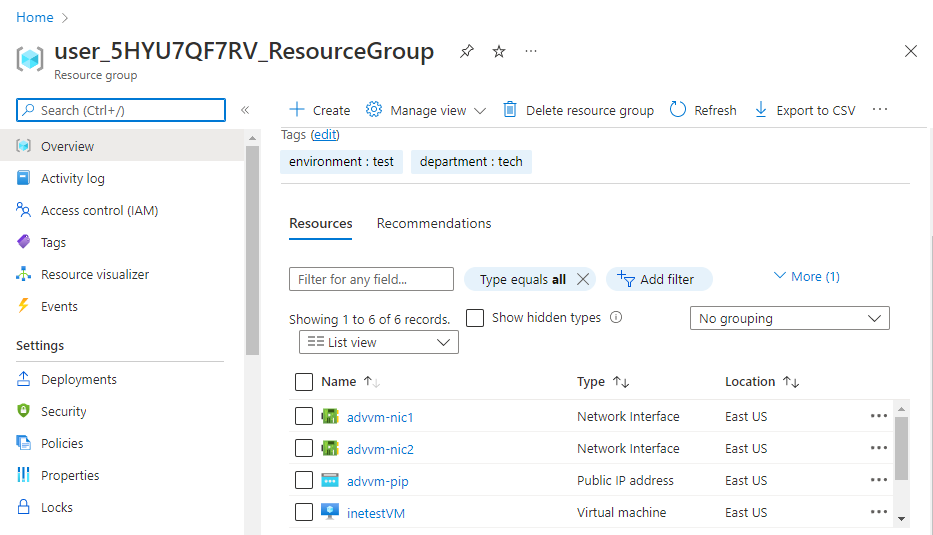
Step 7: Navigate to Azure Portal to check your deployed Resources
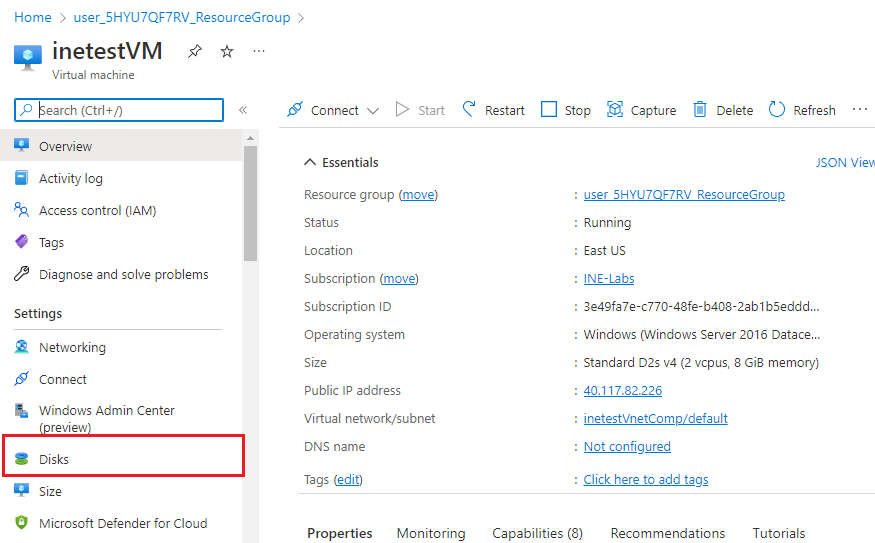
Navigate to your Virtual Machine. Click on Disk on the left Side
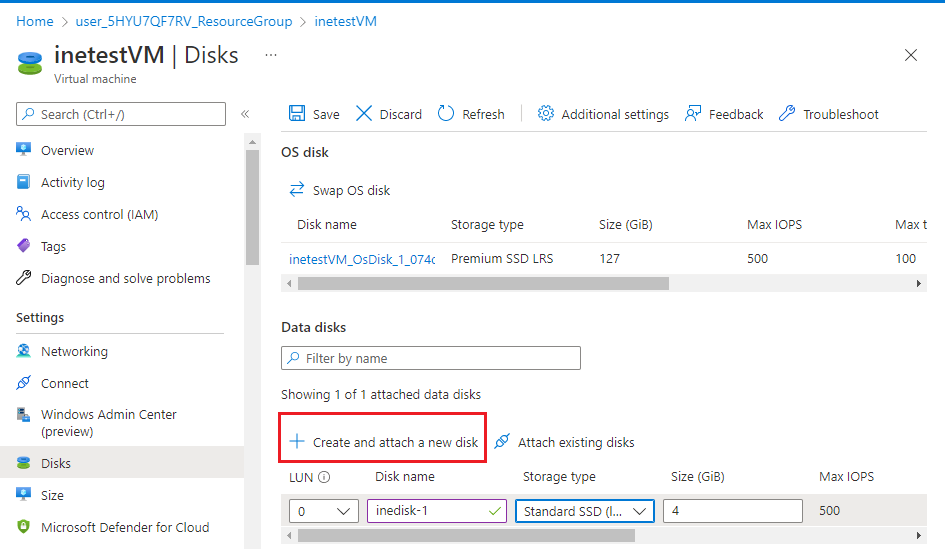
Create a New Disk in the Virtual Machine
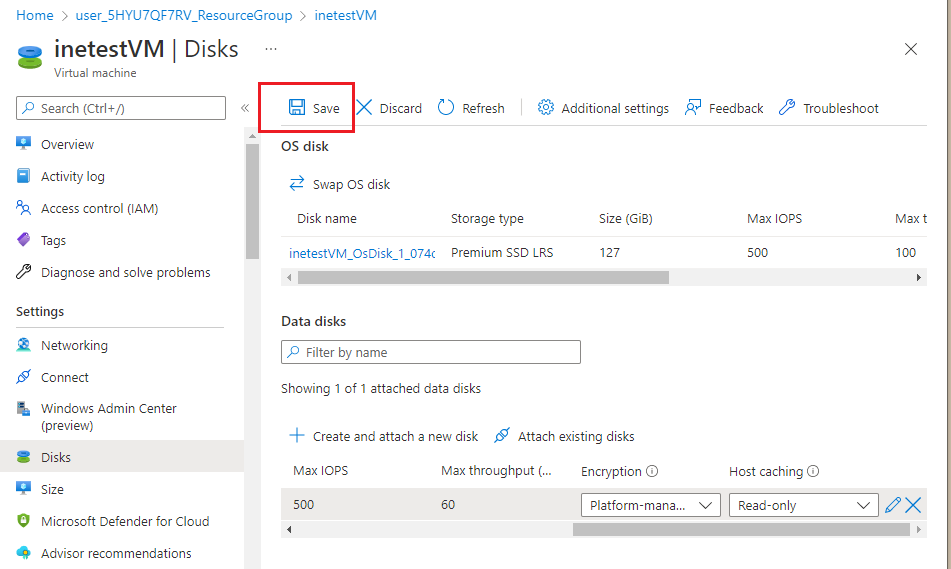
In Host-Caching, Select Read-Only. Click on Save
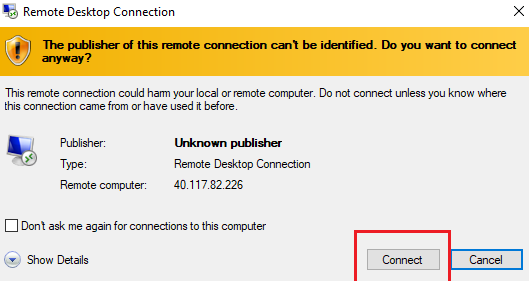
Connect to your Virtual Machine. Click on RDP . An RDP file will be downloaded for connection. Run the file, Click Connect
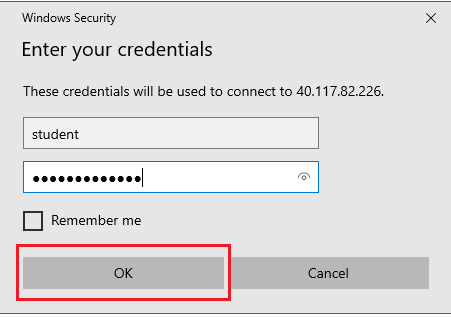
Enter Aministrative Credentials and Click Connect
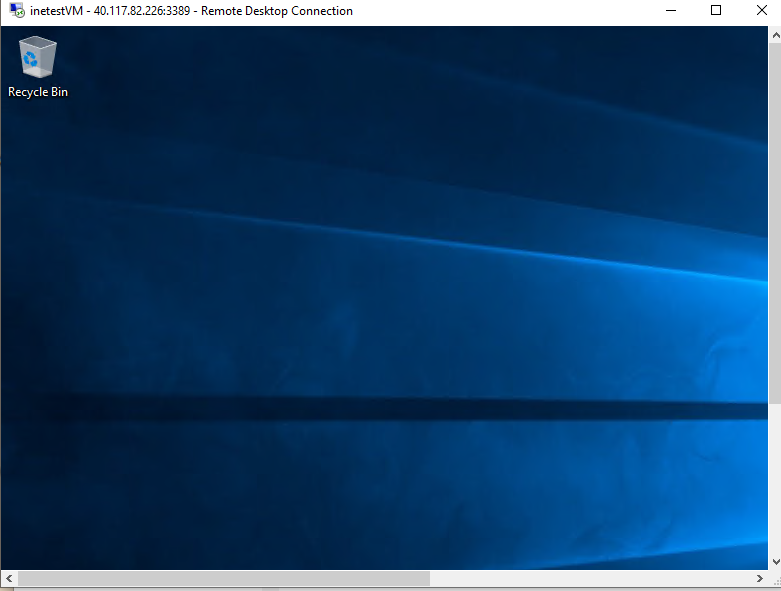
You will be connected to your virtual Machine
Step 8: In Server Manager, Navigate to Disk under Volume. Create a New Volume with the Disk Created(in Step 7). The following window will be visible
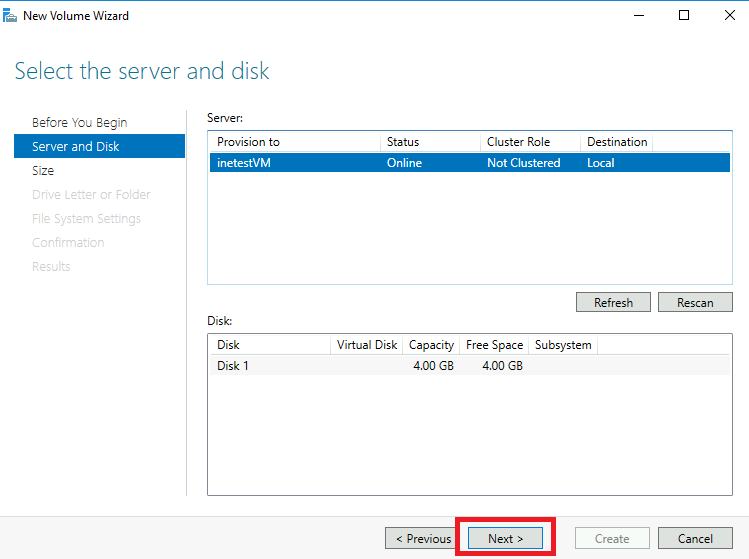
Check the Storage Capacity. Click on Next
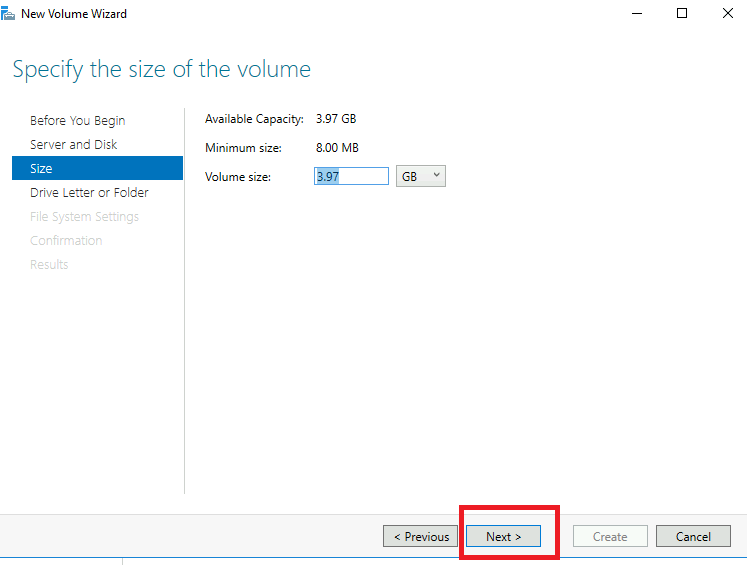
Assign an alphabet and Click on Next

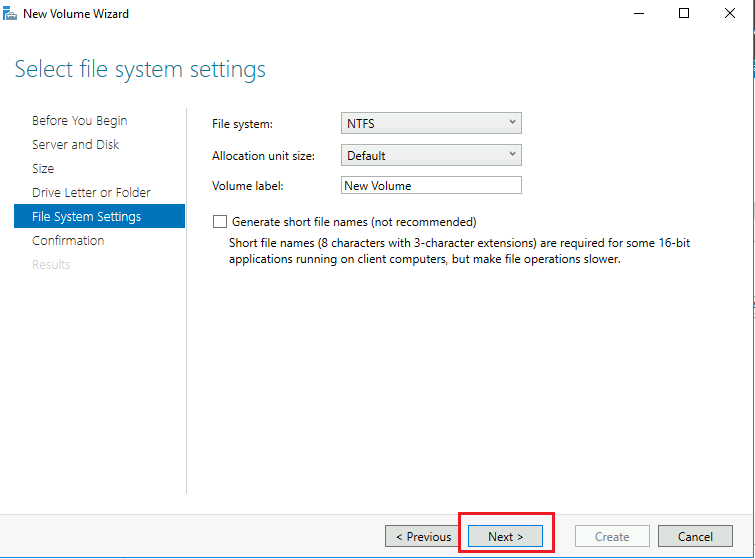
Rename the volume and Click on Next
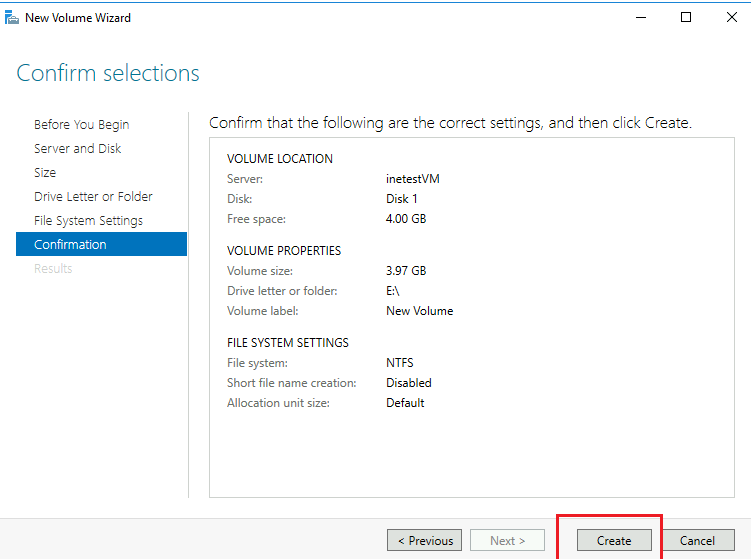
Verify the Details and Click on Create
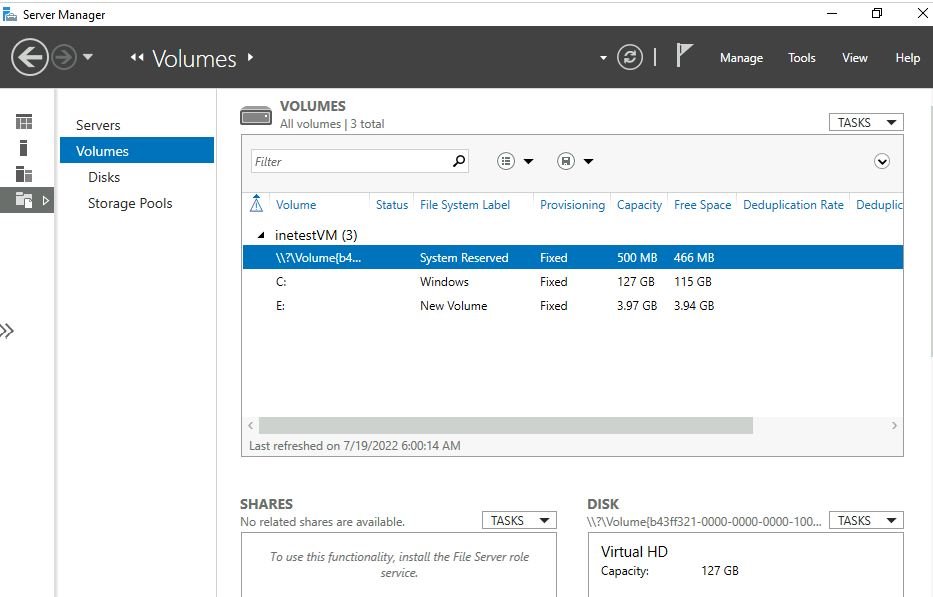
Additional Volume will be created
For more then 2 Disks, you can create Storage Pool and configure Virtual Disk before creating a new Volume
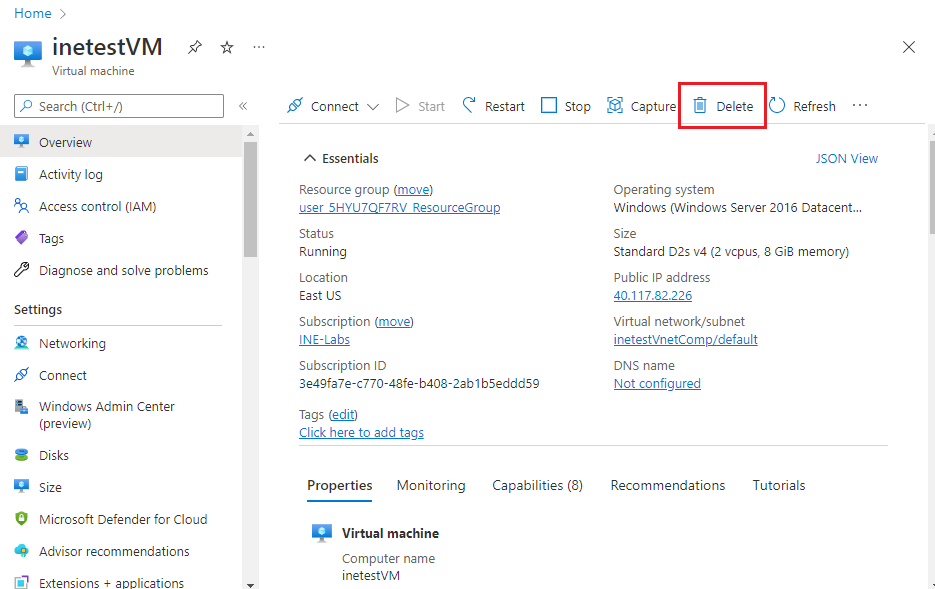
Step 9: Delete the resources using Delete option
In this way you can Create a virtual machine using Azure PowerShell with two network interfaces and multiple virtual hard disks