The goal of this task is to inject configuration into virtual machines using extensions. This will involve using DSC to install IIS on an existing Windows Server 2016 virtual machine, and deploying a custom web app on a new Ubuntu 18.04 server using a custom script extension.
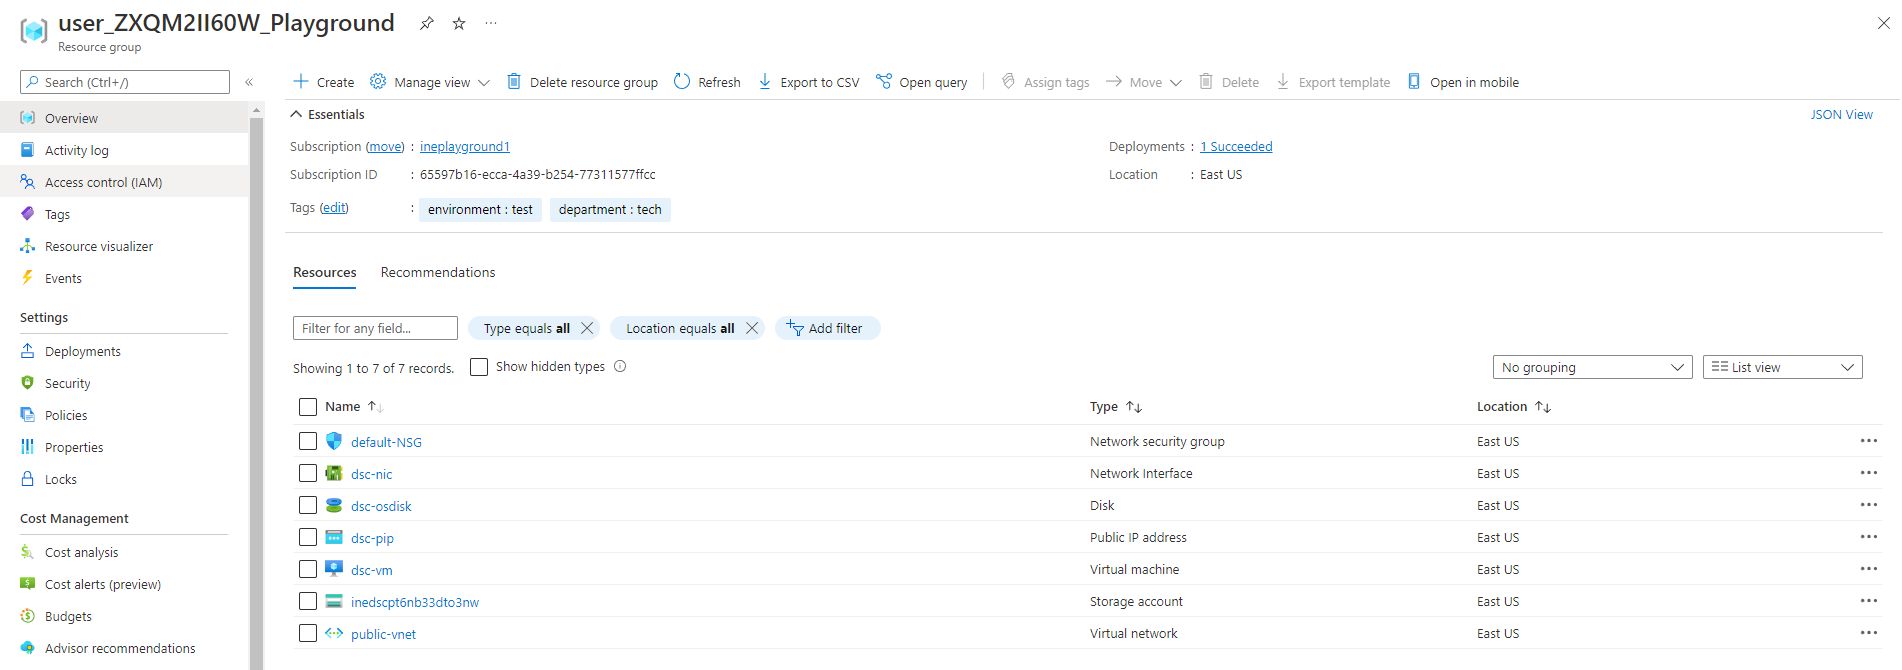
First of all login to your azure portal with the generated credentials. You will see that there are some pre deployed resources for you to work with.
Open a cloudshell by clicking on the below highlighted icon.
Or you can just access the cloud from below link.
shell.azure.com
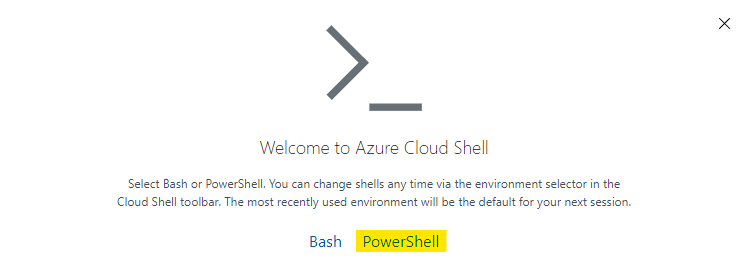
Select powershell environment to continue.
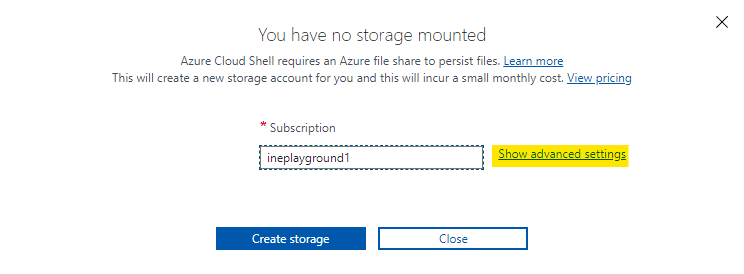
Click on Show advanced settings to configure the storage with your cloudshell
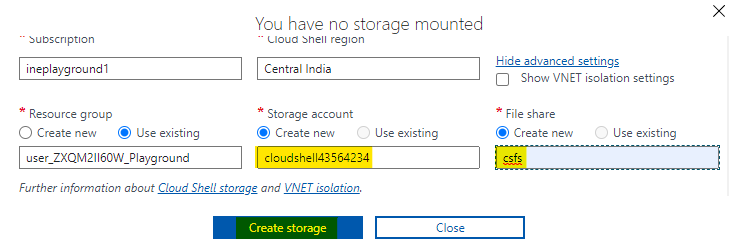
Give a unique name to storage account and the file share.
You can see one powershell environment will open up to you.
Download the script file with below command.
wget https://inedemoassets.blob.core.windows.net/taskfiles/azure_admin/IISInstall.ps1 IISInstall.ps1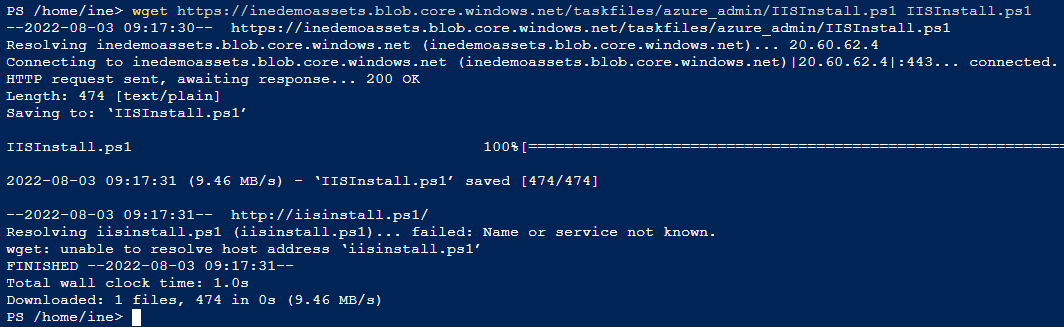
Download the archive file from the below command.
wget https://inedemoassets.blob.core.windows.net/taskfiles/azure_admin/IISInstall.ps1.zip IISInstall.ps1.zip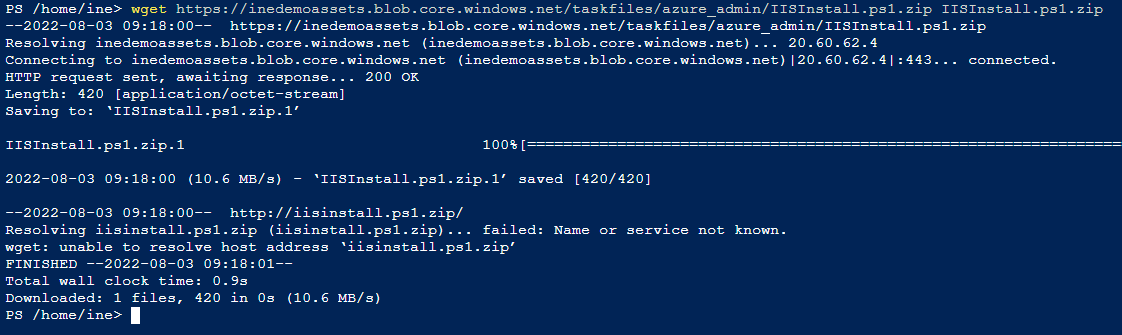
Use the below command to check the content of the script file.
code ./IISInstall.ps1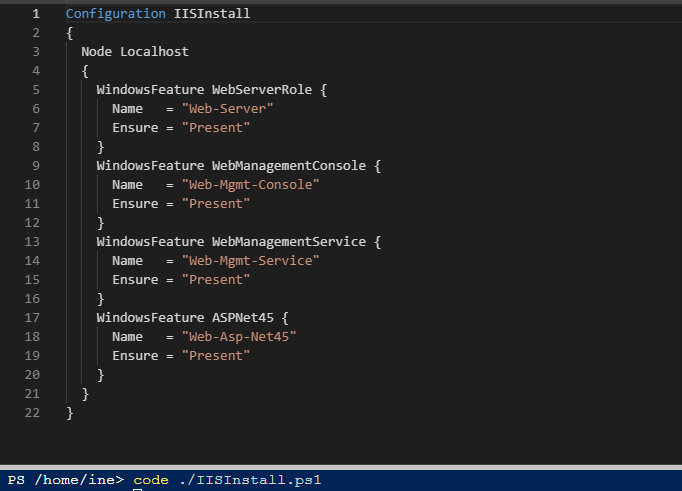
You can close the code window with Ctrl+Q.
Now declare the below variables into the powershell environment.
$rg = "ResourceGroupName"
$sa = "StorageAccountName"
$vm = "dsc-vm"
$file = "./IISInstall.ps1.zip"
Execute the below commands to setup the storage account context.
$key = (Get-AzStorageAccountKey -ResourceGroupName $rg -Name $sa)[0].Value
$context = New-AzStorageContext -StorageAccountName $sa -StorageAccountKey $key
We are fetching the key of storage account and then setting up a context to upload files to the container.

Upload the archive file you downloaded with the below command.
Set-AzStorageBlobContent -File $file -Container dsc -Context $context
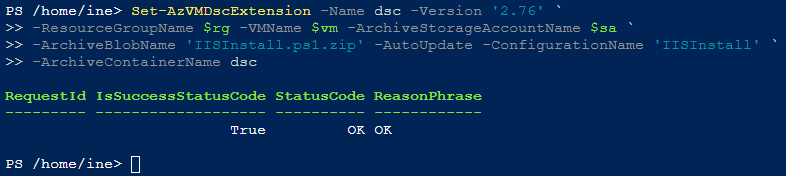
Now setup the DSC extension to our VM with these configurations.
Set-AzVMDscExtension -Name dsc -Version '2.76' `
-ResourceGroupName $rg -VMName $vm -ArchiveStorageAccountName $sa `
-ArchiveBlobName 'IISInstall.ps1.zip' -AutoUpdate -ConfigurationName 'IISInstall' `
-ArchiveContainerName dsc
We are setting up an extension for our VM with the archive, which we uploaded to the container of our storage account.
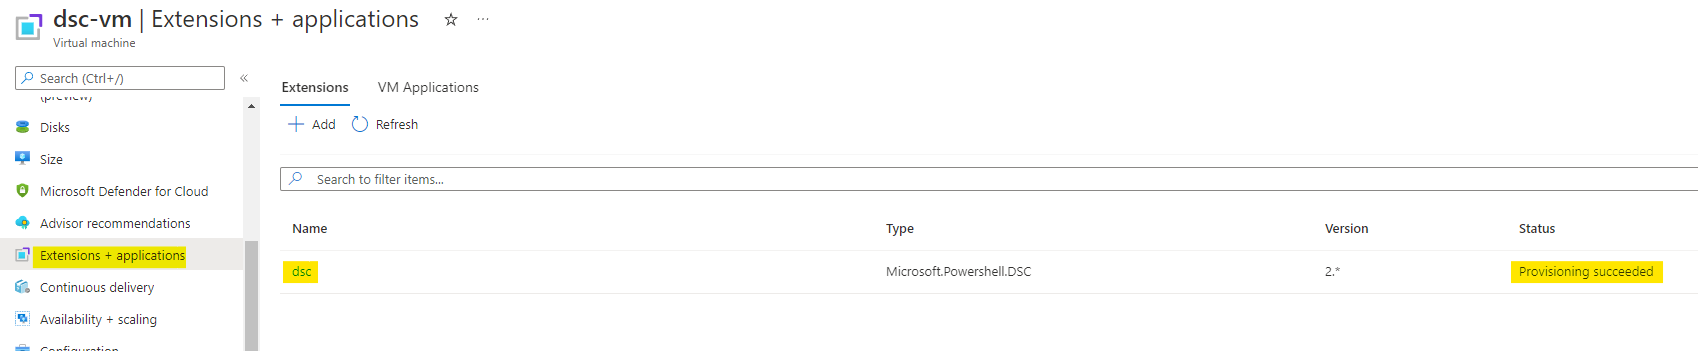
It will take some minutes to set up the extension. So wait for some minutes.
After the extension is successfully provisioned, you can go to the extensions of the VM and verify the same.
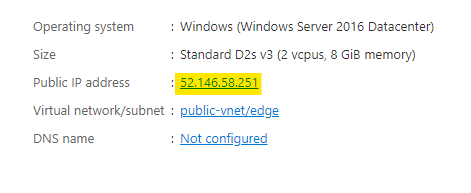
Get the public IP address of the VM from the overview or networking.
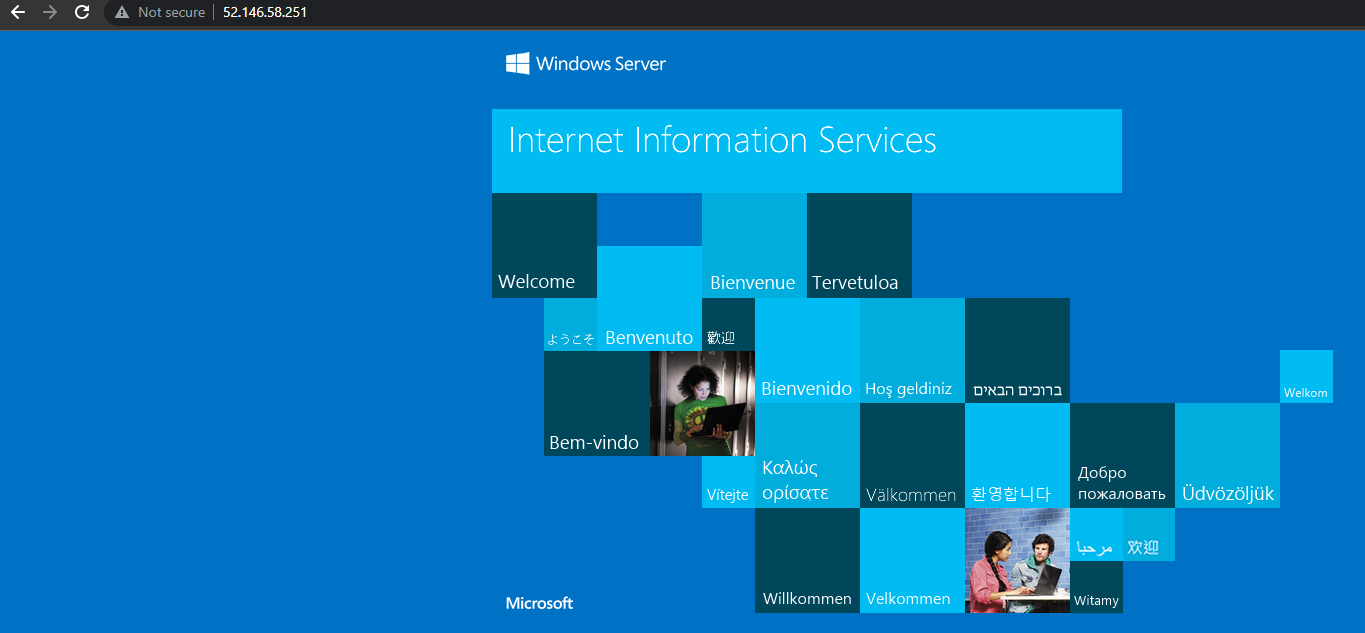
Paste the public IP address in your browser and if everything was successfull. You will see something like the below image.
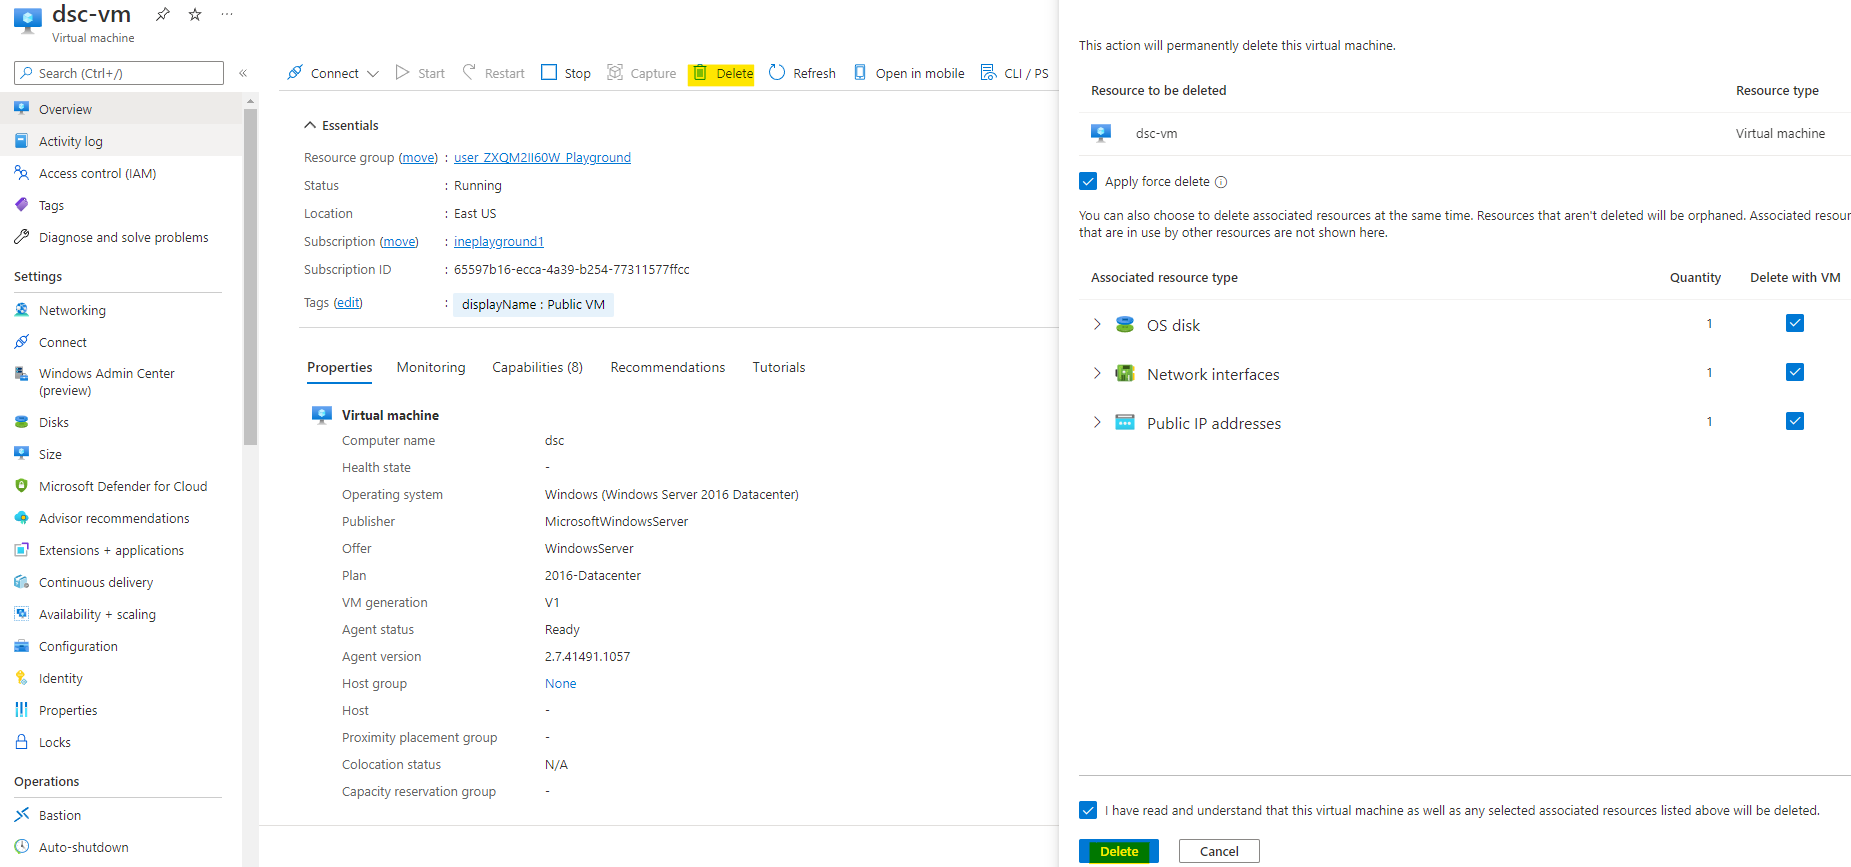
You can go and delete the virtua machine which was pre deployed and also all the related resources.
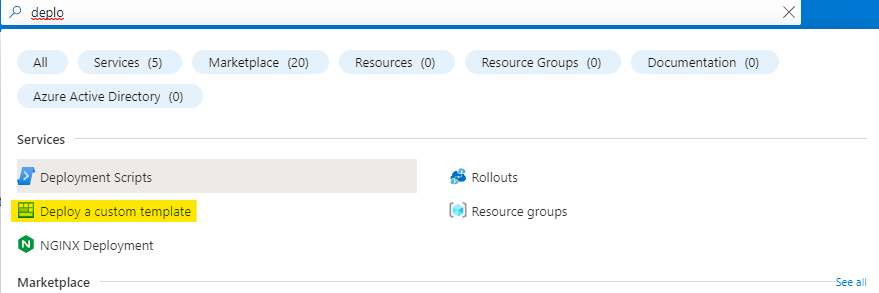
Search for Deploy and click on Deploy a custom template.
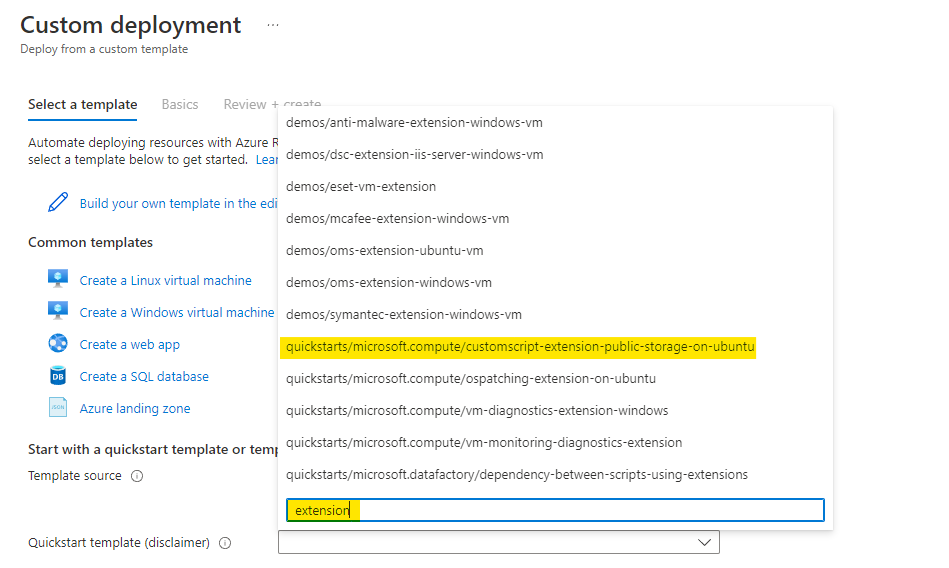
Here search for extension in quickstart templates. So you don't have to write the ARM script from scratch.
Select any of the templates but the changes needed in that will be different from the one used here.
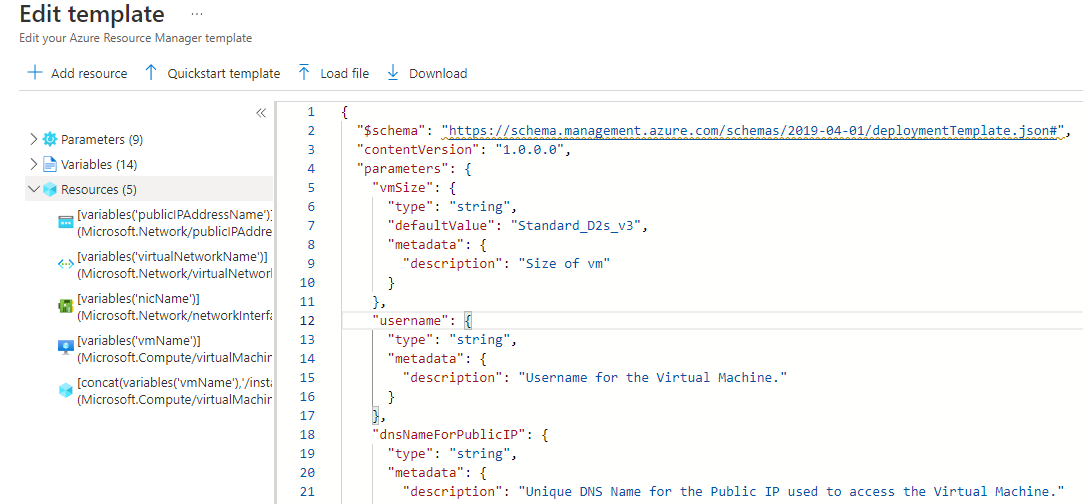
Click on Edit template to make required changes to the template.

You can see the quickstart template along with the resources, parameters and variables.
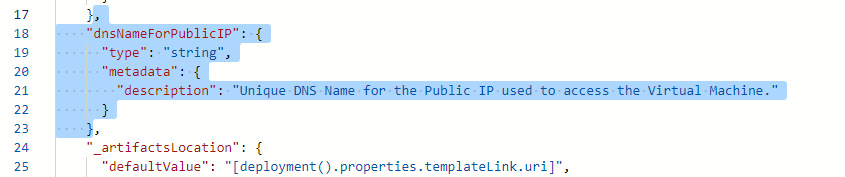
First of all remove the parameter fro the dnsName. We dont need FQDN for this lab.
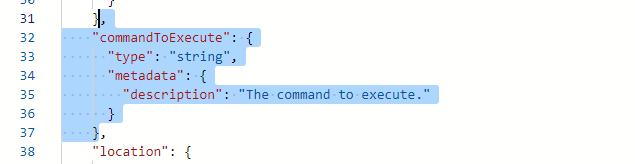
Also remove the command to execute parameter. We will directly use the command in extension properties.
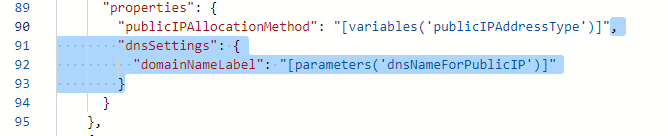
Remove the dnsSettings from the public IP address.
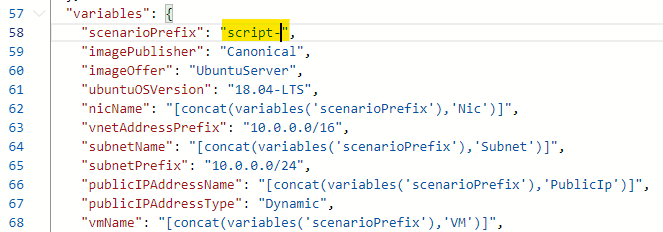
Go to the variables and make appropirate changes as per our requirment. We can just change the scenarioPrefix.
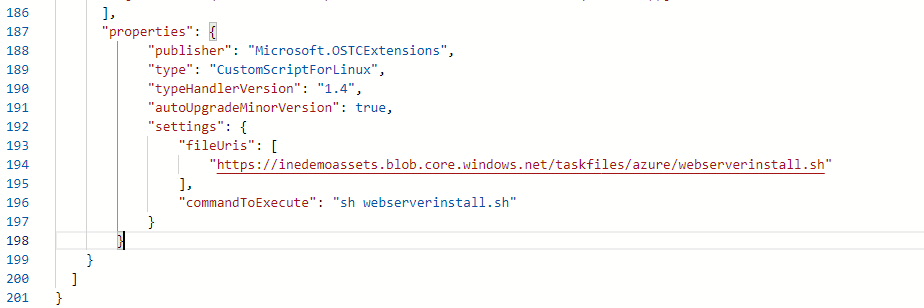
Remove the properties from the extension.
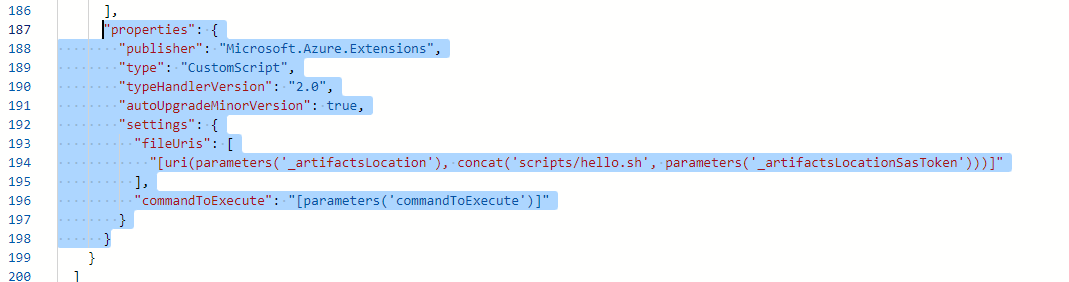
Paste the below mentioned properties, so we can use our files and command.
"properties": {
            "publisher": "Microsoft.OSTCExtensions",
            "type": "CustomScriptForLinux",
            "typeHandlerVersion": "1.4",
            "autoUpgradeMinorVersion": true,
            "settings": {
                "fileUris": [
                    "https://inedemoassets.blob.core.windows.net/taskfiles/azure/webserverinstall.sh"
                ],
                "commandToExecute": "sh webserverinstall.sh"
            }
        }
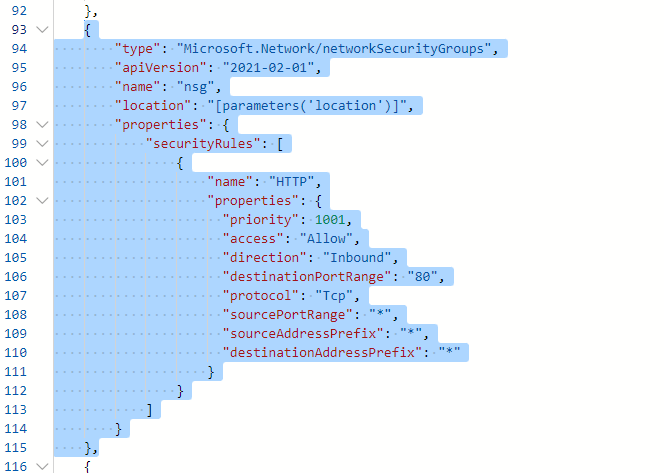
Now all the things are configured as for the extension, but we will need a network security group. So we can access the web server we are deploying as an extension.
Add the network security group to the resources.
{
            "type": "Microsoft.Network/networkSecurityGroups",
            "apiVersion": "2021-02-01",
            "name": "nsg",
            "location": "[parameters('location')]",
            "properties": {
                "securityRules": [
                  {
                    "name": "HTTP",
                    "properties": {
                      "priority": 1001,
                      "access": "Allow",
                      "direction": "Inbound",
                      "destinationPortRange": "80",
                      "protocol": "Tcp",
                      "sourcePortRange": "*",
                      "sourceAddressPrefix": "*",
                      "destinationAddressPrefix":"*"
                    }
                  }
                ]
            }
        },
Now set up the network security group with the subnet of our virutal network.
"networkSecurityGroup":
    {
        "id": "[resourceId('Microsoft.Network/networkSecurityGroups','nsg')]"
    }
Click on Save after doing all the changes.

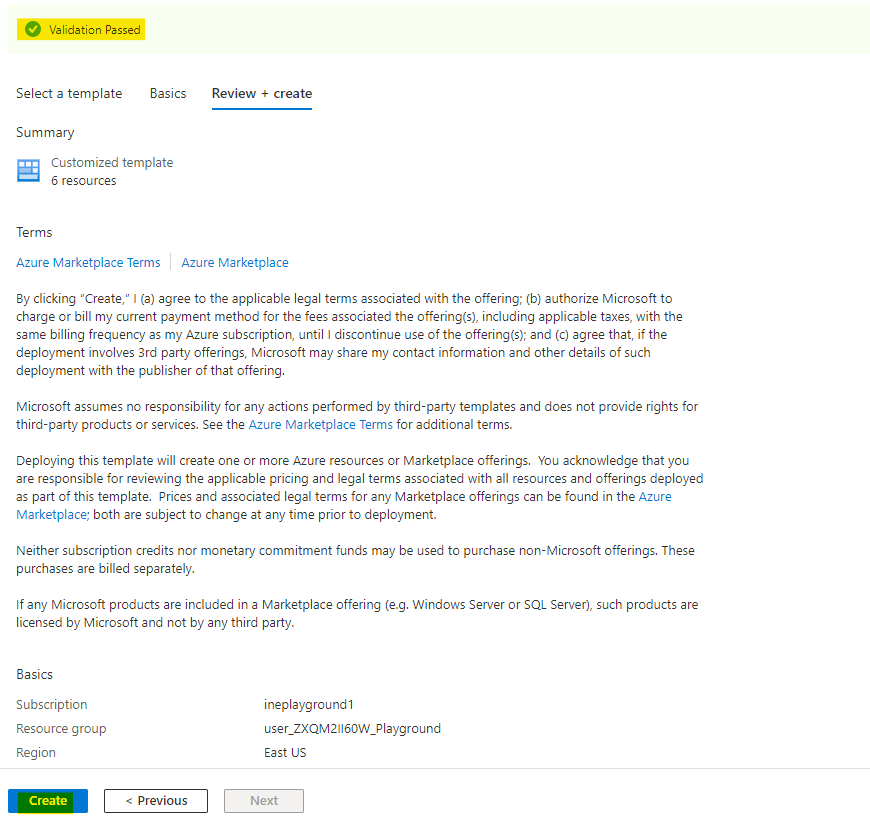
Set up the parameters as below and click on Review+Create.

Azure will verify the template created by you. After checking, it will show you Validation Passed, if everything was done properly.
Click on Create to deploy the template.
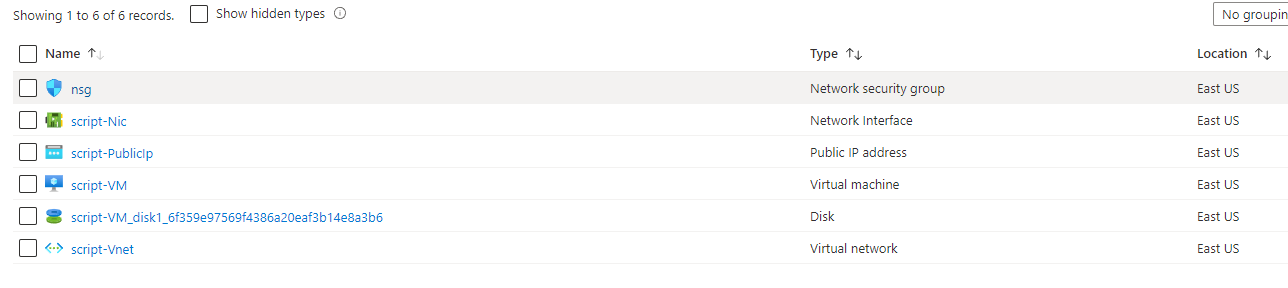
Afte sometime you will see Your deployment is complete. This means everything was deployed. Click on Go to resource group to check the resources you just deployed.

You can see every resource is deployed.
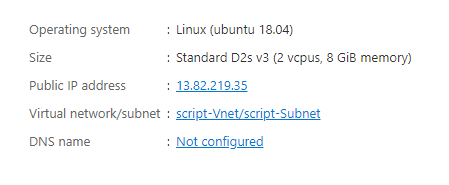
Go to the virtual machine's overview or the networking. Get the public IP address of the virtual machine.
Go and paste the IP address to your browser, you will see the name of our virtual machine in the response.
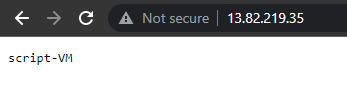
This means that our extension was properly deployed.
This lab is now complete.