Learn how to deploy virtual machines for high availability, achieve a 99.99% availability SLA, and configure load balancing.
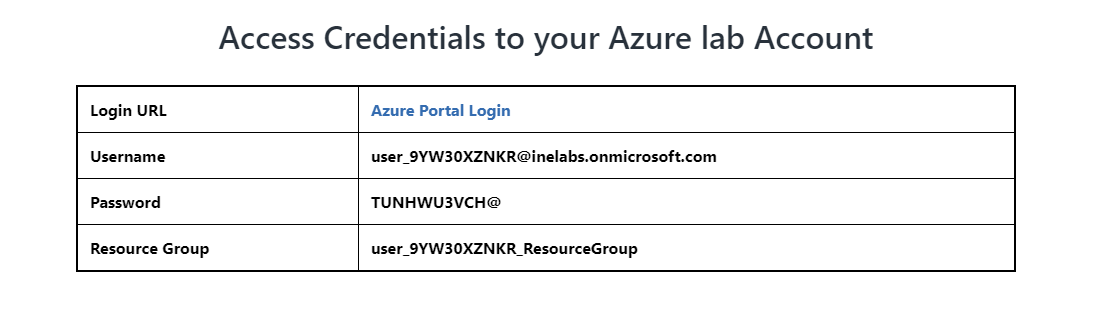
First of all login to your azure portal with the generated credentials. You have to accept the terms and click continue to generate the credentials.
Note: Your credentials will be different from the one shown in the figure.
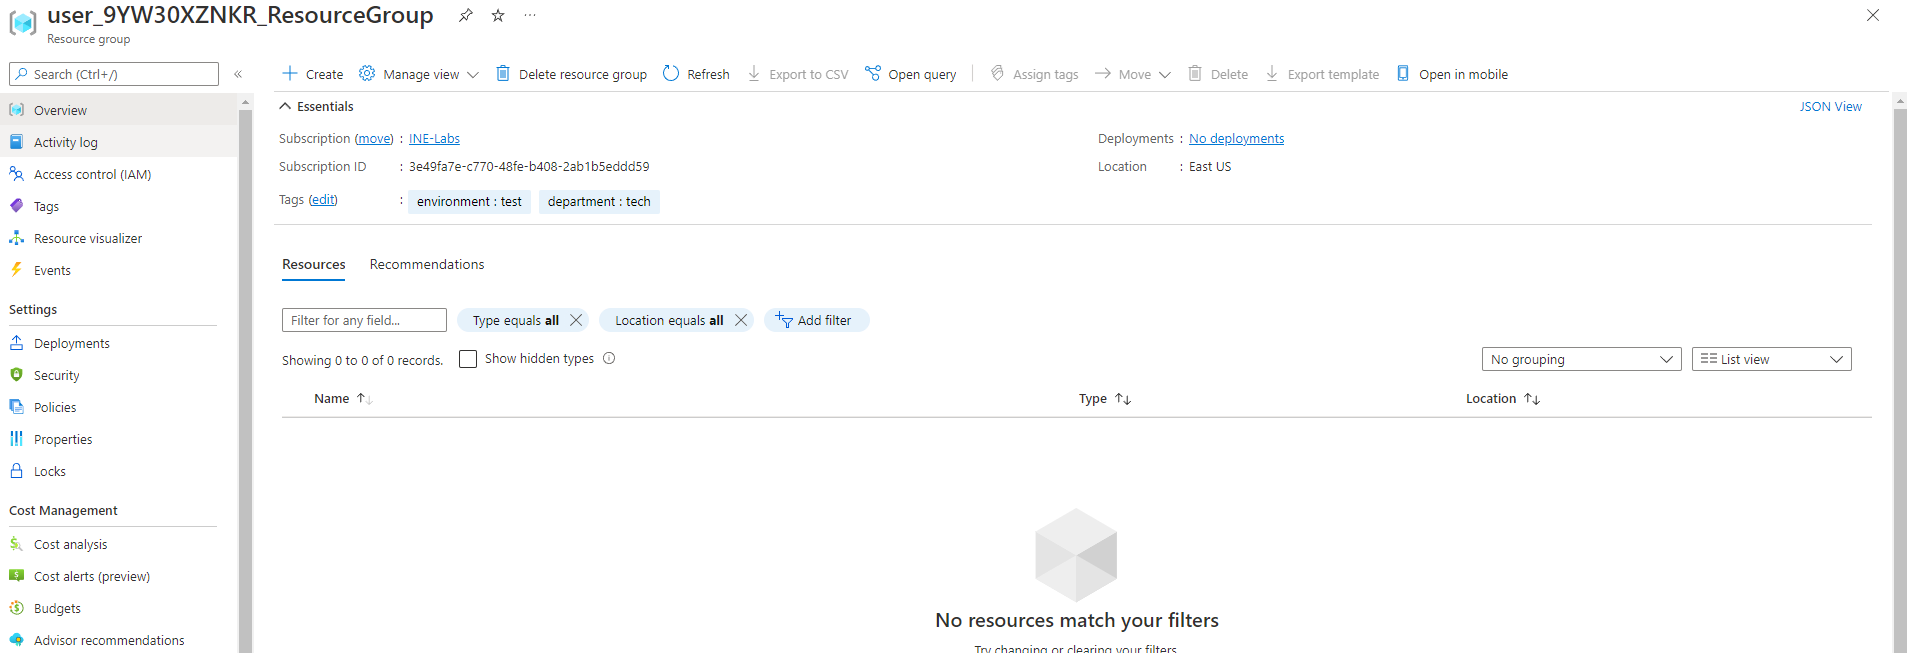
After logging in to portal using the credentials. You will see an empty resource group, where you can create some resources.
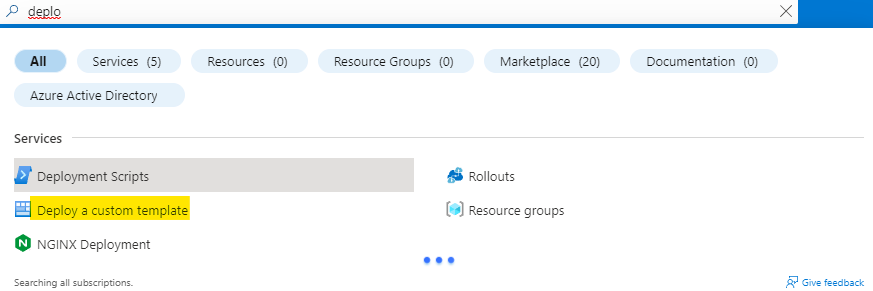
Search for Deploy and click on Deploy a custom template as highlighted below.
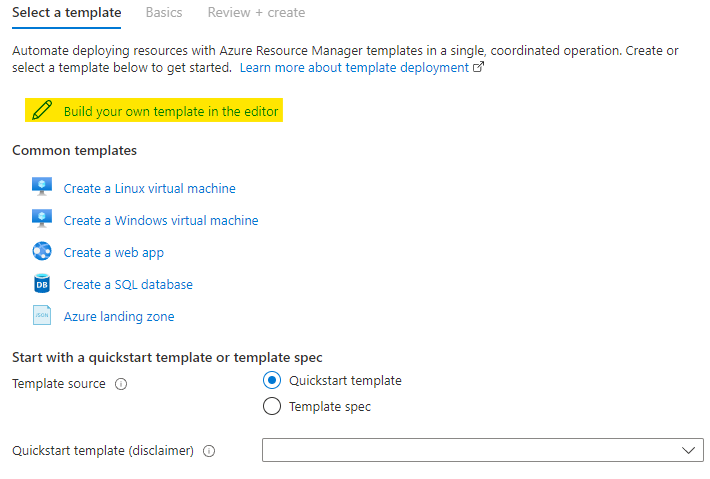
Click on the Build your own template in the editor to start creating your own template.
Go to your browser and download this json file:
https://inedemoassets.blob.core.windows.net/taskfiles/azure_admin/deploy-web-servers.jsonNow you are at the editor, click on Load file to load the downloaded file into the editor..
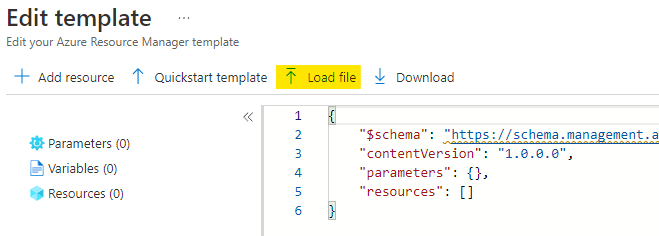
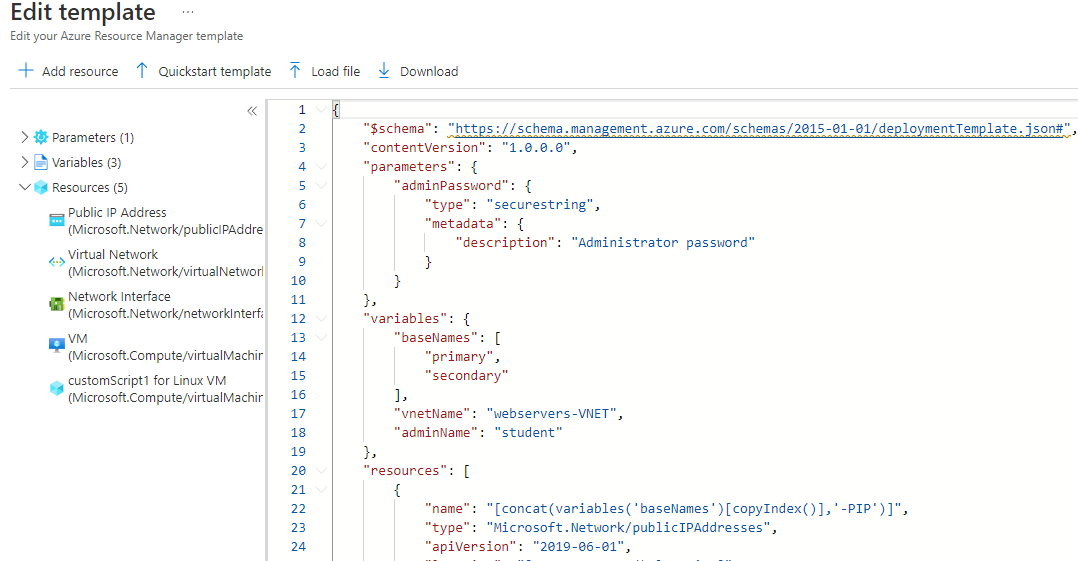
The json file will be loaded to the editor.
Add the following variable element as highlighted in the image below.
"zones":["1","2","3"]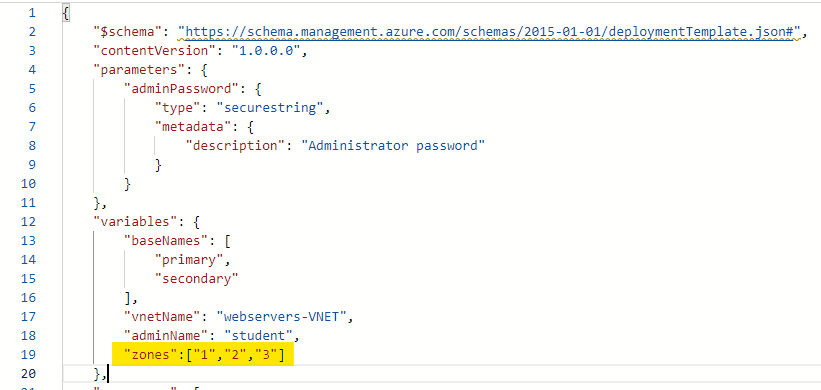
Add the following element to the virtual machine element as highlighted in the image below.
"zones":["[Variables('zones')[copyIndex()]]"],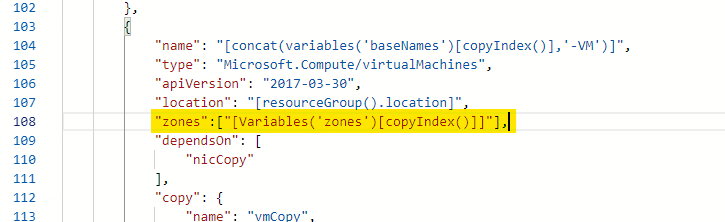
Add the following element to the public ip element as highlighted in the image below.
"zones":["[Variables('zones')[copyIndex()]]"],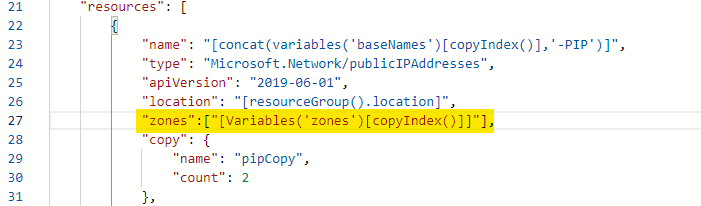
You will see that there are two subnets given, you can let them be or can remove one subnet. See image below.
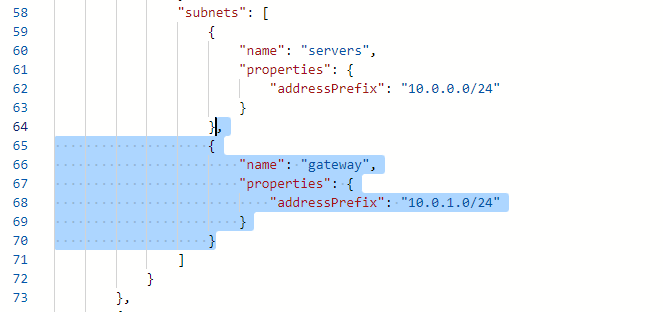
If you intend to remove the subnet, name the one remaining subnet as default.
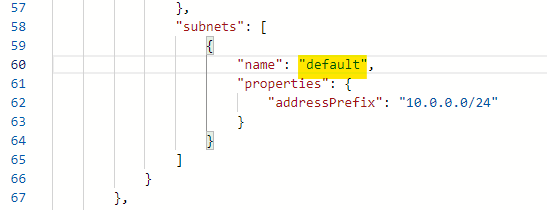
If you check the property element of the NIC, subnet name is server.
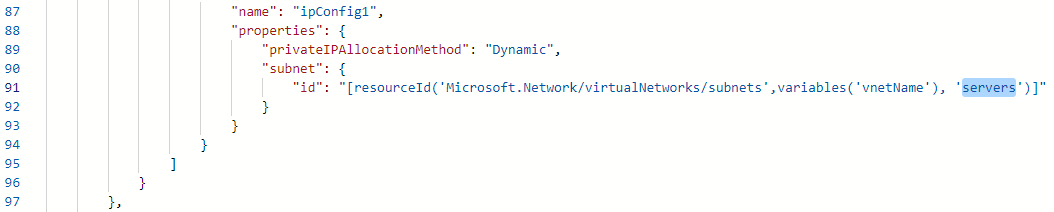
Change it to default.

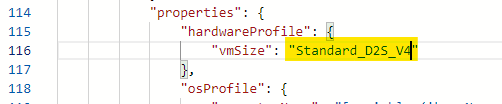
Change the vmSize to Standard_D2S_V4.
After all the changes click on Save to start deploying the resources.
You can also go ahead and download the arm script from the Download option.
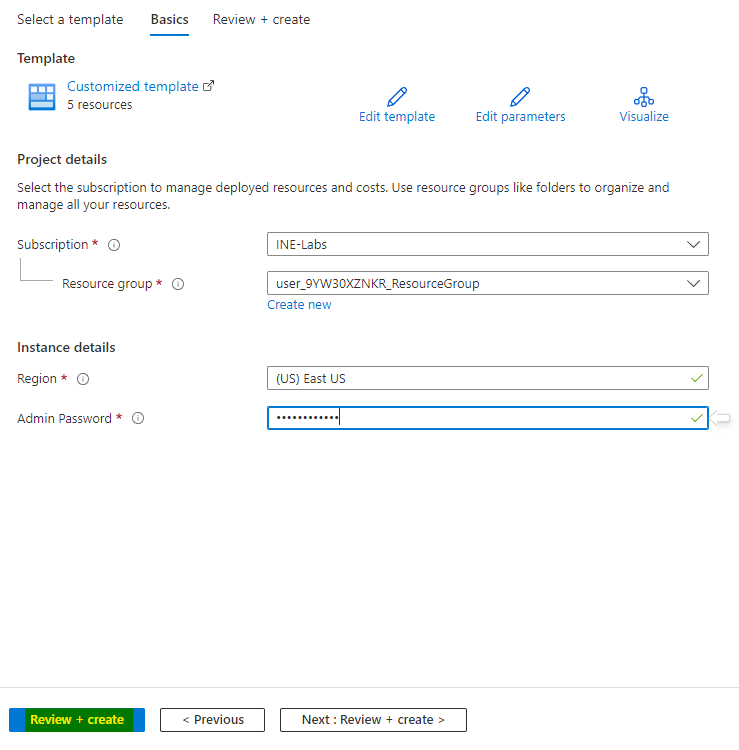
Enter a strong admin password for our webservers. Then click on Review+Create to create the resources.
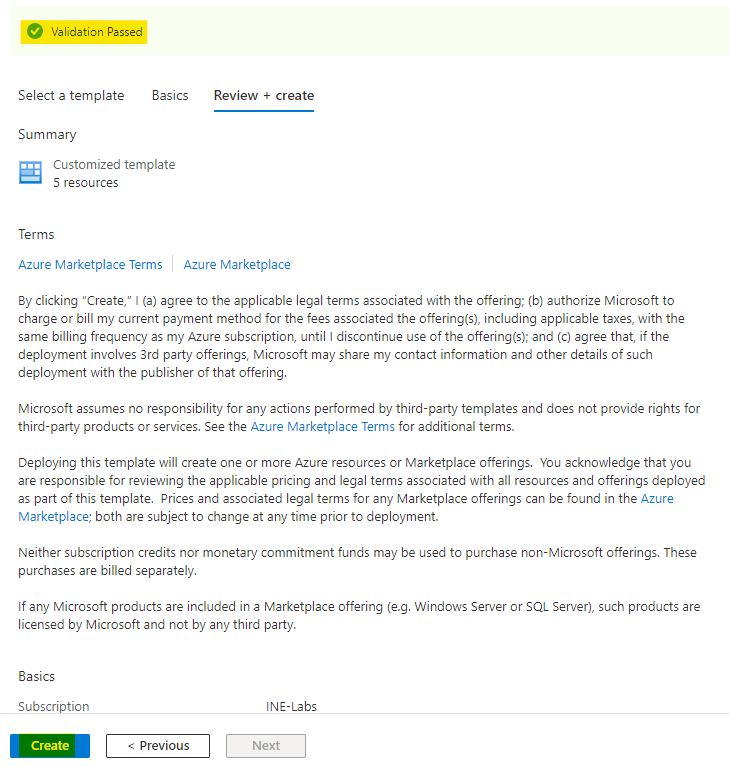
Now Azure will verify your template. After sometime you will see Validation Passed that means everything is fine. Click on Create to create the resources.
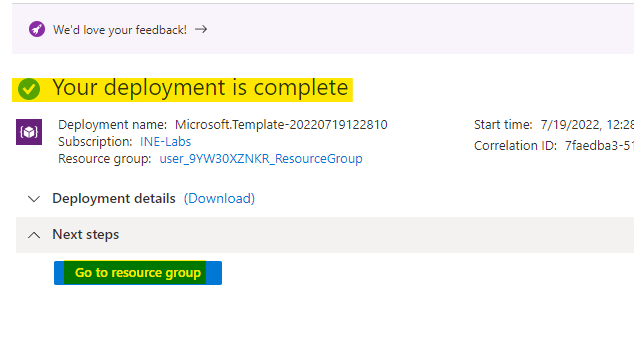
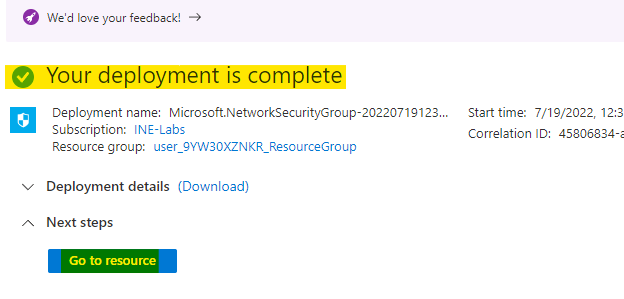
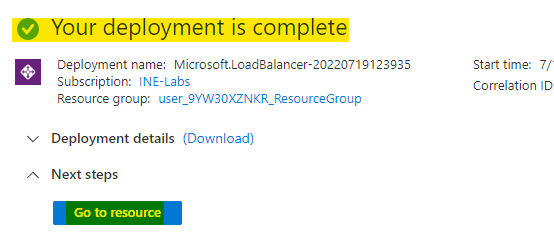
After few minutes you will see Your deployment is complete, it means everything is deployed correctly.
You can click on Go to resource group to go and check the resources you just deployed.
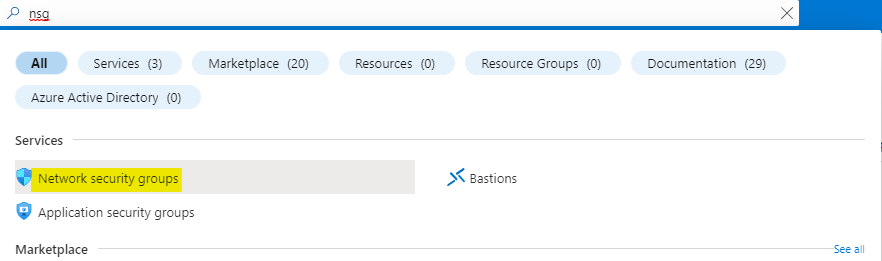
Search for nsg and click on Network security groups as highlighted below.
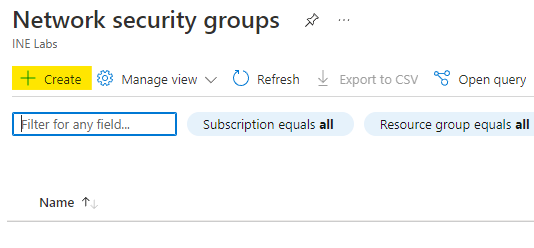
Click on Create to start creating a network security group.
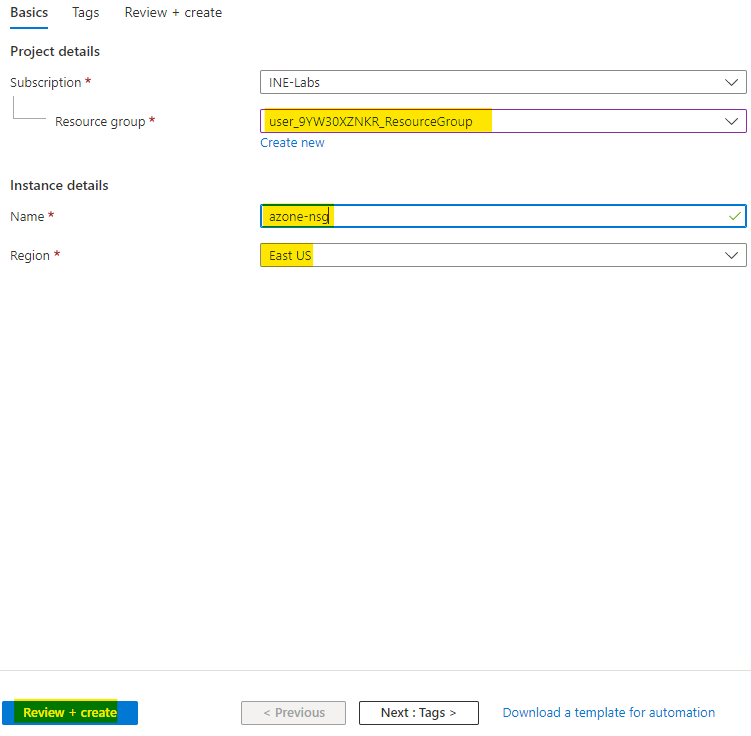
Then click on Review+Create to create the network security group.
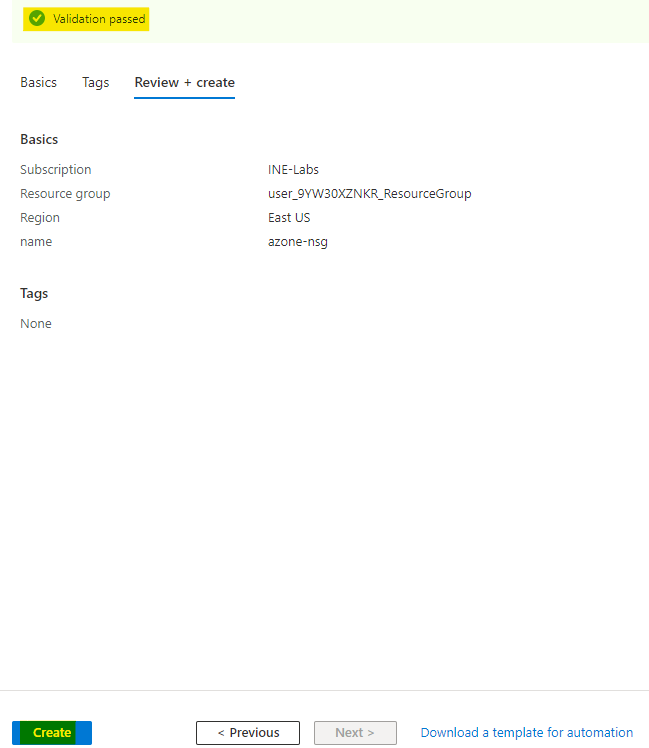
Azure will validate your configurations and you will see something like the below image. Click on Create after you see Validation passed
After some time the deployment will be done and you will see something like the below image.
You can click on Go to resource
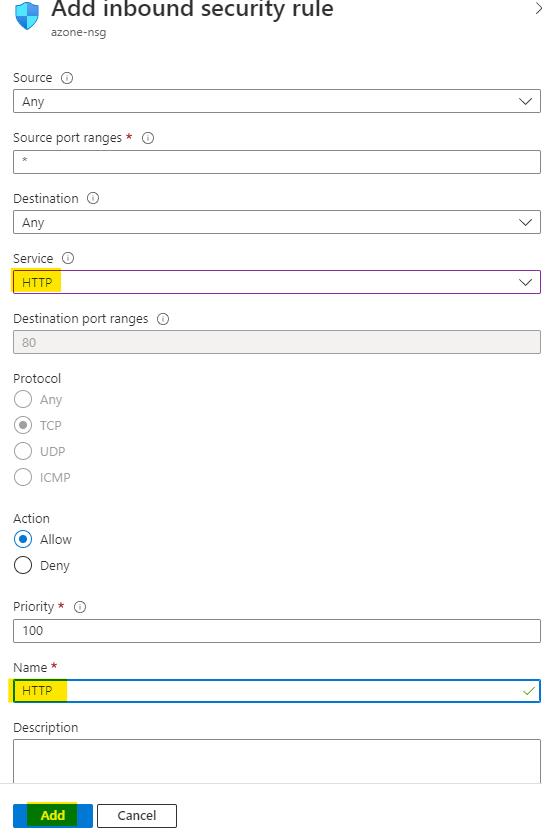
Go to Inbound security rules of your network security group and click on Add to add new security rule.

Use the service type as HTTP and give it a name of your choice. Then click on Add to add the rule.
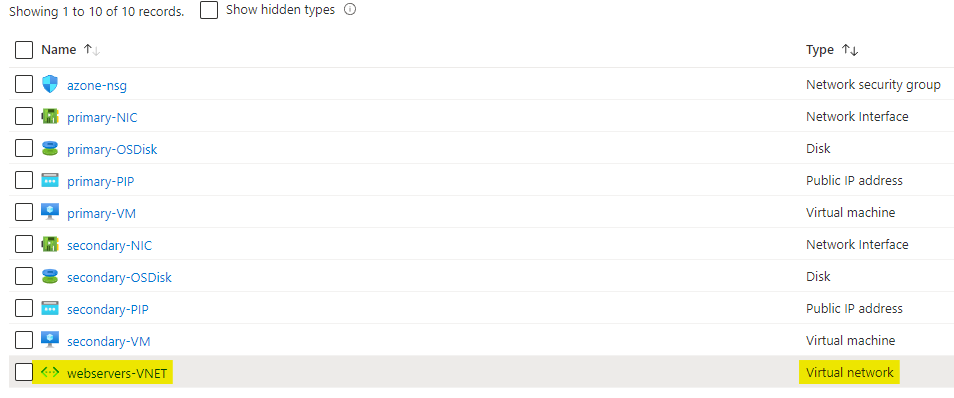
Go to your resource group and you can see all the resource there. Click on the webservers-VNET virtual network to configure it.
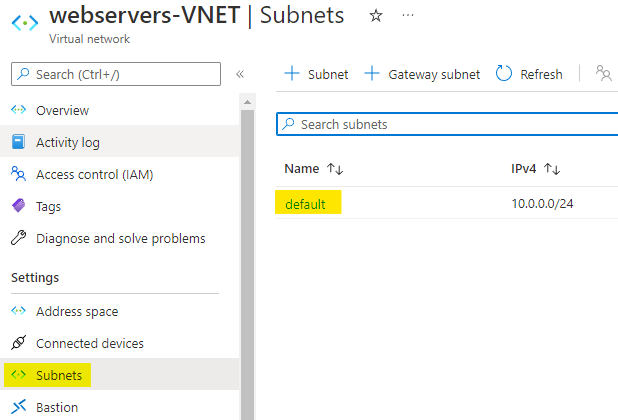
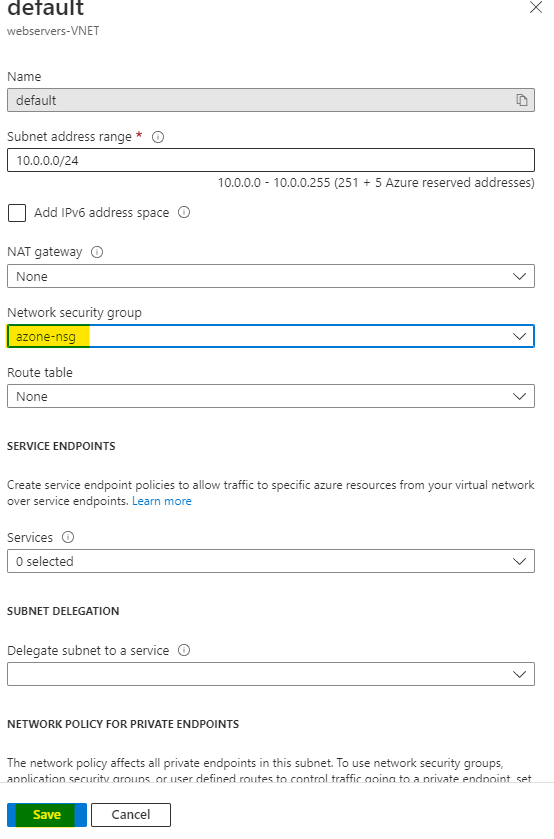
If you go to the subnets of our virutal network. You can see the default subnet. Click on it to start configuring it.
Let everthing be untouched, just change the network security group to the one we just created.
Save the subnet configuration.
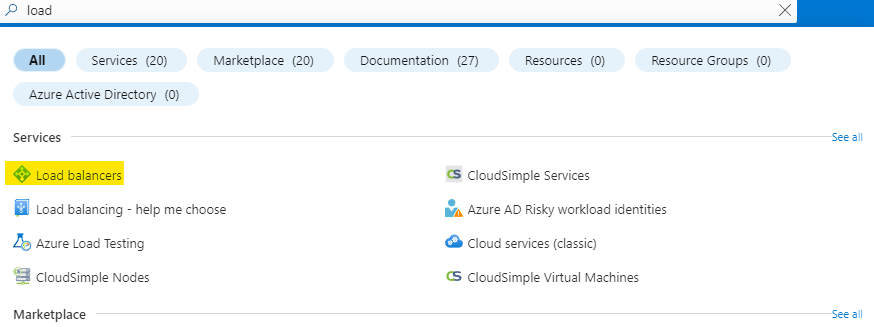
Search for load balancer and click on Load balancers as highlighted below.
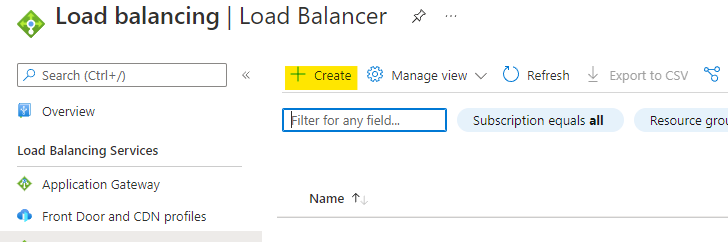
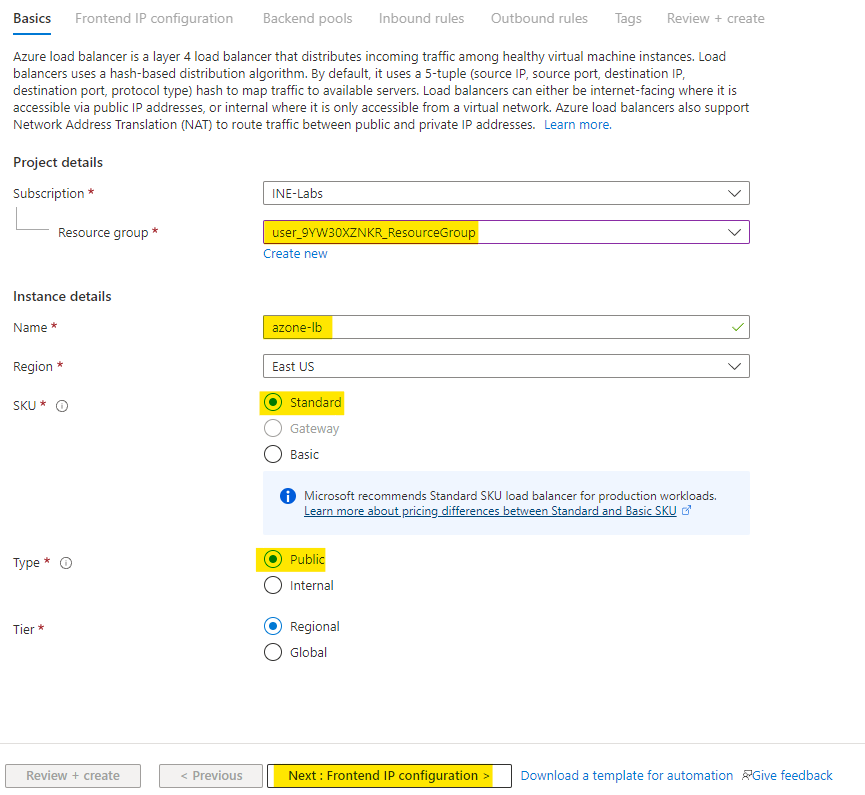
Click on create as highlighted below to create a new load balancer.
Then click on Next to configure the frontend IP.
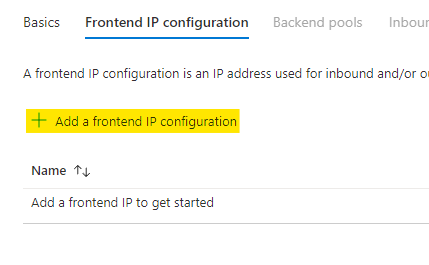
Here click on Add a frontend IP config
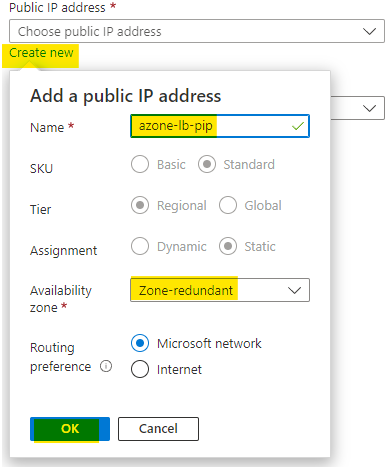
Click on Create new under the public IP address. Give it a name azone-lb-pip and make it Zone-reduntant.
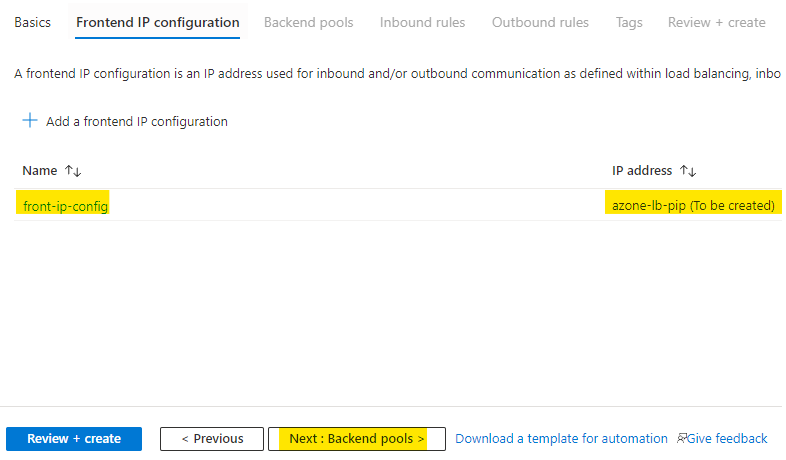
Give your config a name and add it.
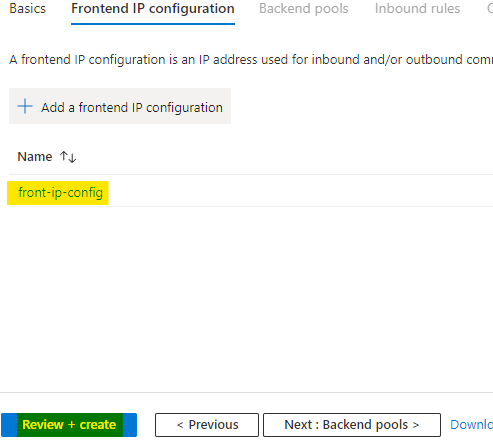
You can see that the configuration is added.
You can either choose to configure the backend pools and load balancing rules from here also, or you can create the load balancer and then configure them.
I am going to create the load balancer now and then configure it.
Click on Review + create to create the load balancer.
Azure will check if everything is fine. After a few second you will see Validation passed. Now click on Create to finally deploy the load balancer.

When the load balancer is deployed click on Go to resources.
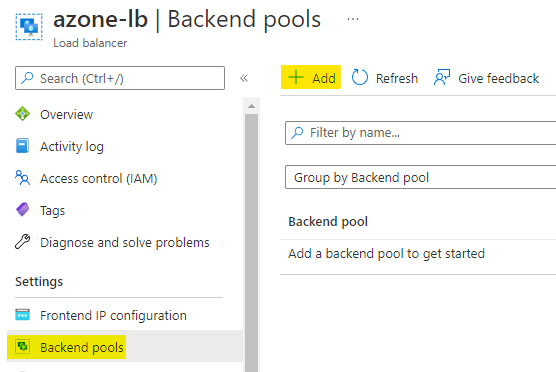
Now go to the backend pools of your load balancer. Click on Add to add a new backend pool.
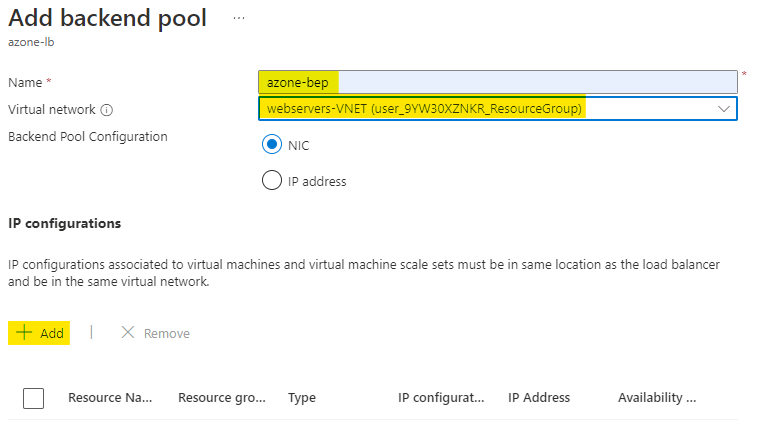
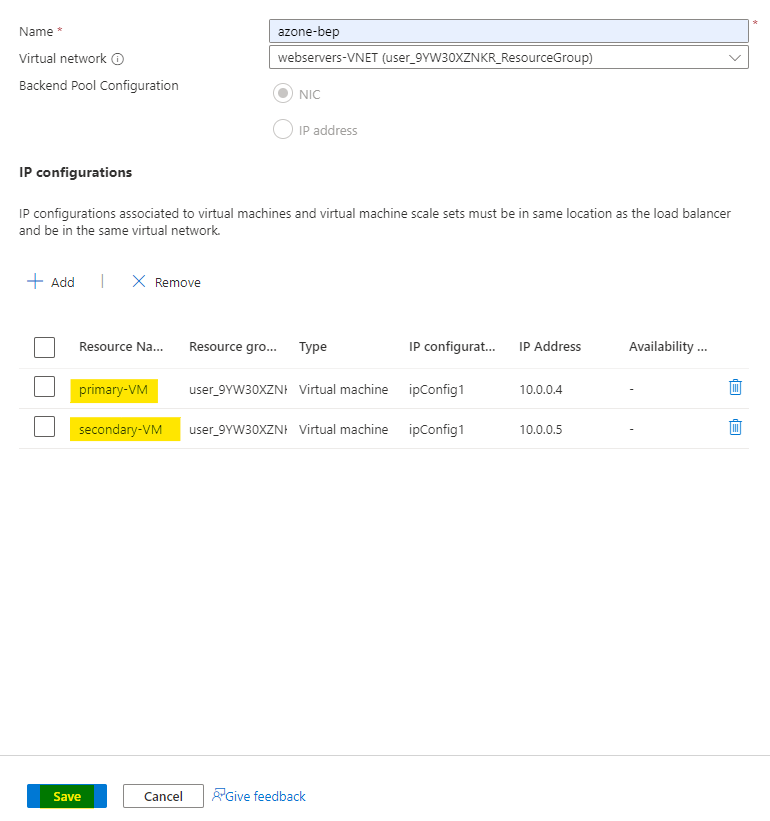
Give your backend pool a name and select the virtual network which is used for our Virtual Machines.
You will see one option of Add will pop up in the page, click on it.
Add both the virutal machine to our backend pool by checking the checkboxes in front of them.
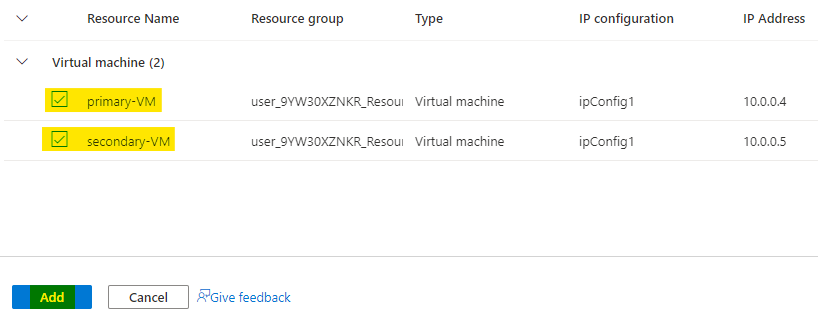
You can see that we have both our VMs to our backend pool.
Save the backend pool.
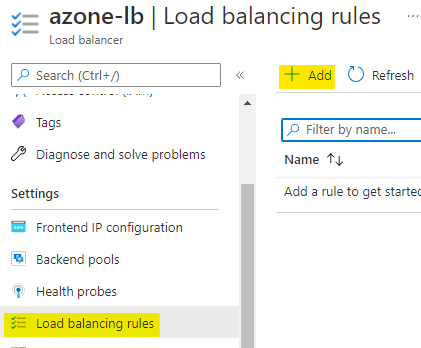
Now go to the load balancing rules of your load balancer and click on Add to add load balancing rules.
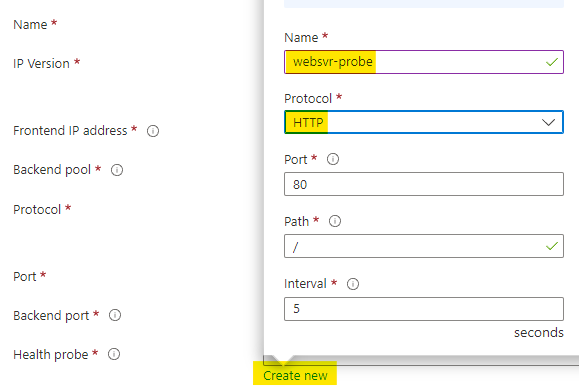
First of all create a Health Proble, you can see an option Create new.
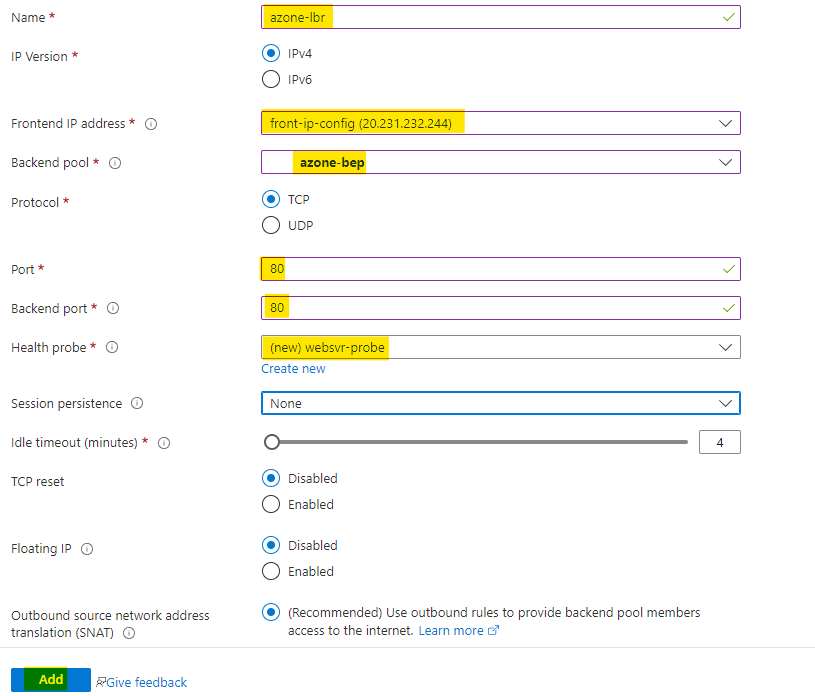
Add the health probe to our load balancing rule.
Click on Add to add the load balancing rule to your load balancer.
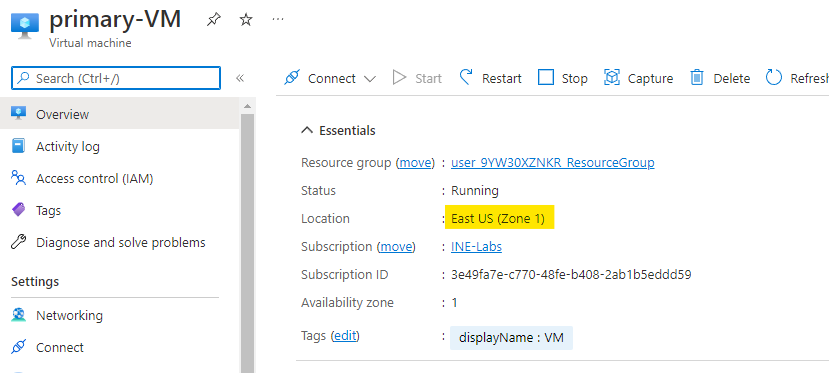
Go to your primary virtual machine.
You can see that the virtual machine is in Zone 1 of your respective location.
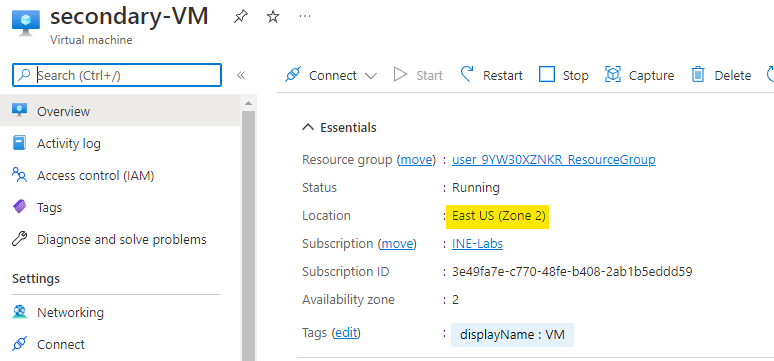
Now go to your secondary virtual machine.
You can see that the virtual machine is in Zone 2 of your respective location.
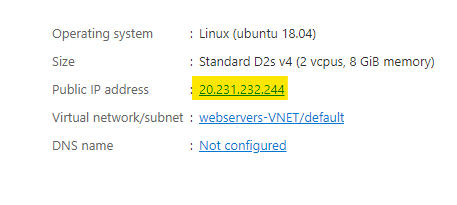
You can get the public IP of your load balancer from the virtual machine itself. Even though these virtual machines had their own public IPs, but after configuring with the load balancer. Public IP shown to you will be the public IP of the load balancer.
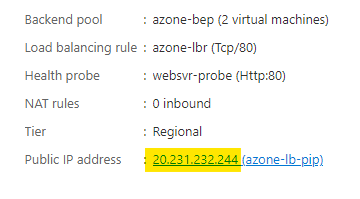
You can go to your load balancer and cross check that the public IP shown in both the VMs and load balancer is the same.
Browse this public IP address on to your browser.
If you reload it some times, you will see two different outputs. Just like the below images.
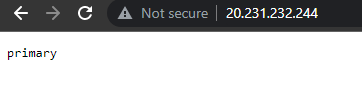
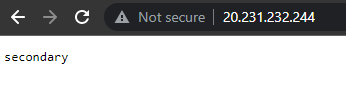
The output is just the name of virutal machines.
This means that our workload is working fine. The lab is now complete.