In this task you will provision a new virtual machine and a new key vault. You will then encrypt the OS disk for the virtual machine, storing the disk encryption keys in key vault.
In this task you will provision a new virtual machine and a new key vault. You will then encrypt the OS disk for the virtual machine, storing the disk encryption keys in key vault.
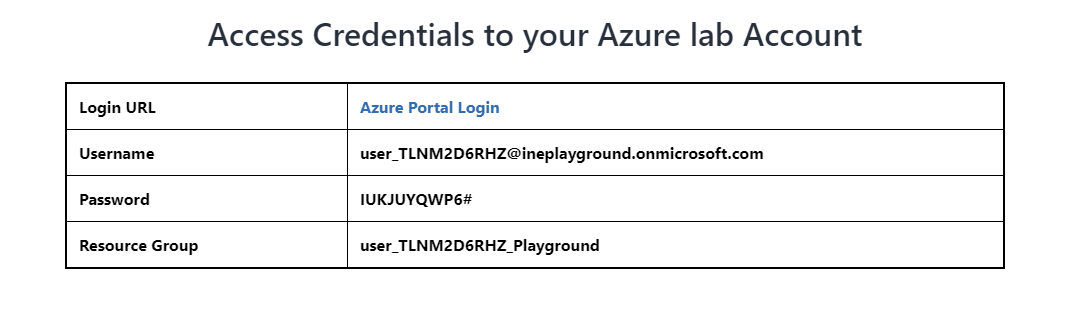
First of all login to your azure portal with the generated credentials. You have to accept the terms and click continue to generate the credentials.
Note: Your credentials will be different from the one shown in the figure.
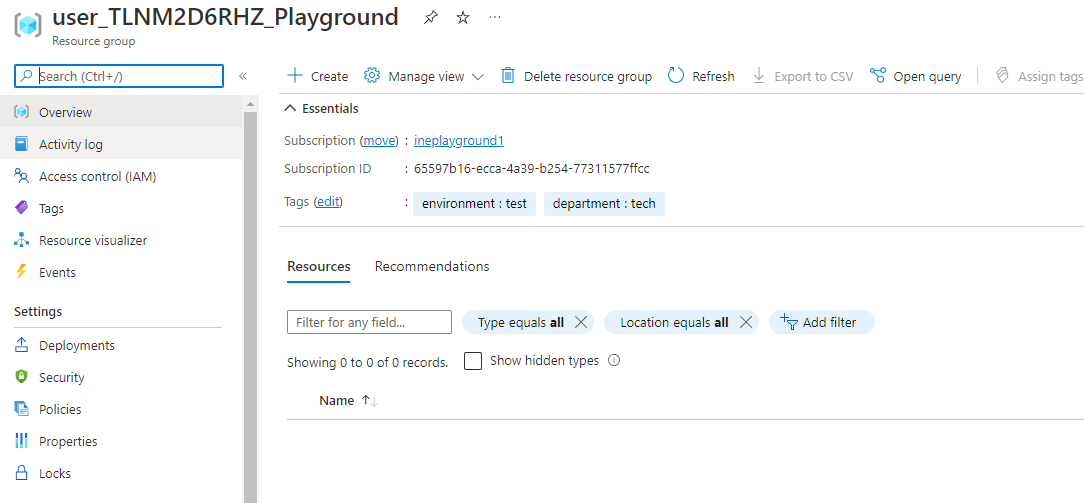
After logging in to portal using the credentials. You will see an empty resource group, where you can create some resources.
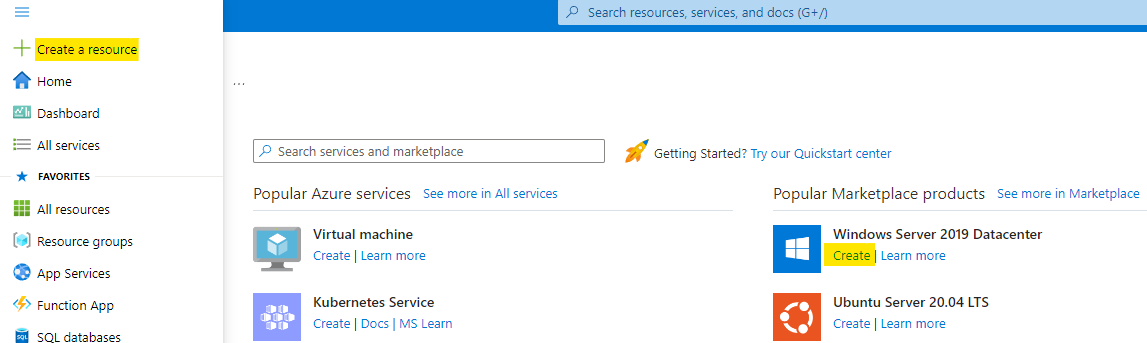
Go to the left top menu and click on Create a resource. Click on Create under the windows server.
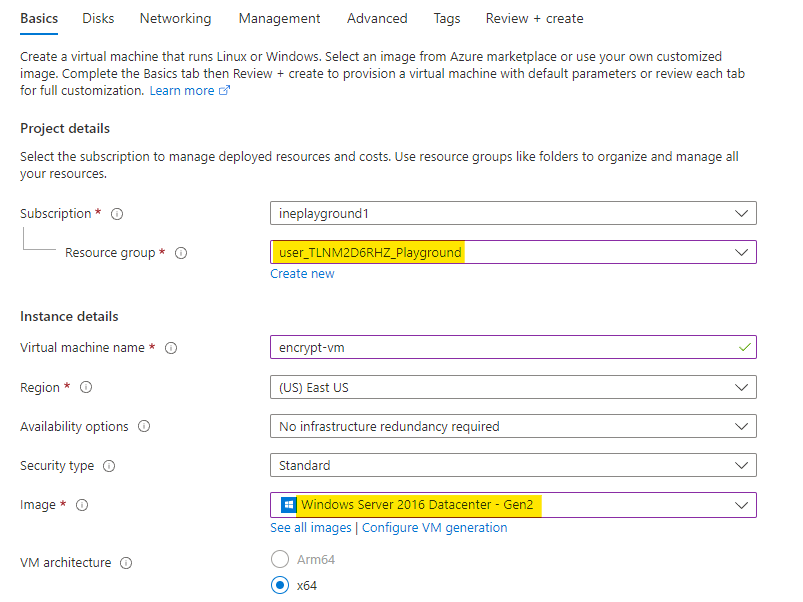
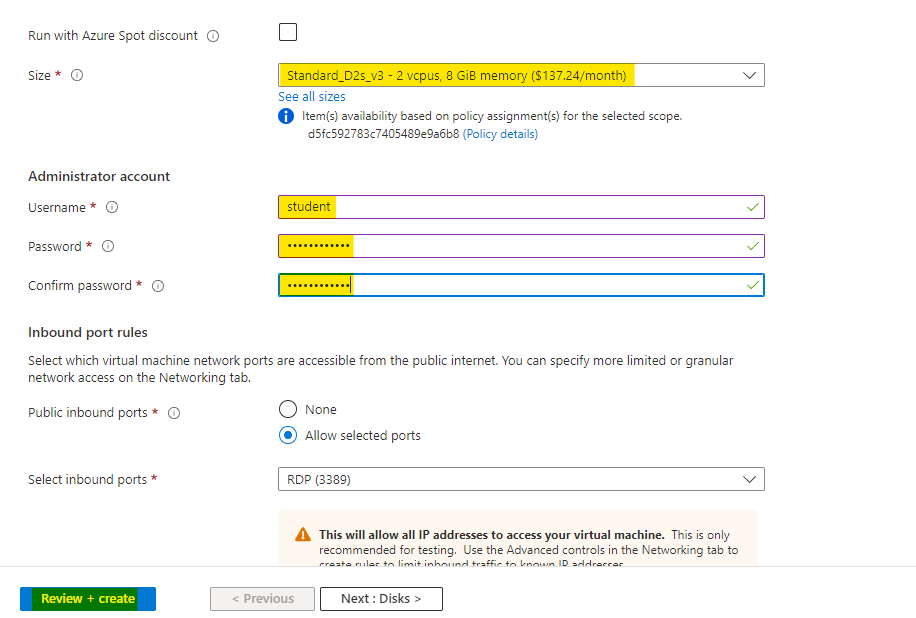
Configure your VM as below:
Note: If the image is not availiable for particular location, change image to other windows server by clicking on See all images.
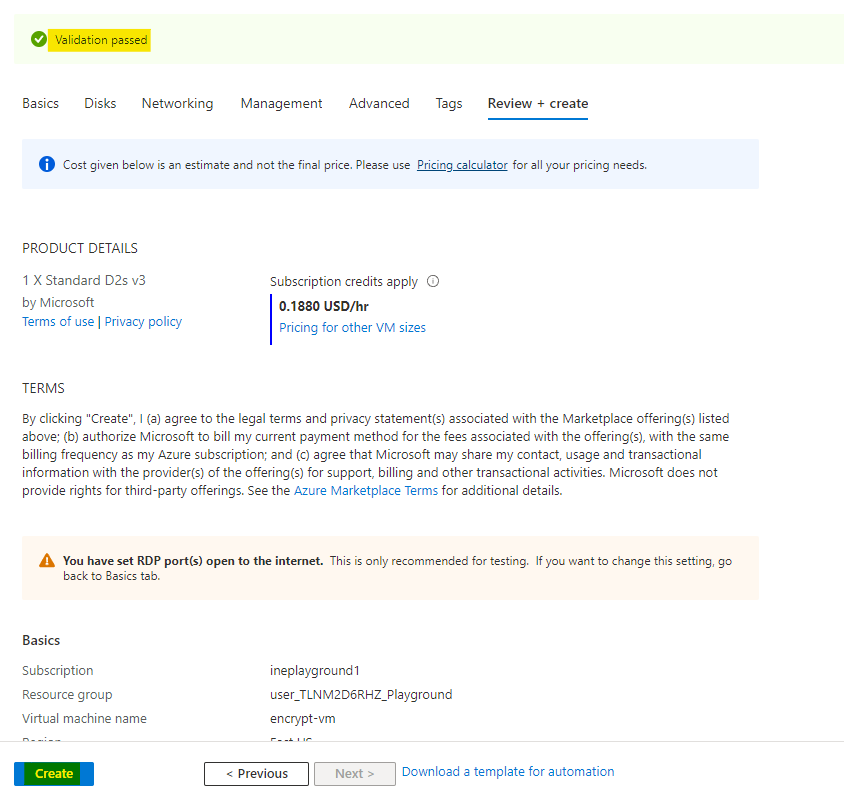
Click on Review + Create.
Now Azure will verify your configuration. After sometime you will see Validation Passed that means everything is fine. Click on Create to create the virtual machine.
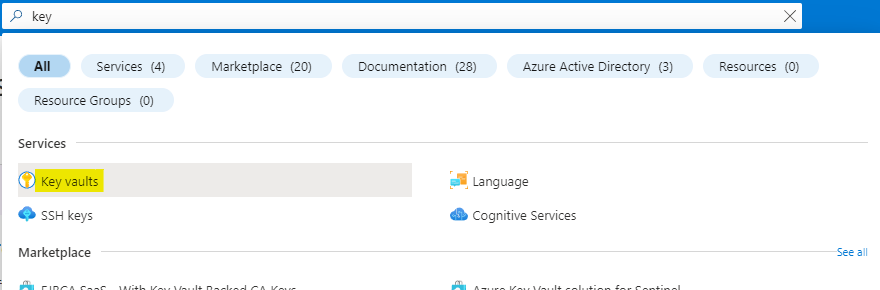
Search for key vault and open the Key Vaults service as highlighted below.
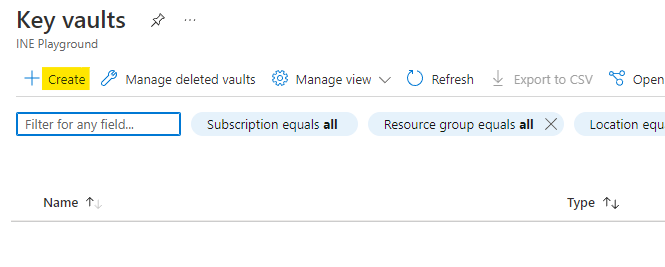
Click on Create to create a new key vault.
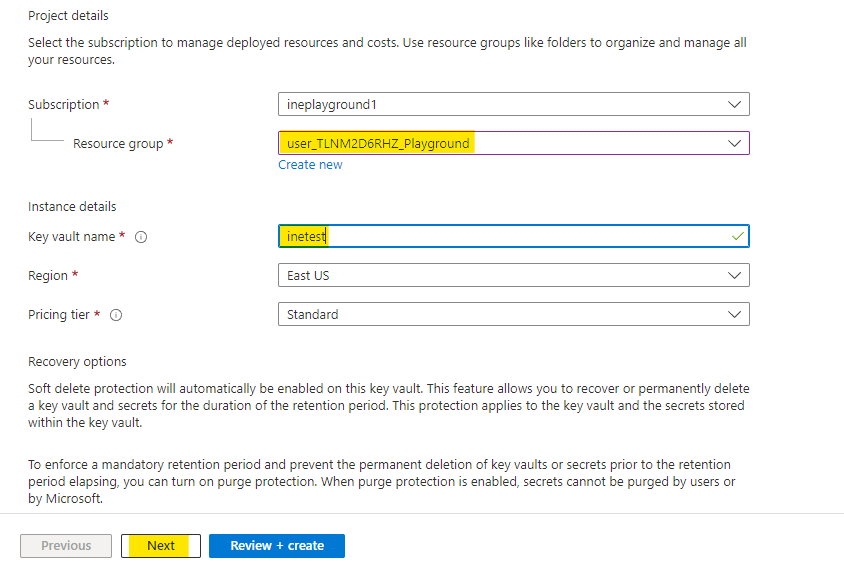
Configure your Key vault as below:
Click on Next as highlighted below.
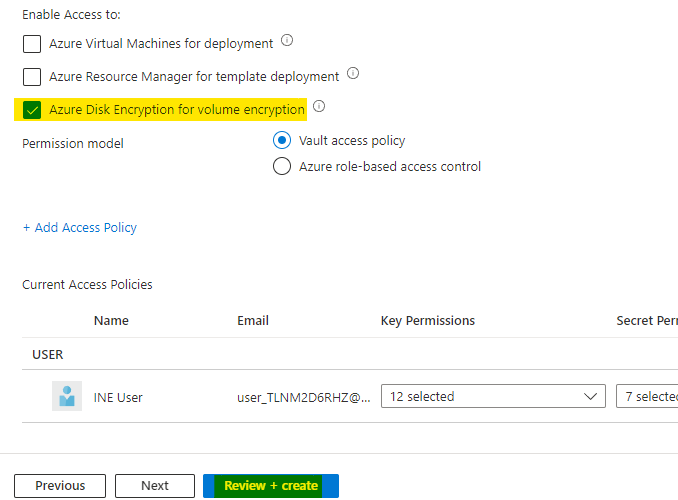
Make sure to check the Azure disk encryption access. Then click on Review + Create.
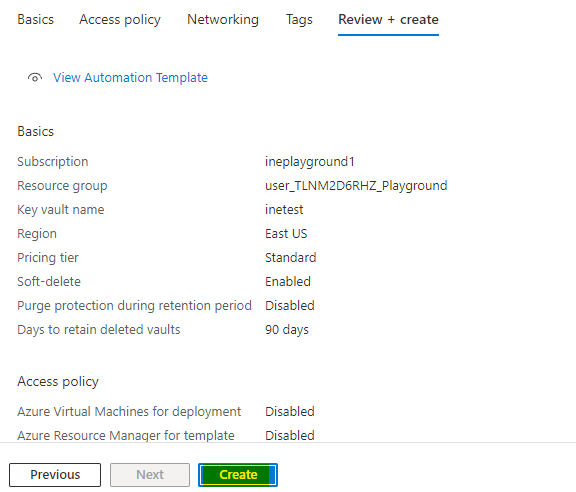
Now Azure will verify your configuration. Click on Create to create the key vault.
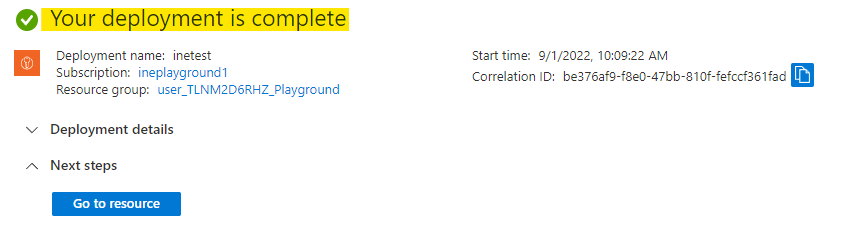
After some time you will see Your deployment is complete, it means everything is deployed correctly.
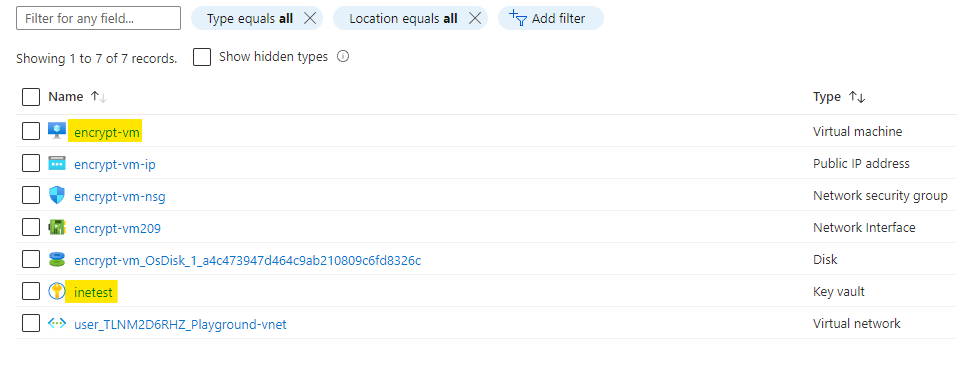
Go to the resource group and make a note of the name of virtual machine and key vault.
Open the powerhsell in your pc and execute the below command to login to the provided azure account.
Connect-AzAccount
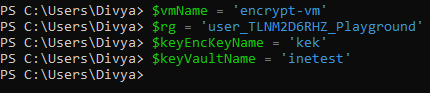
Now set some varialbes:
$vmName = 'Virtual_Machine_Name'
$rg = 'Resource_Group_Name'
$keyEncKeyName = 'kek'
$keyVaultName = 'Key_Vault_Name'
Set these variables according to your deployments.
Now fetch the details related to your key vault with below commands:
$keyVault = Get-AzKeyVault -VaultName $keyVaultName -ResourceGroupName $rg
$keyVaultResId = $keyVault.ResourceId
$diskEncKeyVaultURL = $keyVault.VaultUri
Now we will add on encryption key to our vault:
Add-AzKeyVaultKey -VaultName $keyVaultName -Name $keyEncKeyName -Destination 'Software'
$keyEncKeyURL = (Get-AzKeyVaultKey -VaultName $keyVaultName -Name $keyEncKeyName).Key.kid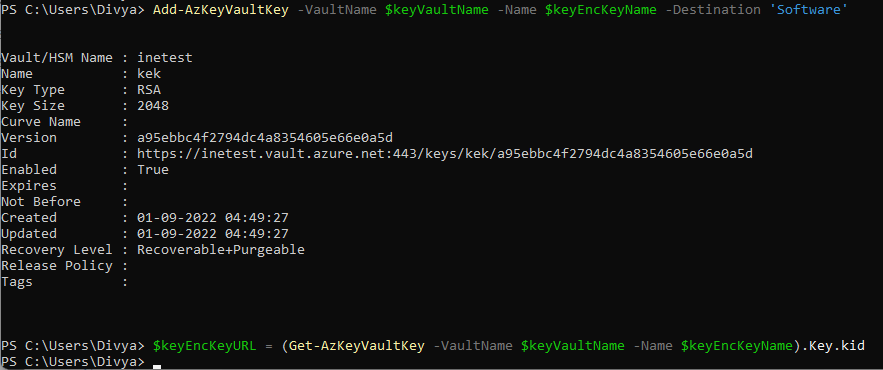
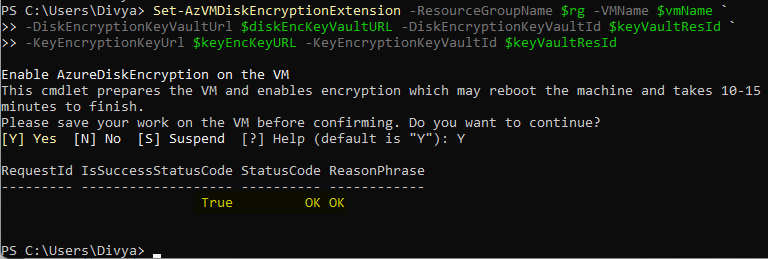
We have an encryption key, so encrypt the vm disk with this key using the below command:
Set-AzVMDiskEncryptionExtension -ResourceGroupName $rg -VMName $vmName `
-DiskEncryptionKeyVaultUrl $diskEncKeyVaultURL -DiskEncryptionKeyVaultId $keyVaultResId `
-KeyEncryptionKeyUrl $keyEncKeyURL -KeyEncryptionKeyVaultId $keyVaultResId
Command is very straightforward, we are encrypting the VM with the generated key of our key vault.
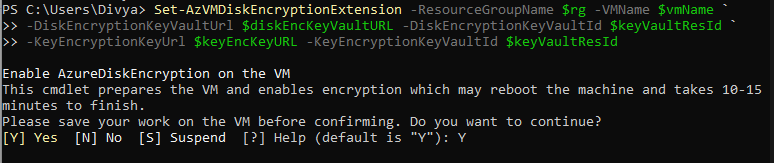
Type Y to continue the encryption process. It will take some time to encrypt. After the encryption is done, you will see an output like the below image.
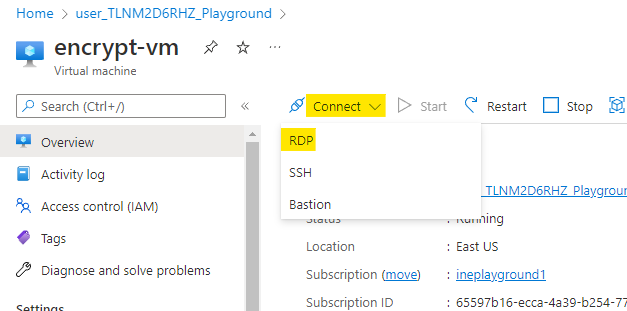
Go to your virtual machine and click on Connect. Choose the RDP option.
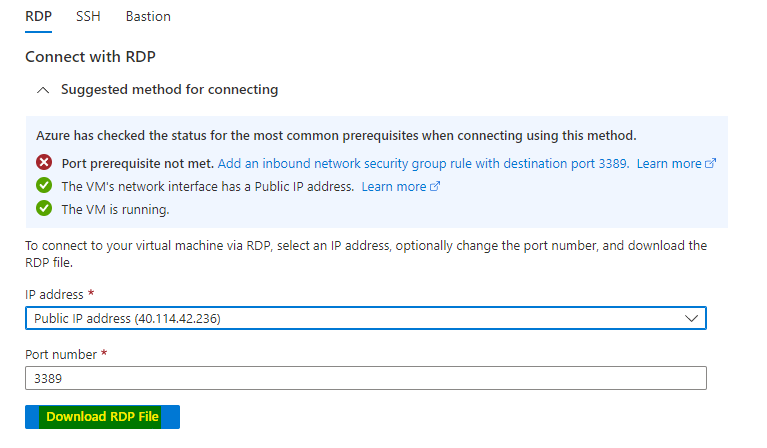
Click on Download RDP file, this will download a rdp file. Open the file with your rdp client.
Login to the virtual machine using username as student and the password you configured.

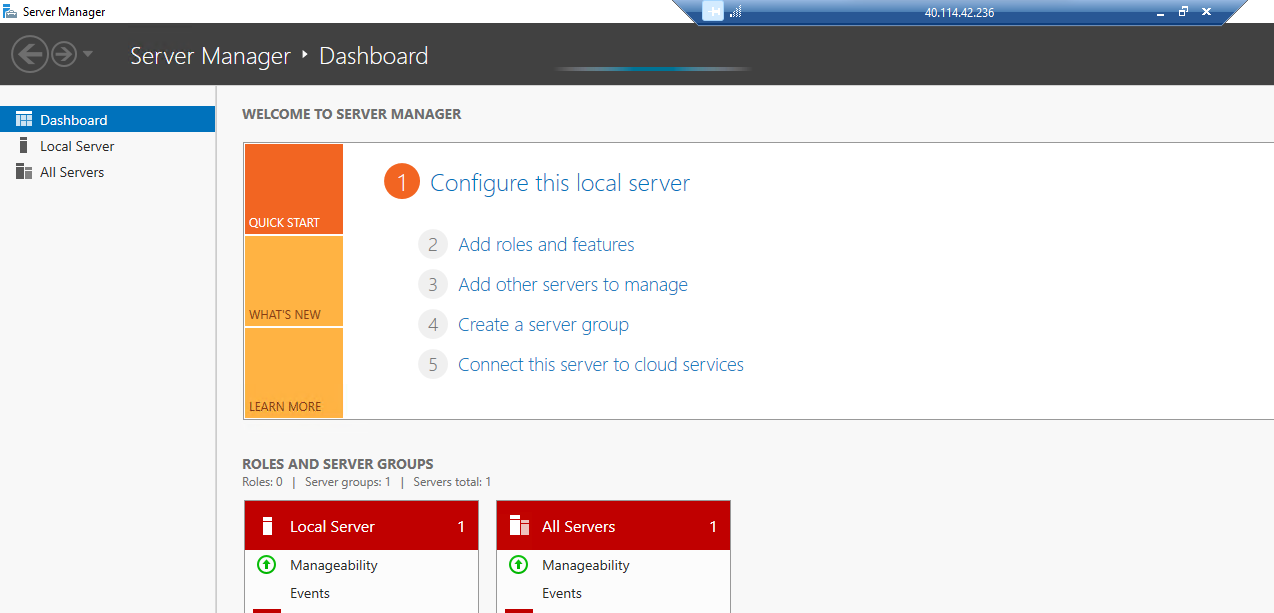
You will be connected to the windows server you created earlier.
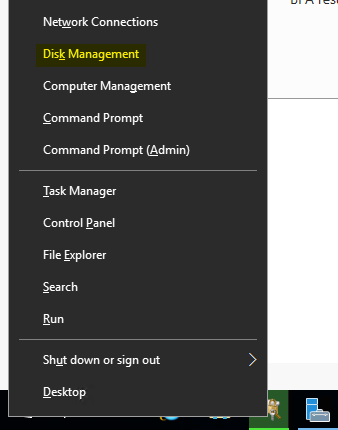
Right click on the windows icon and open the Disk Management application.
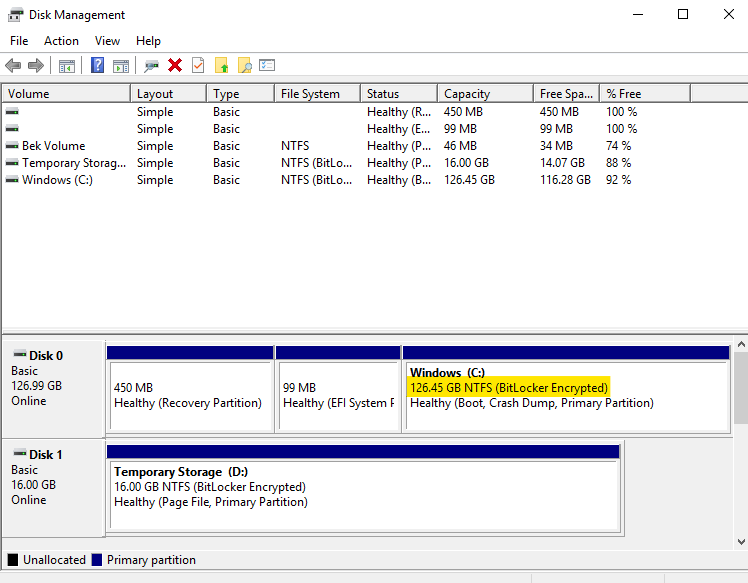
Here you can see that our disk is Bitlocker encrypted. This means that the encryption was successful.
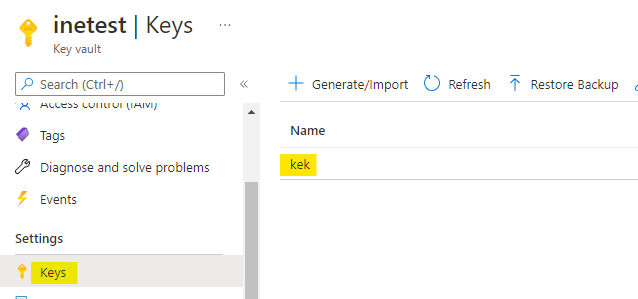
Close the RDP session and navigate to the keys in the key vault. You can see the kek encryption key we created from pewershell.
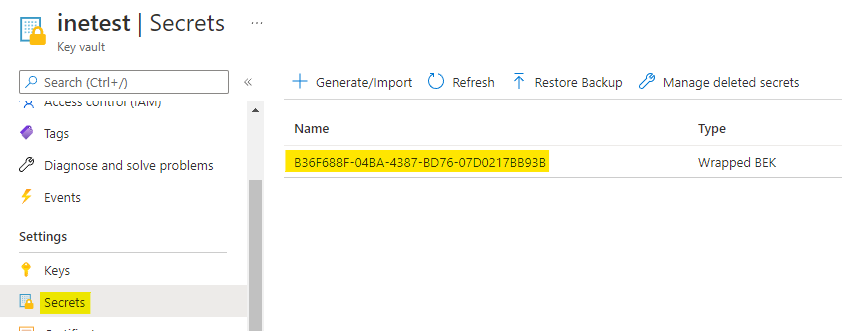
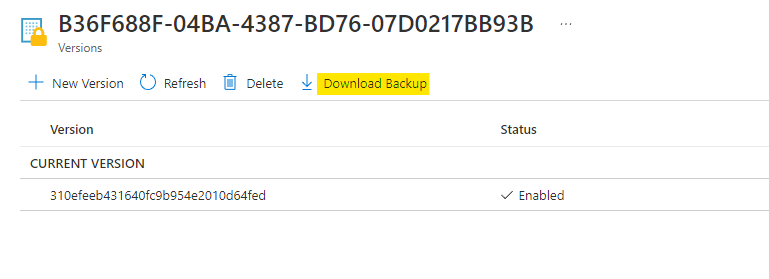
You can find out the disk encryption key in the secrets of the key vault. Open this secret.
Click on the Download Backup option as highlighted below.
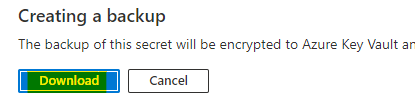
When you click on the Download button, it will download a secret backup file.
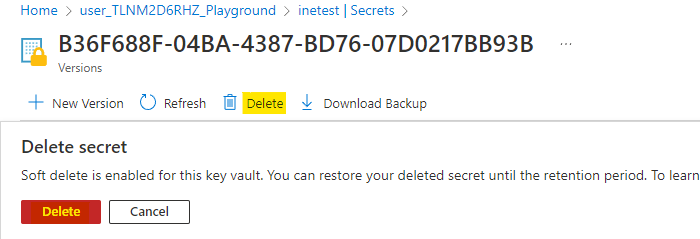
Now delete the secret by click on the Delete option as highlighted below.
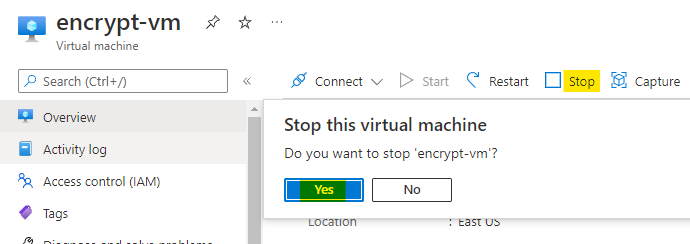
Navigate back to the virtual machine and click on Stop. Click on Yes to confirm.
It will take some time to stop the virtual machine.
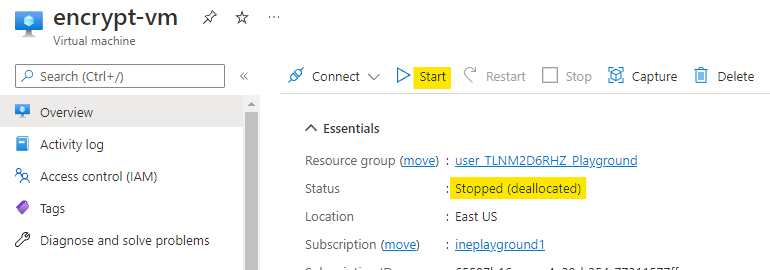
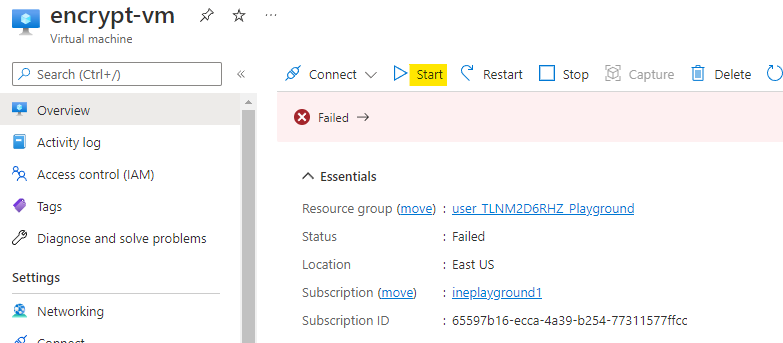
After the virtual machine is stopped, click on Start to boot up the virtual machine.
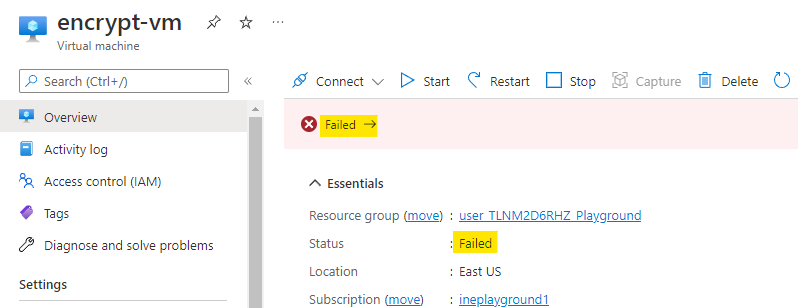
The start operation will be failed. Click on the Failed as highlighted below.
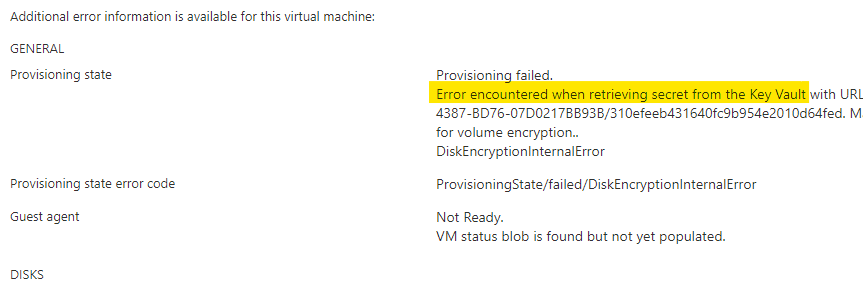
This will show you the error that it cannot retrieve the secret from key vault. This is because we have deleted the secret.
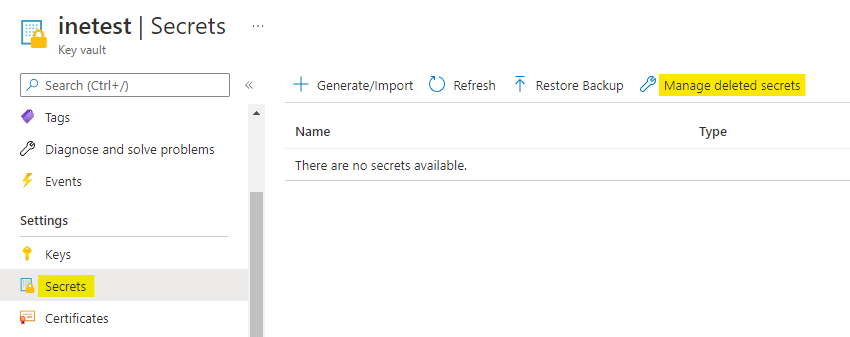
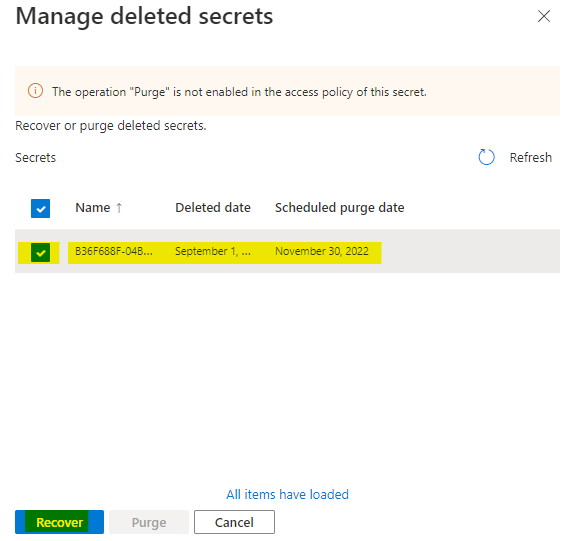
Go back to the secrets of the key vault. Click on Manage deleted secrets.
You will find your deleted secret. Select this secret and click on Recover to recover the restore the secret.
Note: The deleted secrets will purge after 3 months, but you can still recover the secret from the downloaded backup file.
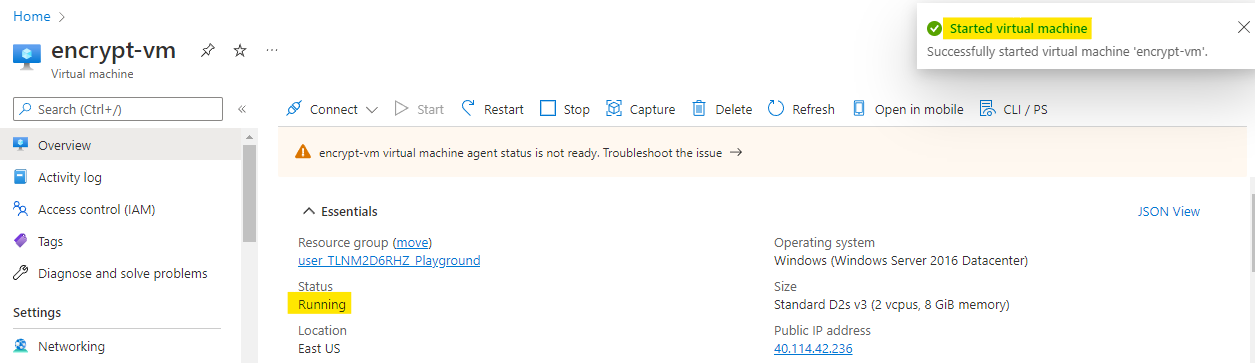
Go back to the virtual machine and now try to start it.
Note: It may take some time to recover the secret, so wait for few minutes before trying to start the virtual machine.
You will see that your virtual machine is started successfully.
This lab is now complete.