Provision web apps via the Azure portal, PowerShell, and an ARM template.
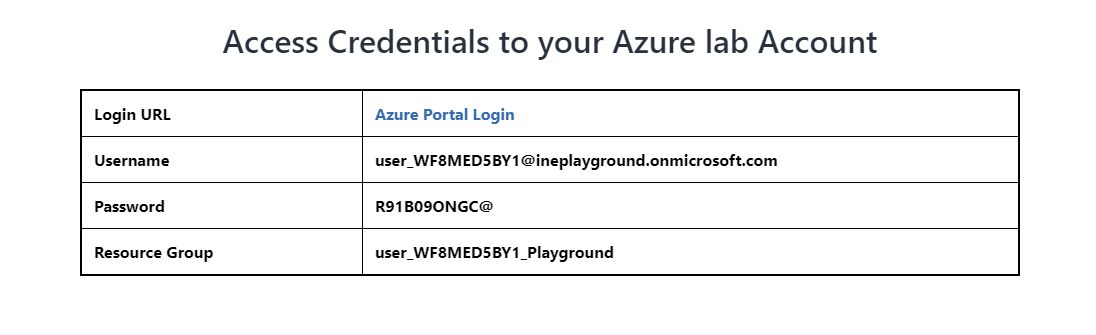
First of all login to your azure portal with the generated credentials. You have to accept the terms and click continue to generate the credentials.
Note: Your credentials will be different from the one shown in the figure.
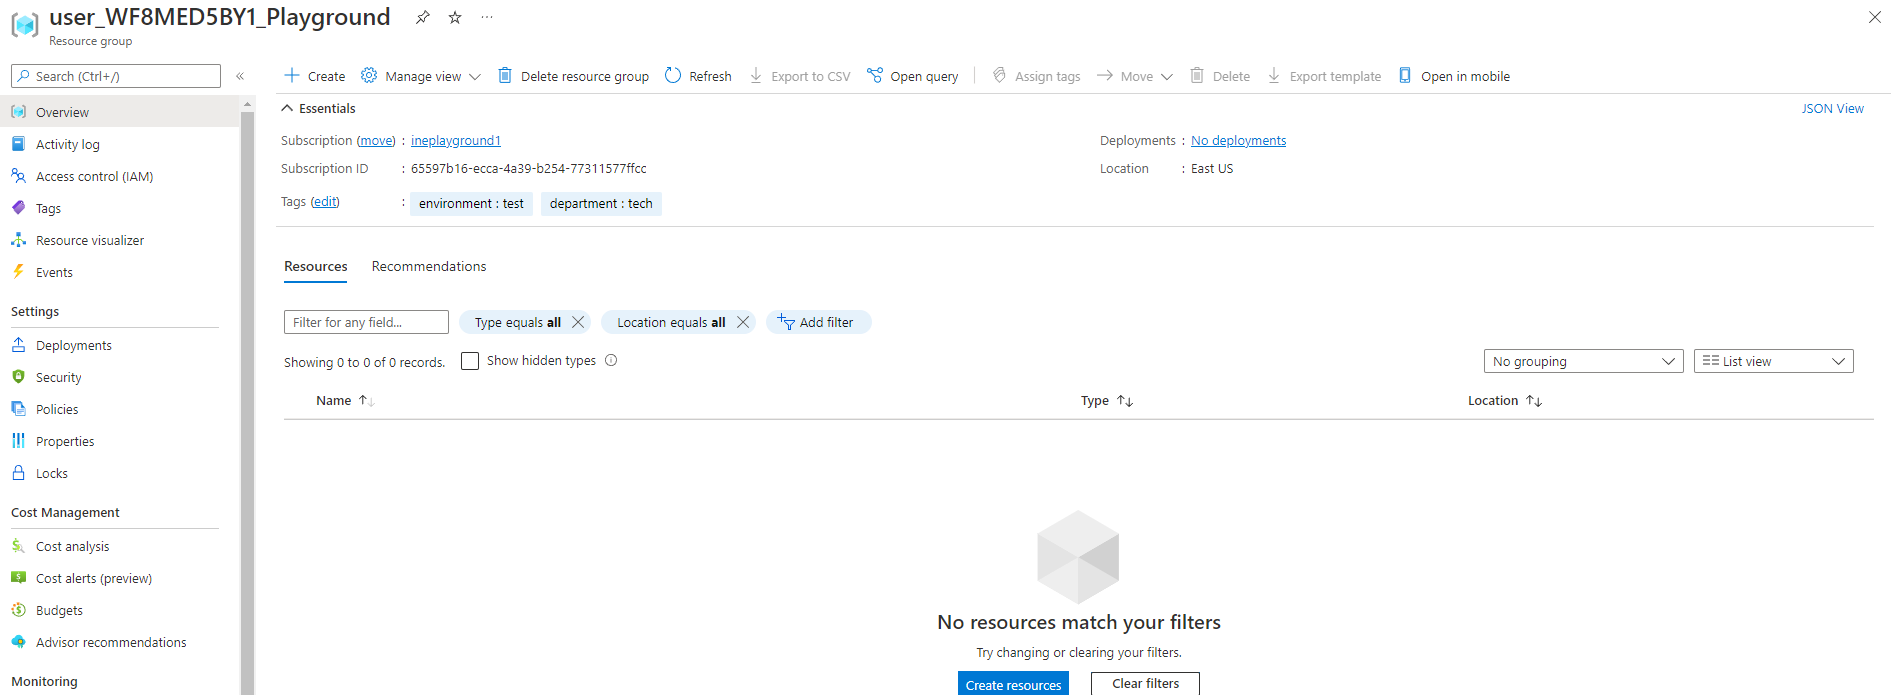
After logging in to portal using the credentials. You will see an empty resource group, where you can create some resources.
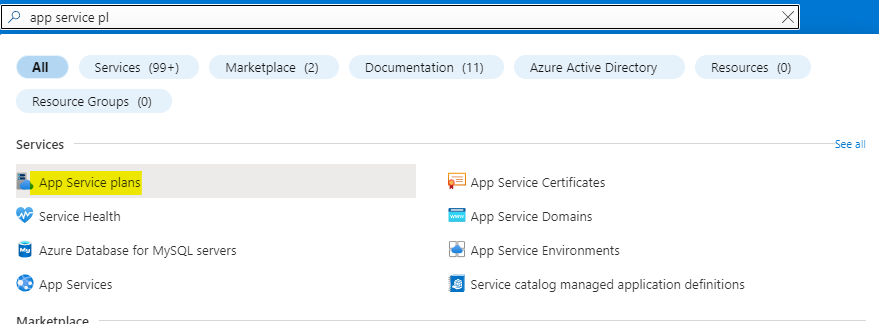
Search for app service plan and click on App Service plans as highlighted below.
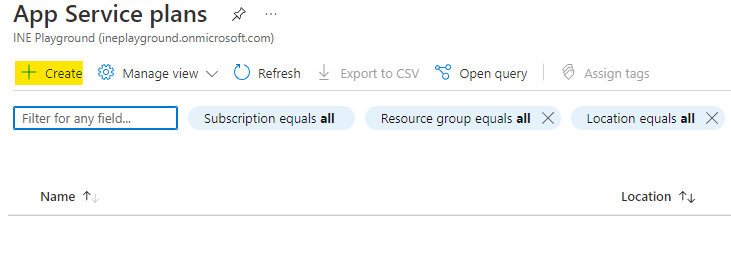
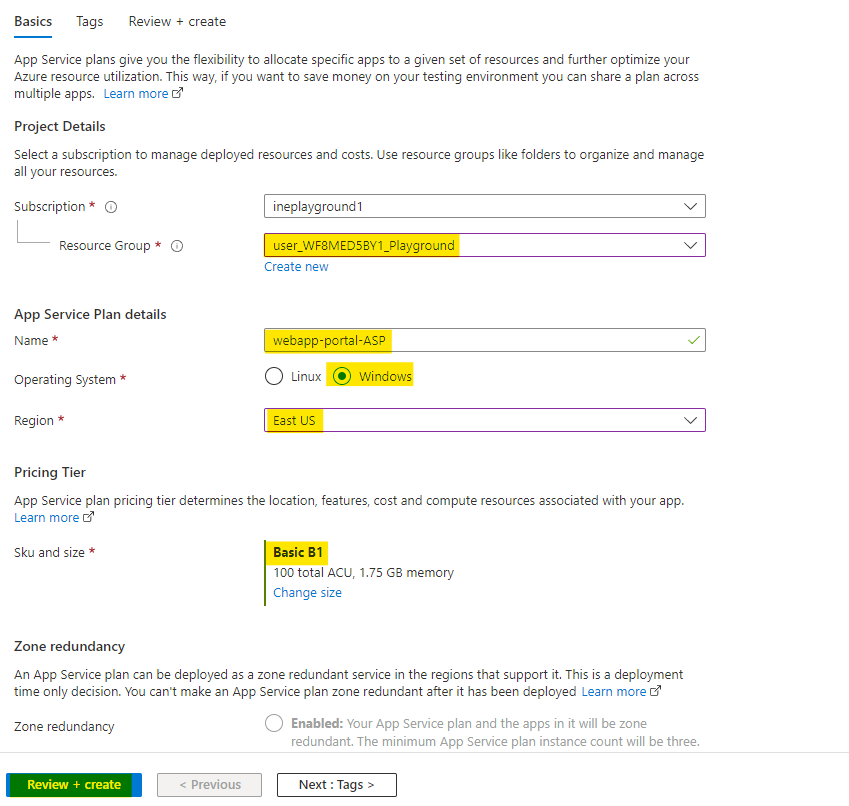
Click on Create to create new app service plan.
Click on Review+Create to create the service plan.
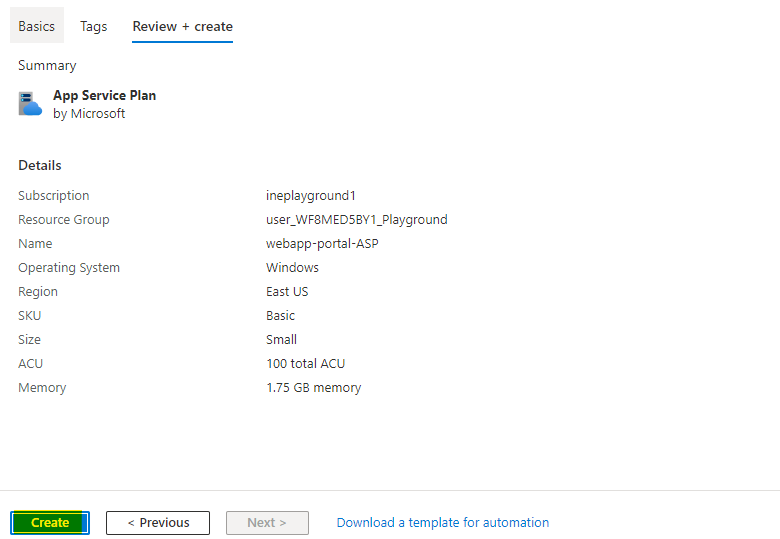
Now Azure will verify your deployment. Click on Create to create the app service plan.
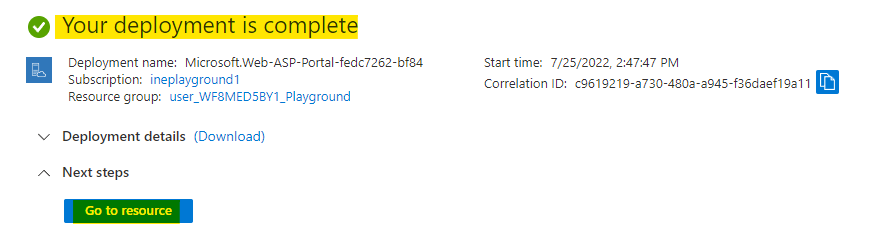
After few minutes you will see Your deployment is complete, it means everything is deployed correctly.
You can click on Go to resource to go and check the resources you just deployed.
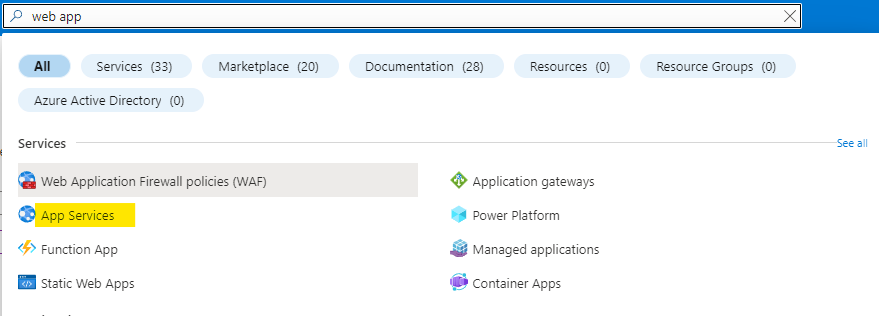
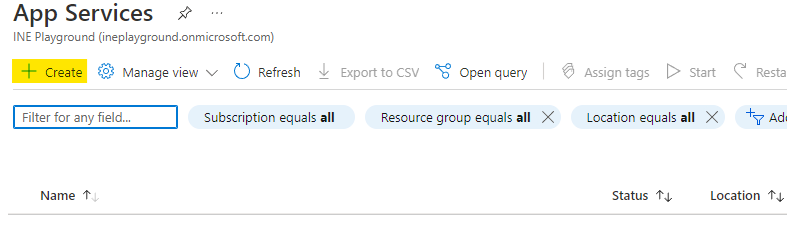
Search for web app and click on App Services as highlighted below.
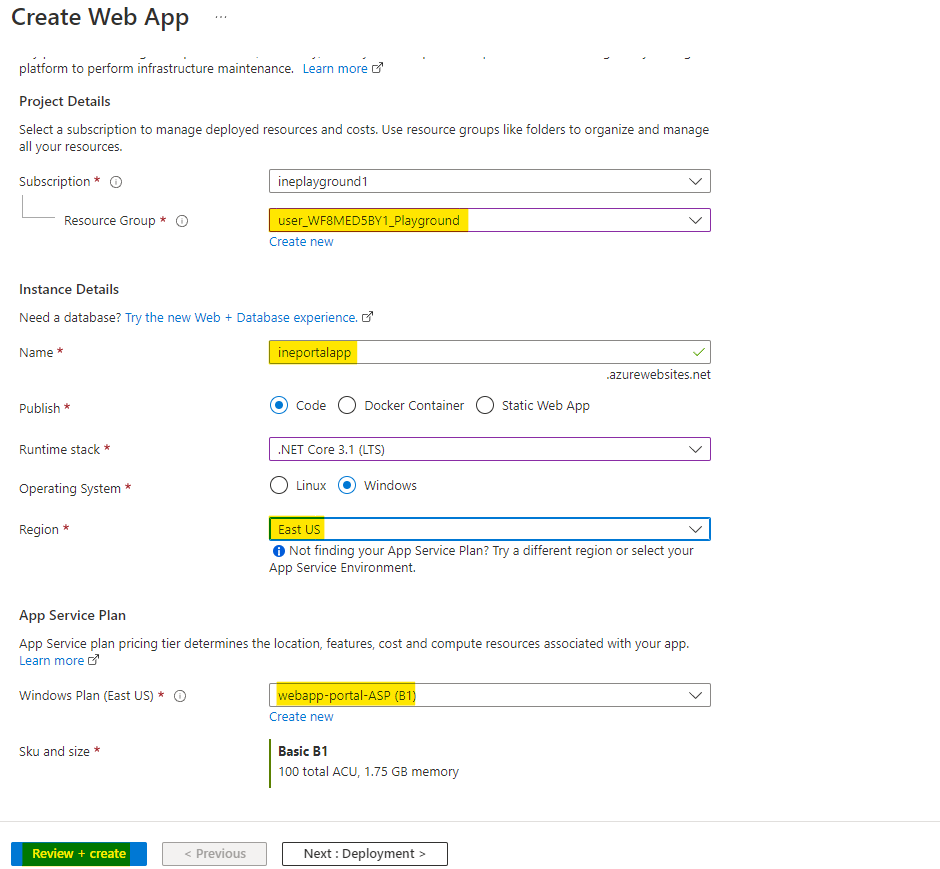
Click on Create to create new web app.
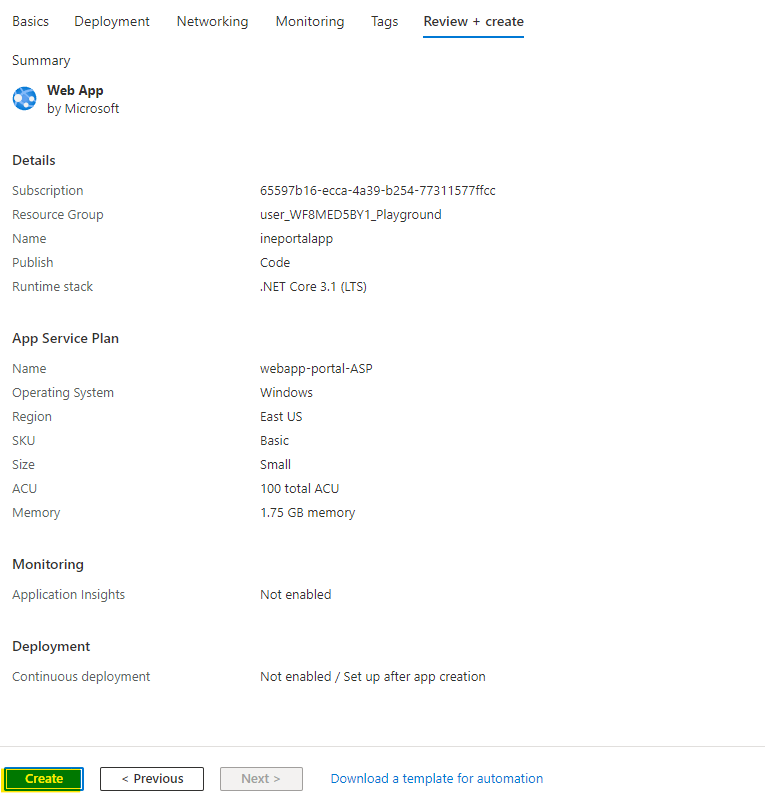
Click on Review+Create to create the web app.
Now Azure will verify your deployment. Click on Create to create the app service plan.
After few minutes you will see Your deployment is complete, it means everything is deployed correctly.
You can click on Go to resource to go and check the resources you just deployed.
Open your powershell or powershell environment of the cloud shell.
If you are using the powershell from your computer connect it with your account using the below command.
Connect-AzAccountNo need to connect when using cloudshell.
Use the below command to create a service plan.
New-AzAppServicePlan -Location EastUS -Tier "Basic" -NumberofWorkers 1 -WorkerSize Small -ResourceGroupName user_WF8MED5BY1_Playground -Name webapp-ps-ASP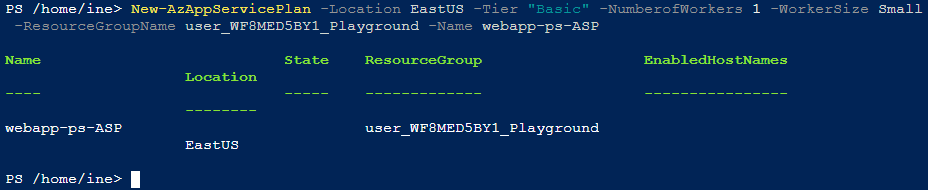
Now execute the below command to create the web app
New-AzWebApp -ResourceGroupName user_WF8MED5BY1_Playground -Name inepswebapp -Location EastUs -AppServicePlan webapp-ps-ASP 
Web app is now deployed
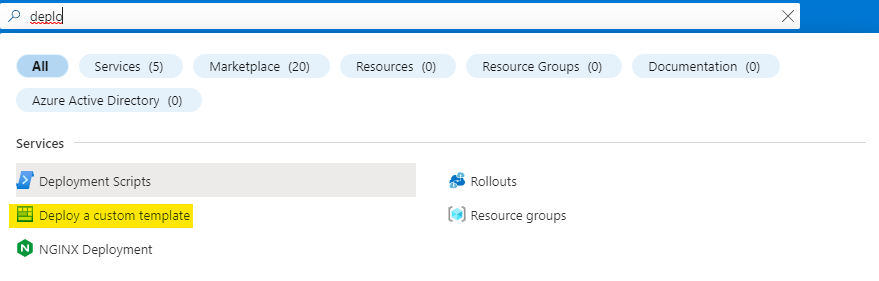
Search for Deploy and click on Deploy a custom template as highlighted below.
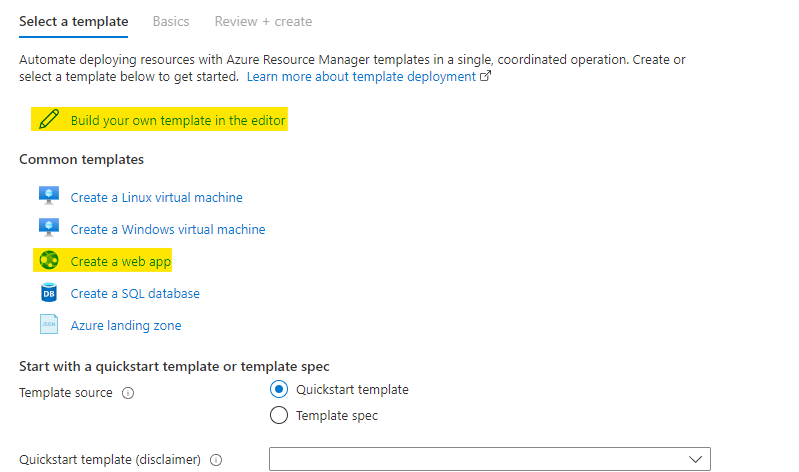
Click on the Build your own template in the editor to start creating your own template.
You can also use the common template for the web app.
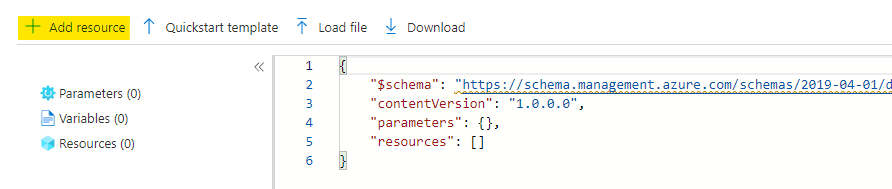
Now you are at the editor, click on Add resource to add resources to your template.
Select the resource as web app.
Click on OK to add the resources to your ARM template.

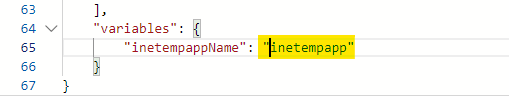
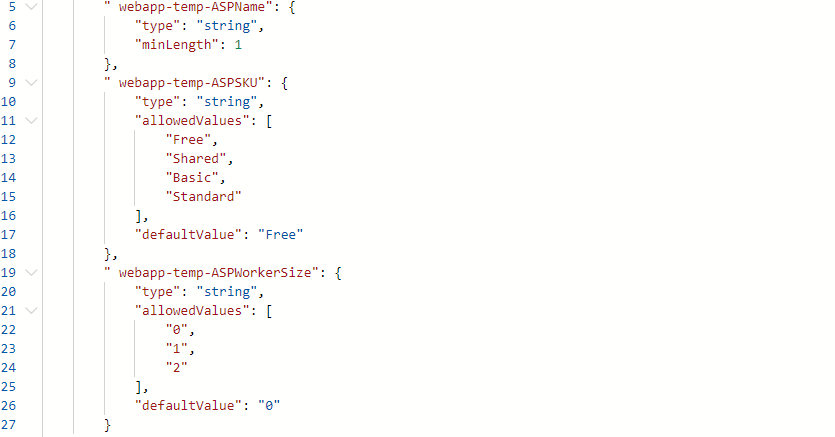
Scroll down to the variables, ARM script is adding some unique string for your web app name.

You can change it to a name of your choice. But the name should be unique.
You can check all the parameters and make changes if you need to.
Click on Save to start the deployment from ARM script.
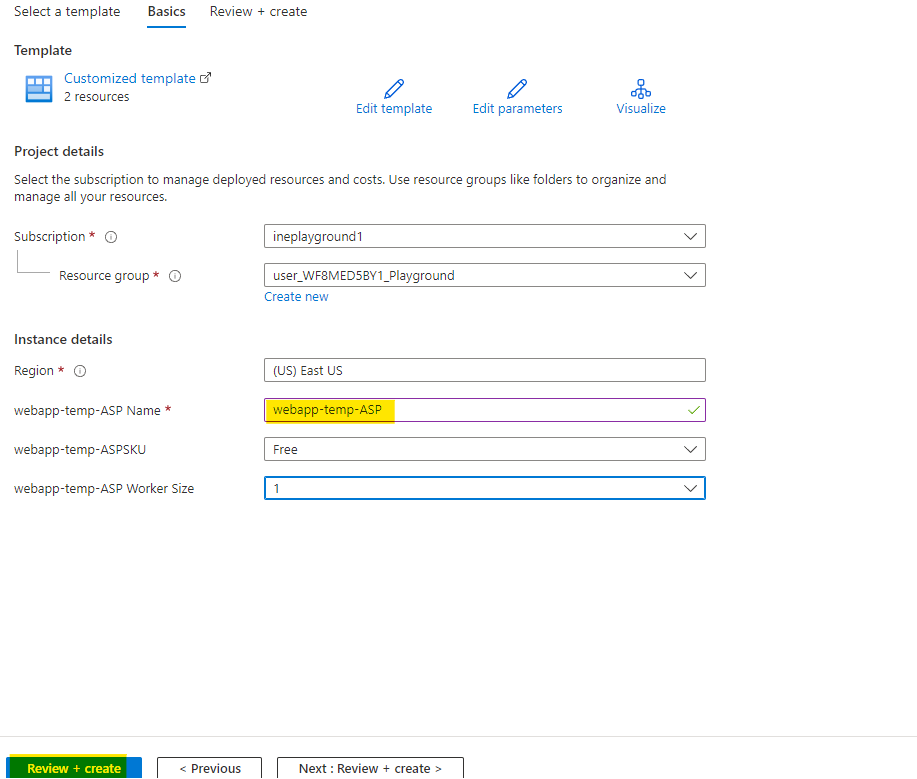
Give a unique name for the app service plan.
Click on Review+Create to create the web app.
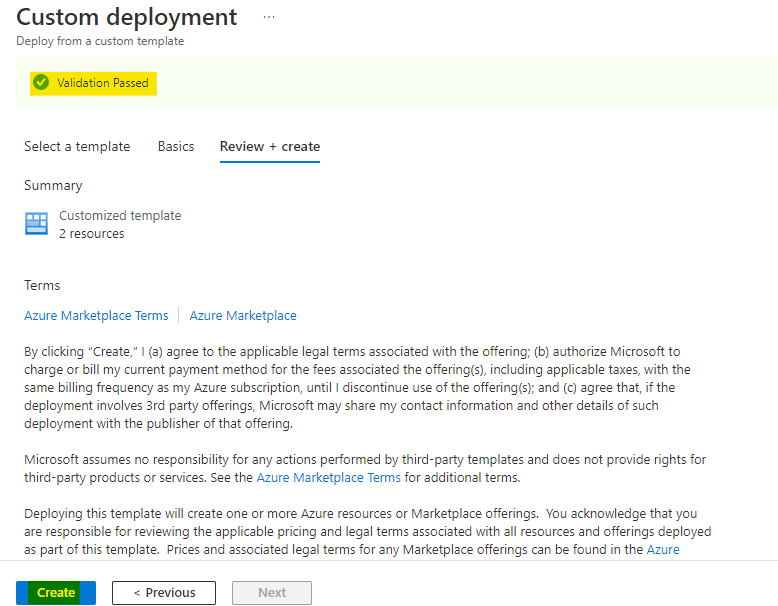
Now Azure will verify your template. After sometime you will see Validation Passed that means everything is fine. Click on Create to create the resources.
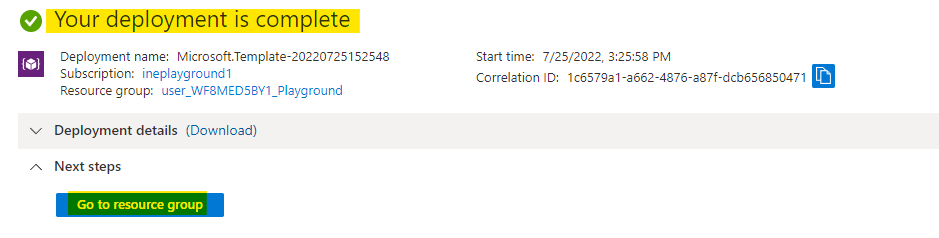
After few minutes you will see Your deployment is complete, it means everything is deployed correctly.
You can click on Go to resource group to go and check the resources you just deployed.
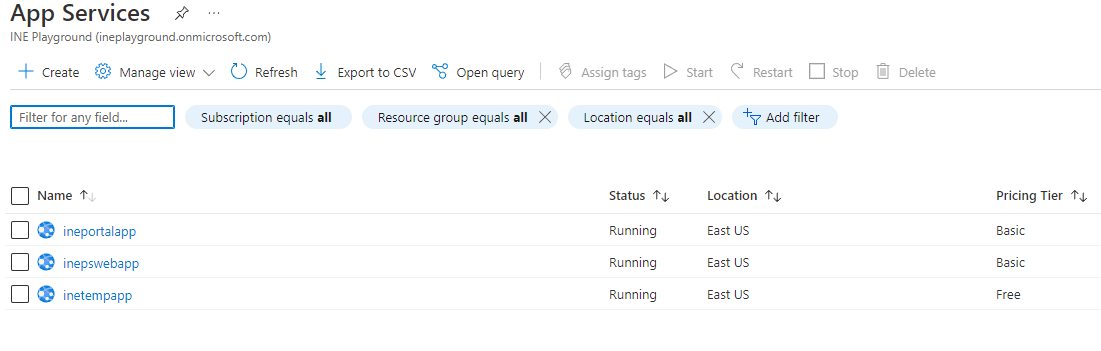
Now go back to app services and you can check all three web apps are now deployed.
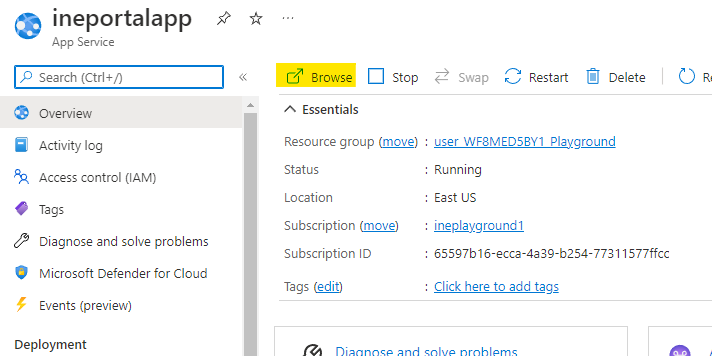
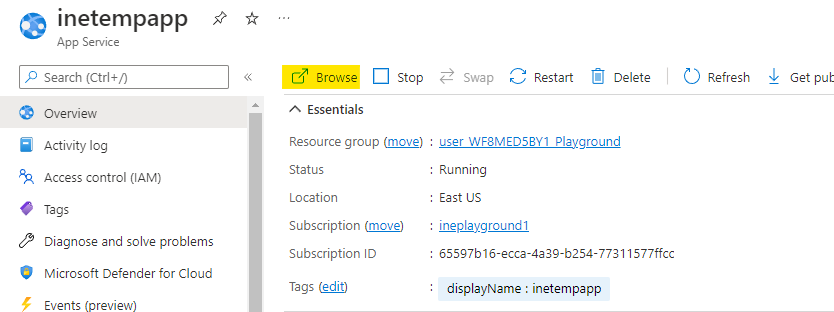
Open the app created from portal.
Click on Browse to open the web app in new tab.
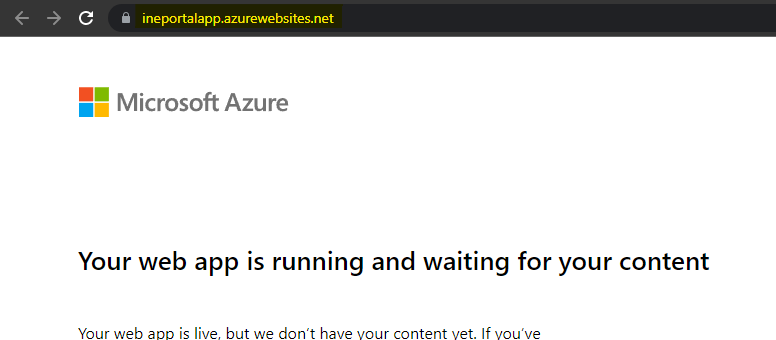
You can see our web app is deployed.
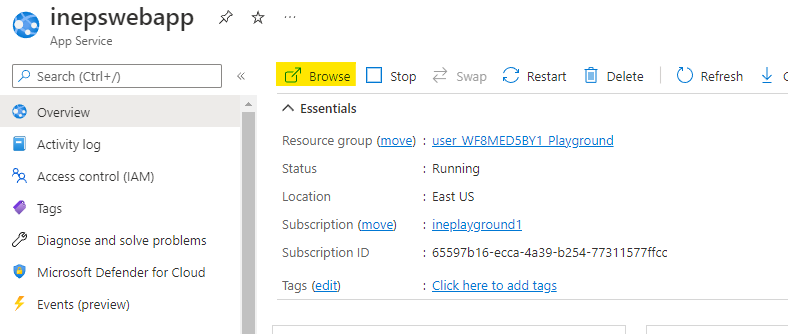
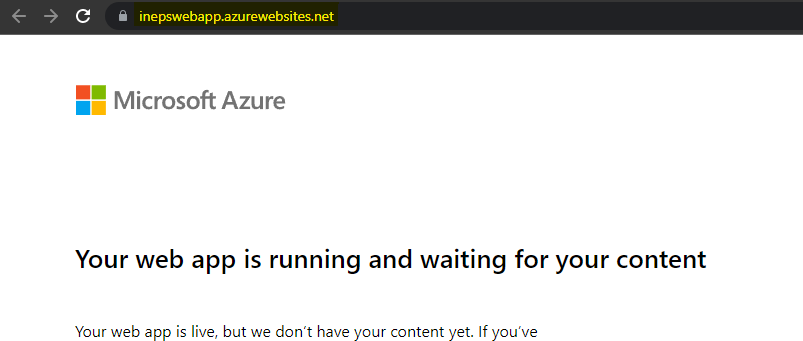
Open the app created from powershell.
Click on Browse to open the web app in new tab.
You can see our web app is deployed.
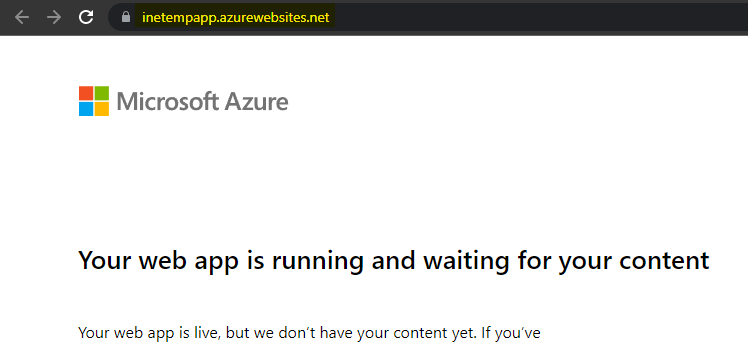
Open the app created from ARM script.
Click on Browse to open the web app in new tab.
This web app is also deployed.
This lab is now complete.