The goal of this task is to provision three virtual networks using the Azure portal, Azure PowerShell, and the Azure CLI.
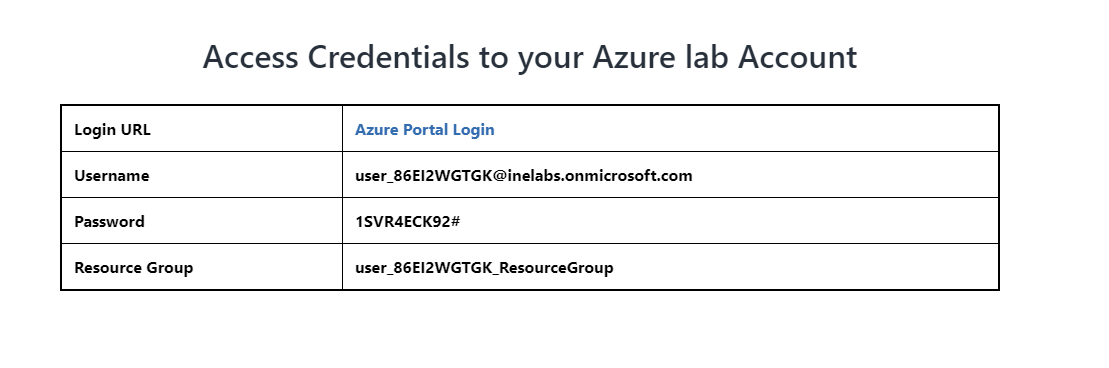
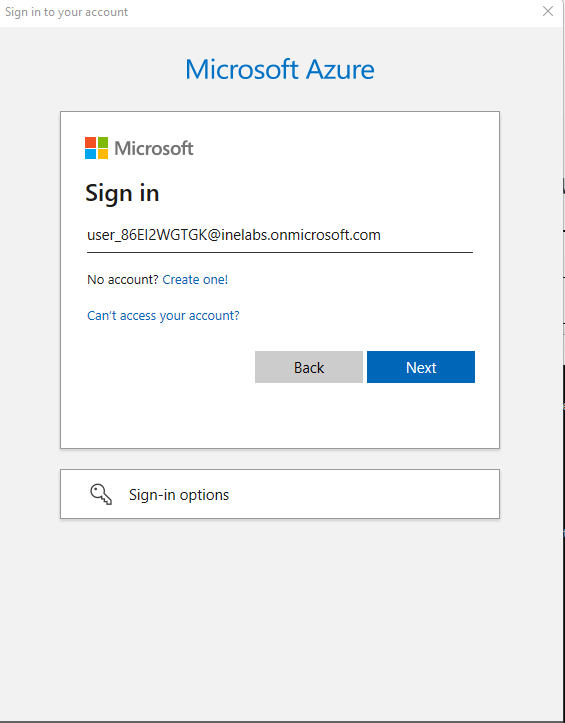
First of all login to your azure portal with the generated credentials. You have to accept the terms and click continue to generate the credentials.
Note: Your credentials will be different from the one shown in the figure.
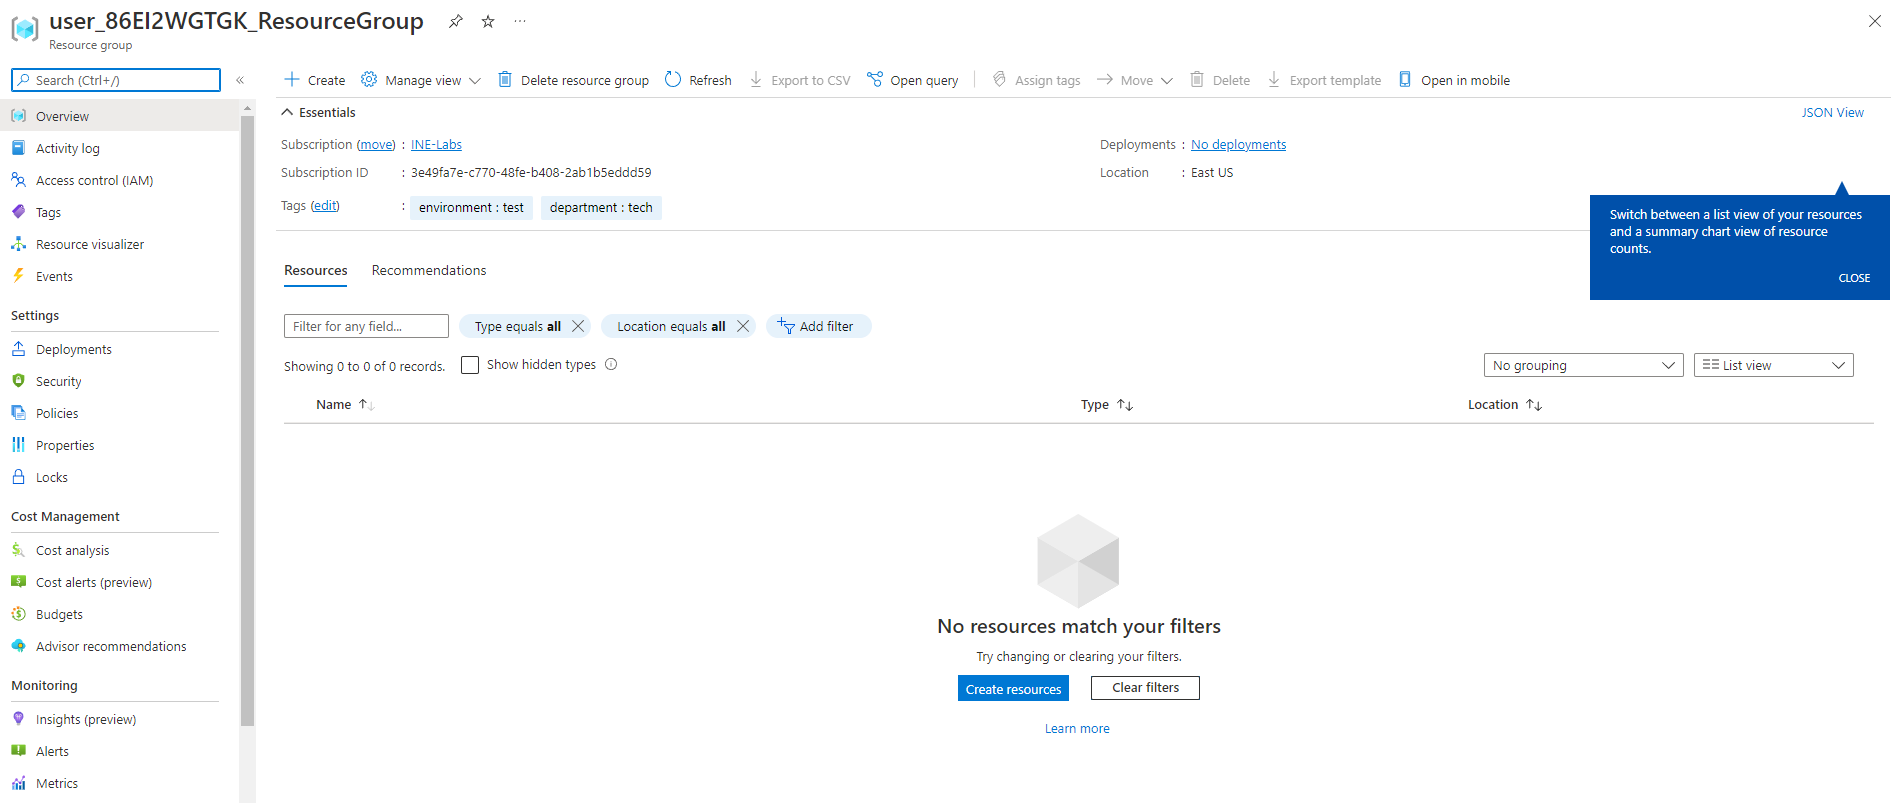
After logging in to portal using the credentials. You will see a empty resource group where you can create some resources.
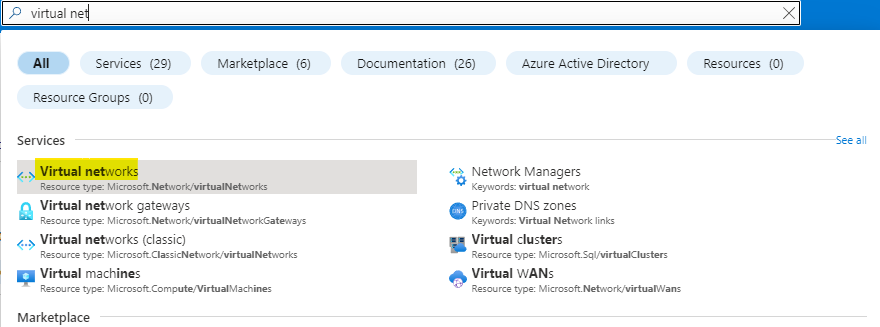
Search for Virtual networks and click on Virtual networks as highlighted below.
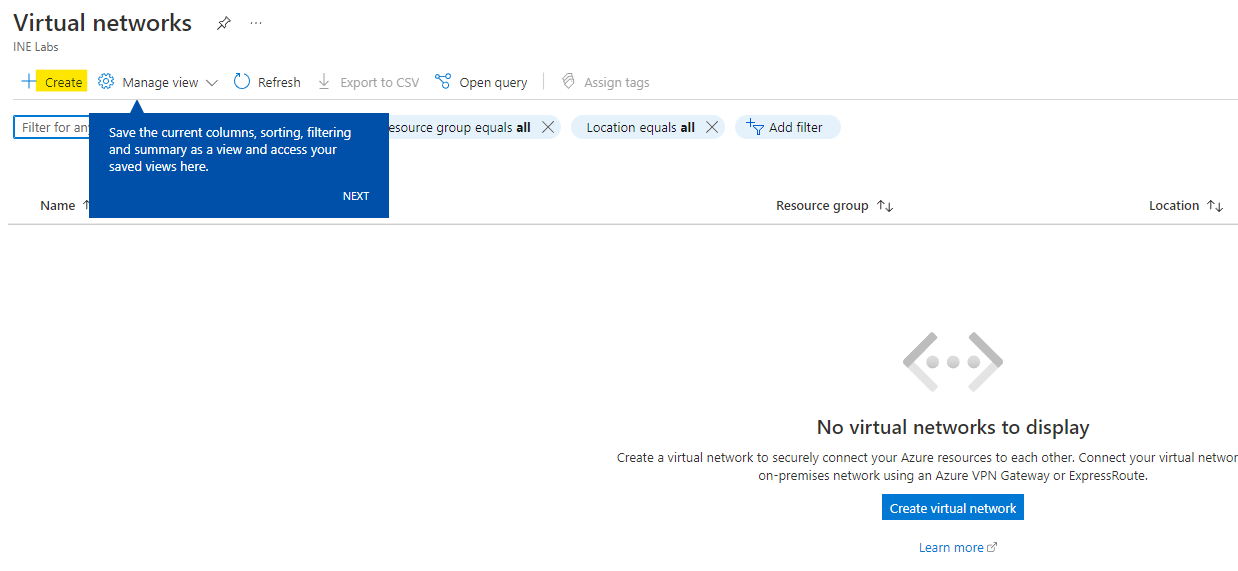
Here you see there are no virtual networks. Click on Create
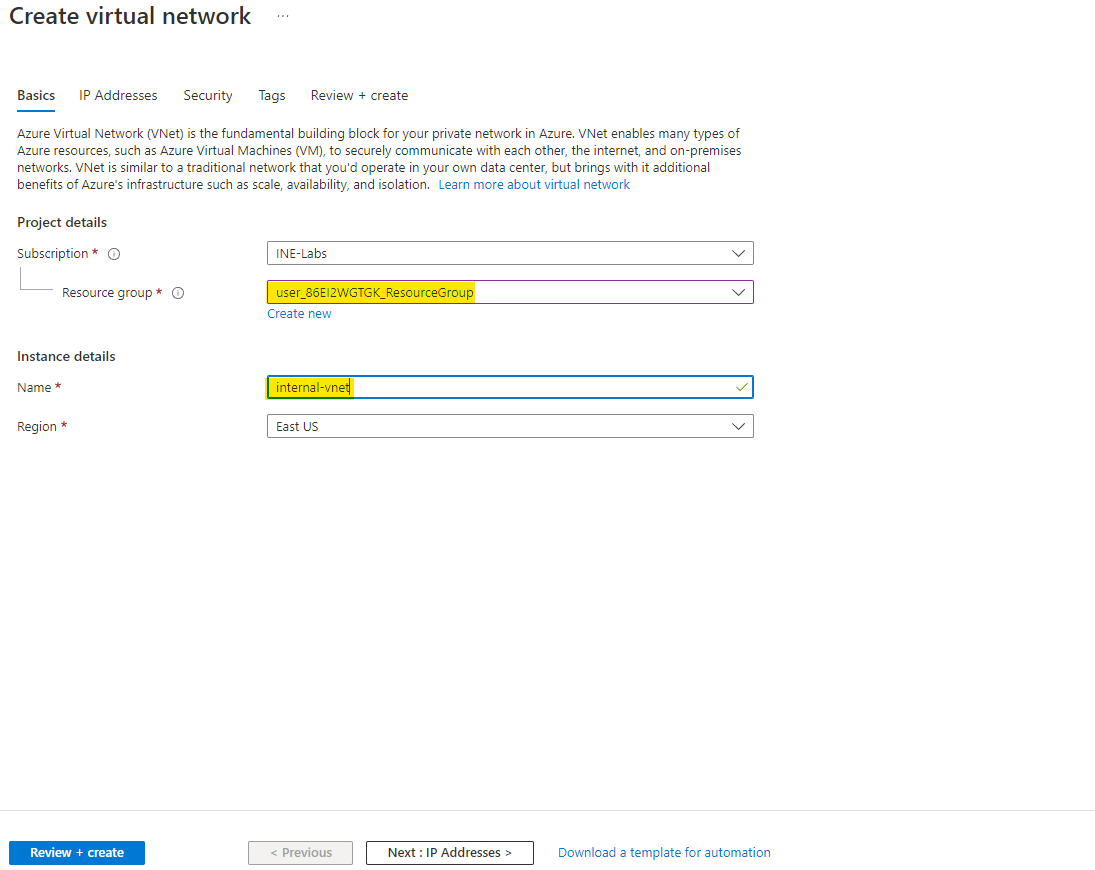
Use the resource group which is assigned to you and give it name as internal-vnet
After that click on Next
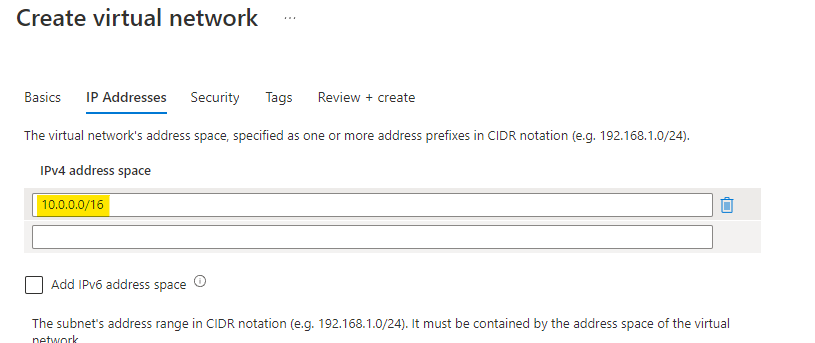
Here use the address space as highlighted below which is 10.0.0.0/16
Click on the default subnet and you can edit the subnet.
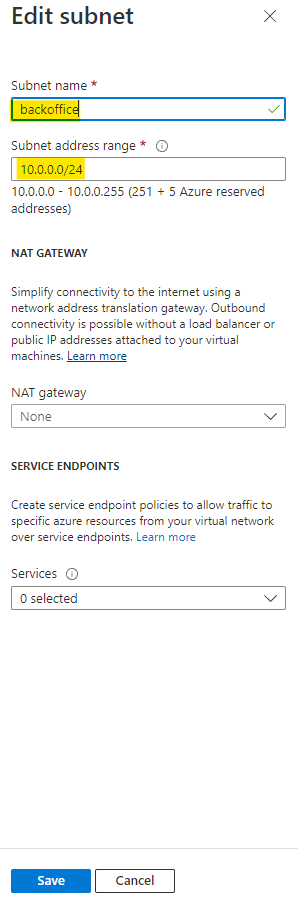
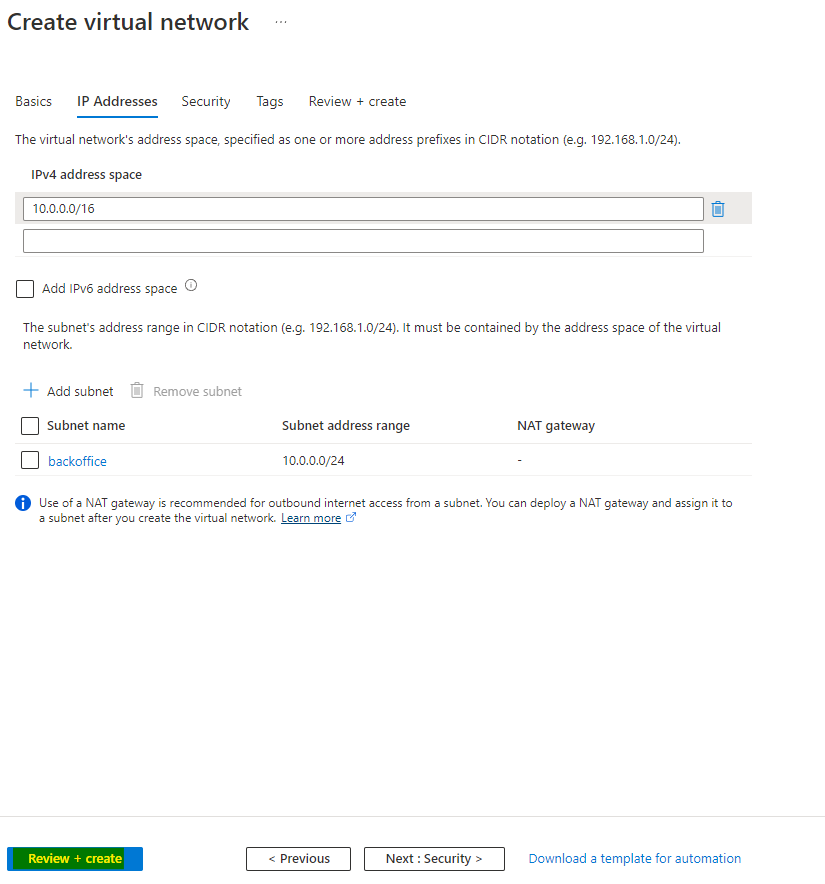
Now you can see the Address space and Subnet configured.
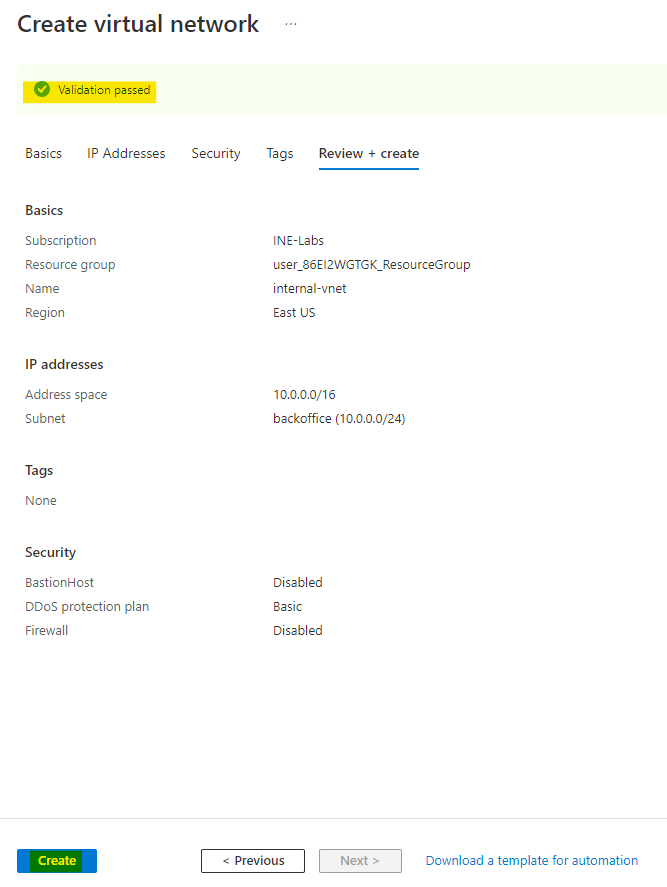
Click on Review+create
Azure will now validate the configuration done by you.
After few seconds you can see that Validation passed and now you can click on create to provision the subnet.
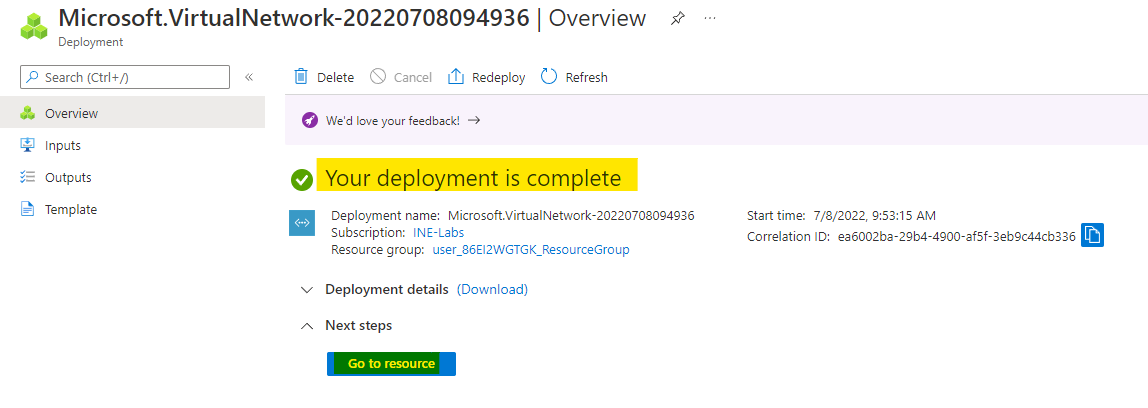
After some time the deployment will be done and You will see something like the below image.
You can click on Go to resource
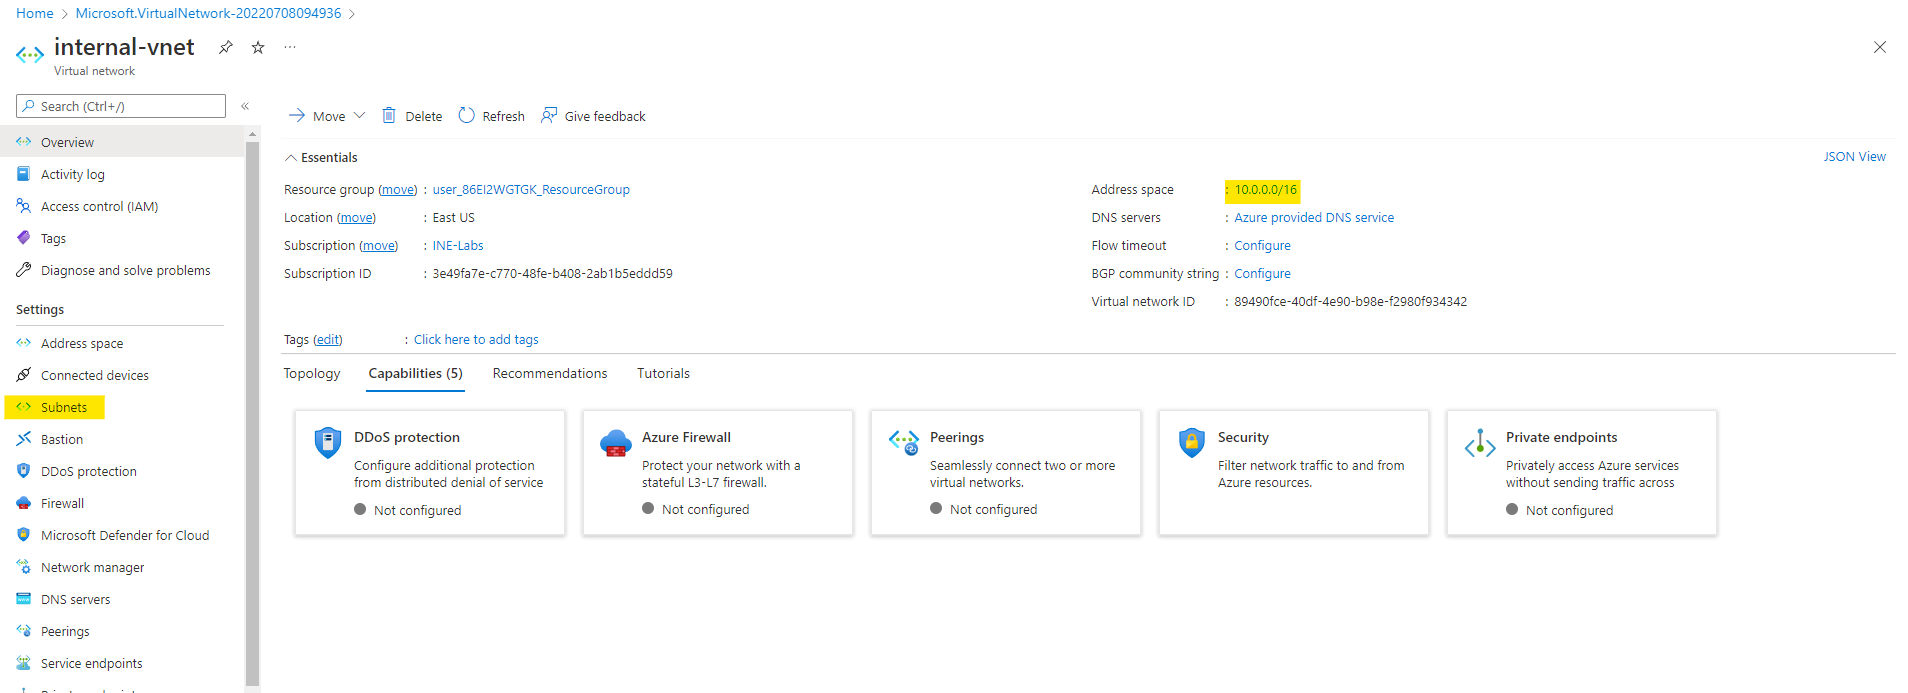
Here you can see the address space for our vnet. You can click on subnets to check the subnets also.
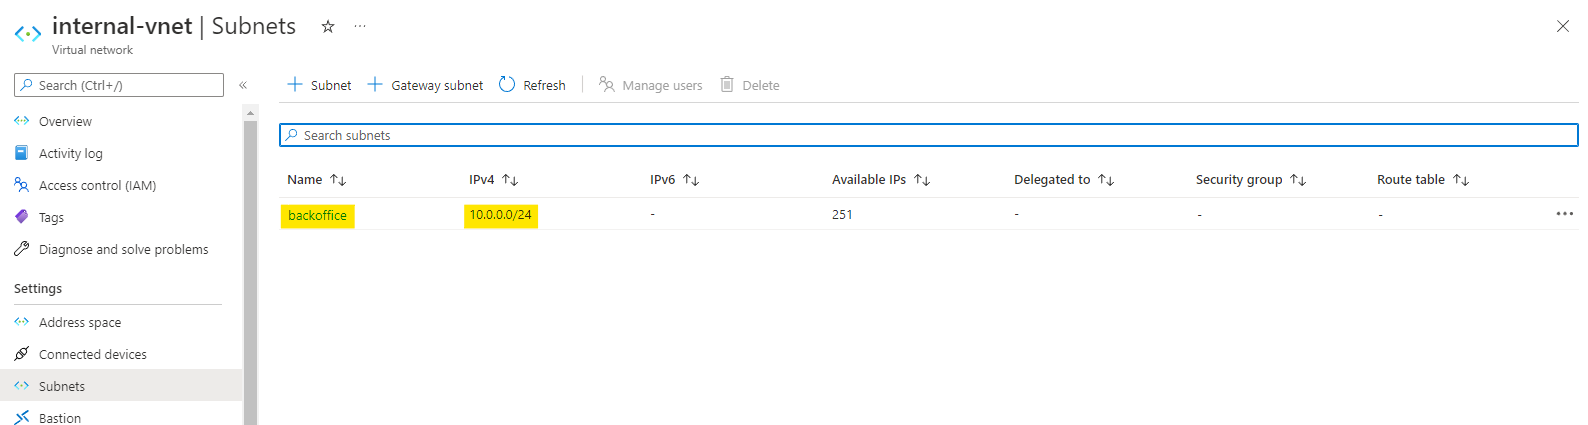
You will see the subnet is also configured correctly.
For this start your powershell with admin permissions.
Run a command
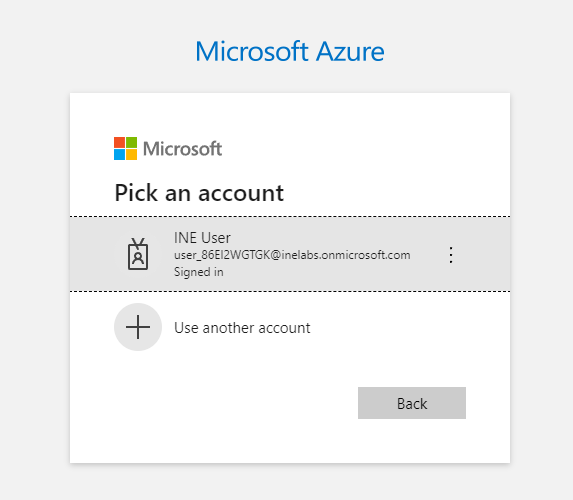
Connect-AzAccountA login window will now open to you.
Use the given email id and password to login.
After logging in you will something like the below image.

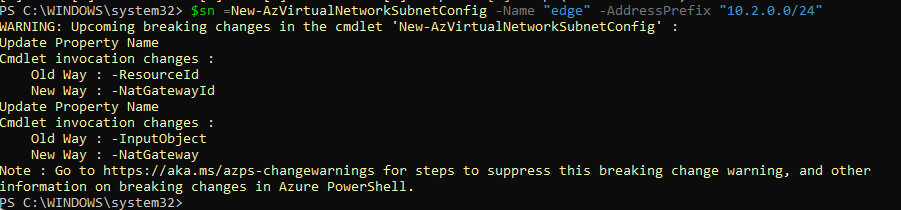
Now execute the below command in your powershell.
$sn =New-AzVirtualNetworkSubnetConfig -Name "edge" -AddressPrefix "10.2.0.0/24"This will create a subnet config which you can use while creating the vnet.
After creating a subnet, create a vnet with the below command.
$vnet = New-AzVirtualNetwork -name "public-vnet" -ResourceGroupName user_86EI2WGTGK_ResourceGroup -Location EastUS -AddressPrefix "10.2.0.0/16" -Subnet $sn
After the command is done executing you can go to azure portal and check for the vnet just created now.
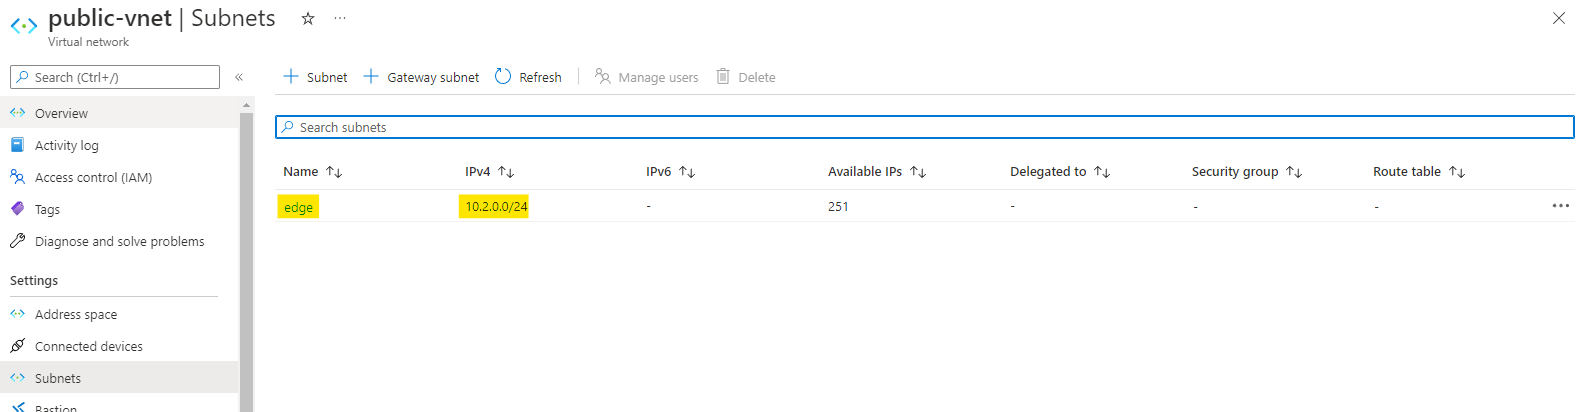
You will see that the public-vnet is created. It is having the address space we specified earlier.
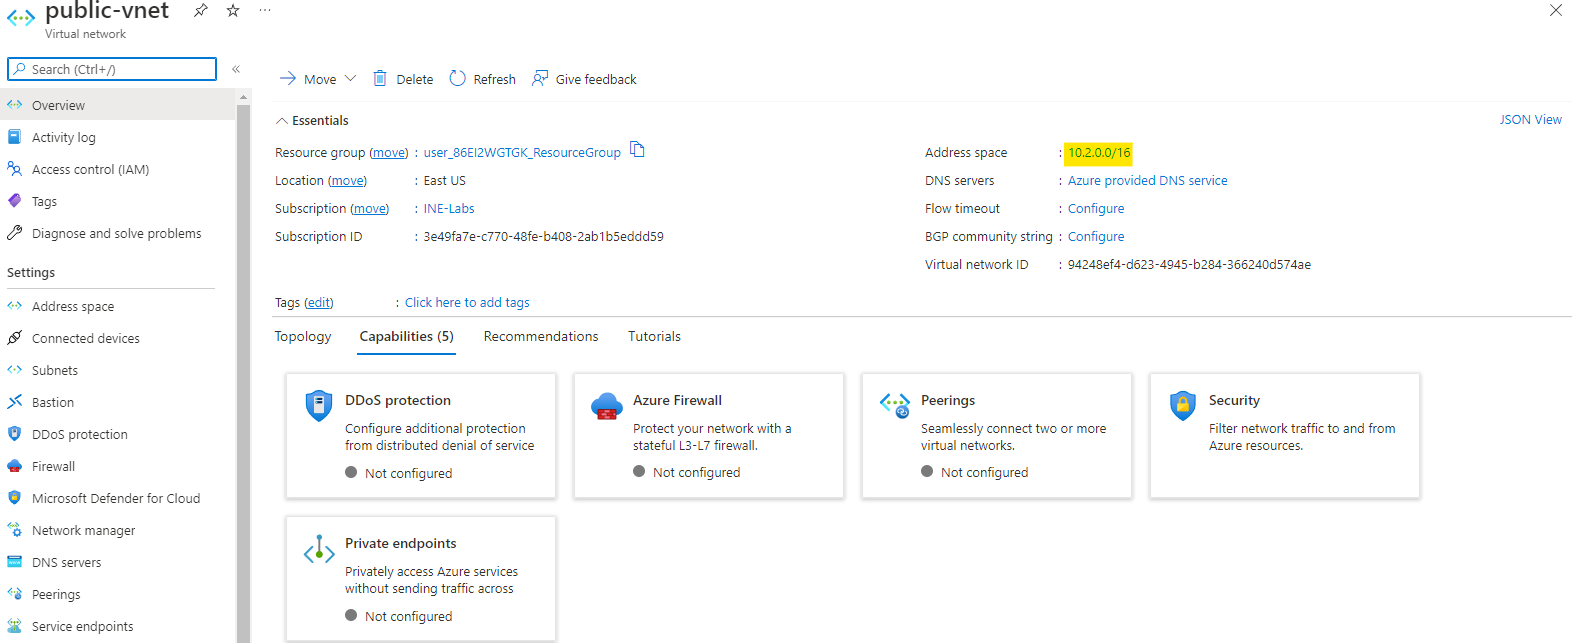
You can also verify the subnet configured to it is the right one.
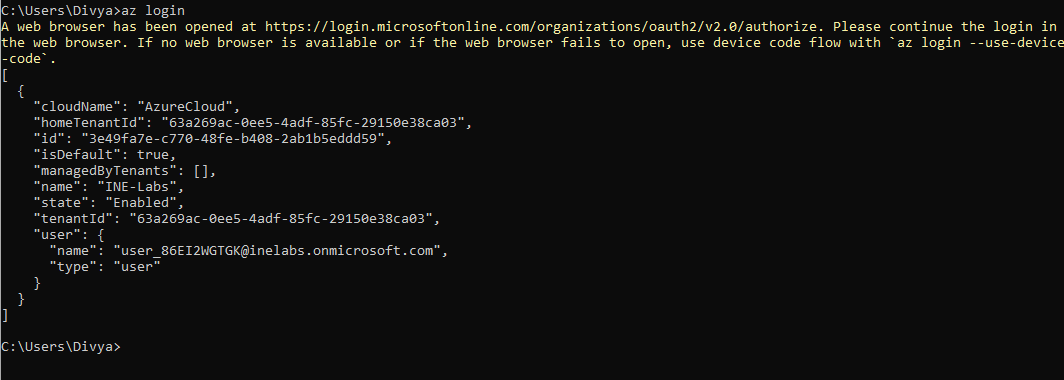
For this go to cmd or terminal and execute the below command to login to your azure account.
az loginA new tab will open up in your browser to login to your azure account.
After logging in you can see the output as the image below.
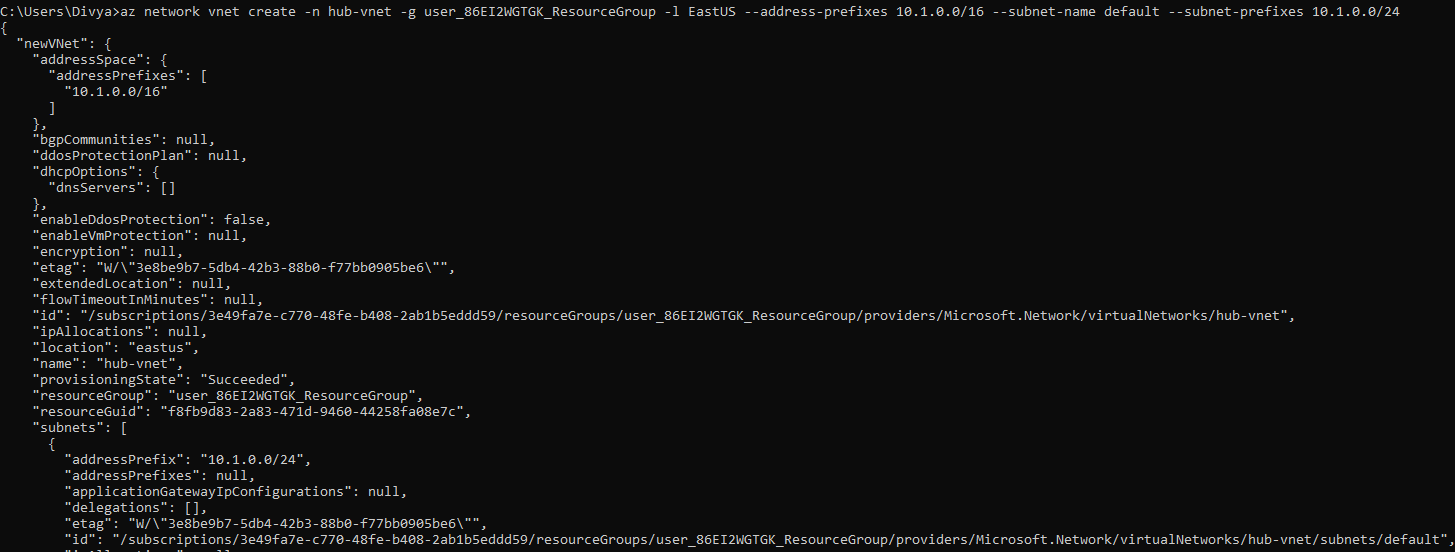
Now use the below command to create a vnet.
az network vnet create -n hub-vnet -g user_86EI2WGTGK_ResourceGroup -l EastUS --address-prefixes 10.1.0.0/16 --subnet-name default --subnet-prefixes 10.1.0.0/24You will see the output for the command as the image below
We have to assign one more subnet to this vnet.
For that execute the below command
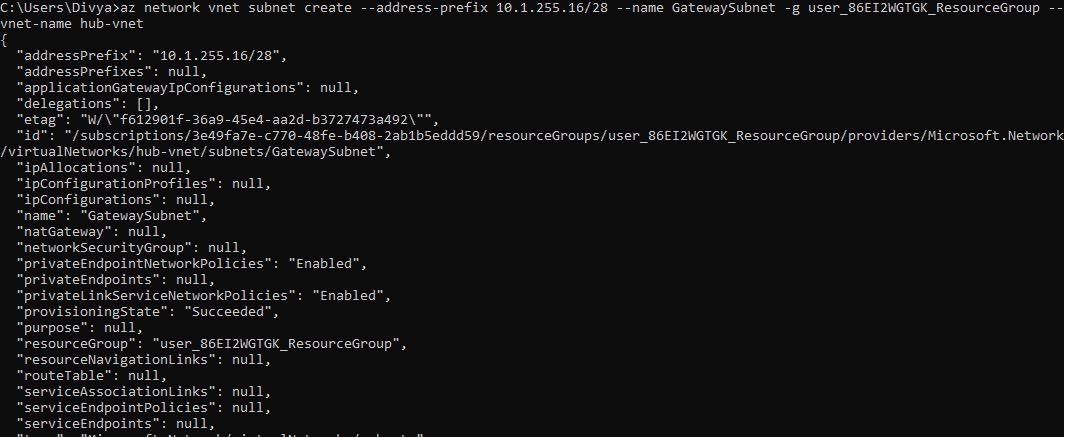
az network vnet subnet create --address-prefix 10.1.255.16/28 --name GatewaySubnet -g user_86EI2WGTGK_ResourceGroup --vnet-name hub-vnetWe are creating a subnet with below config
You will see the output ofthe command as below image
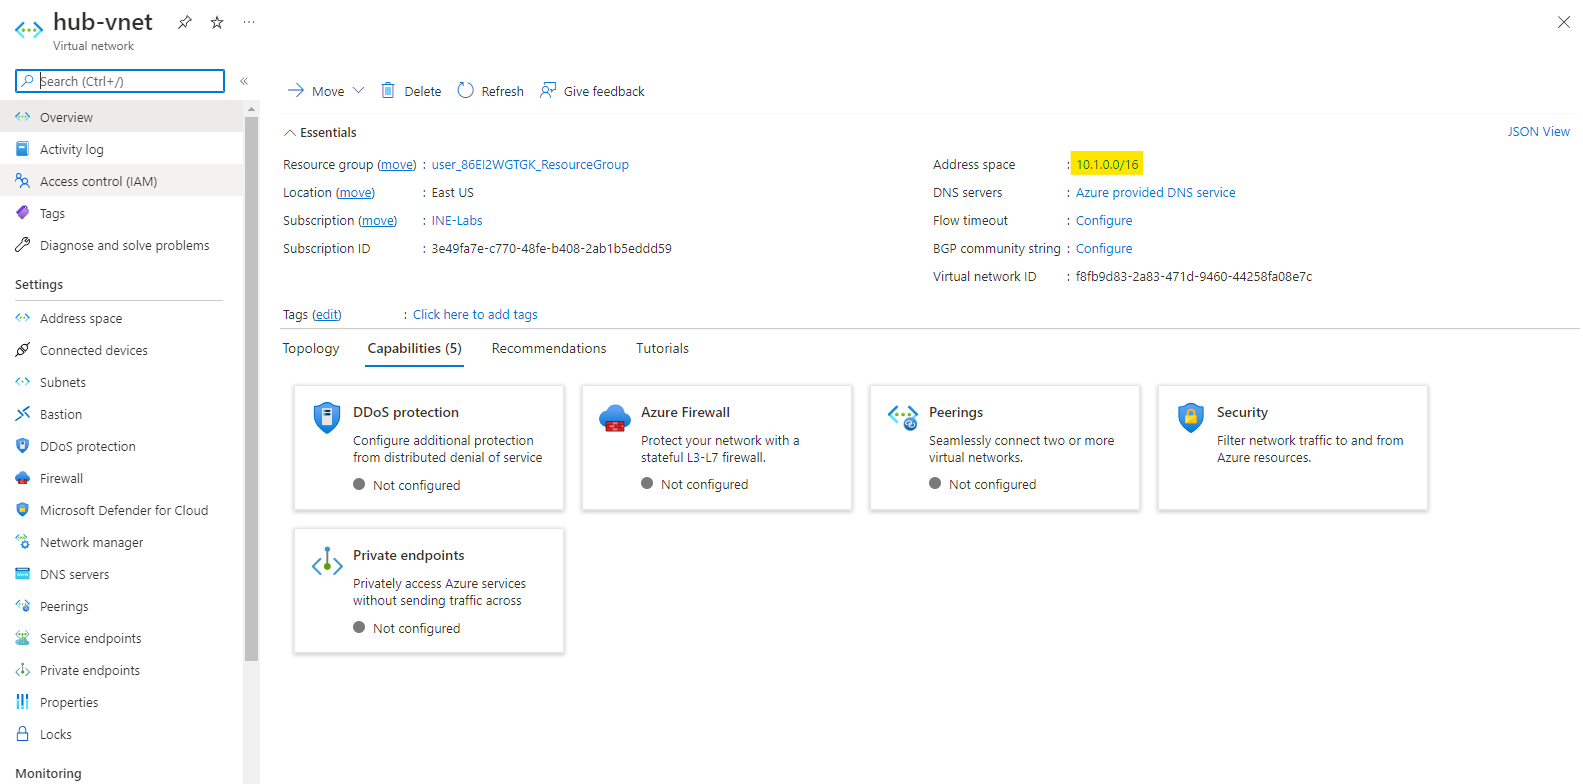
Now go to azure portal and you can see the vnet is created.
You can check that it has the address space specified by us.
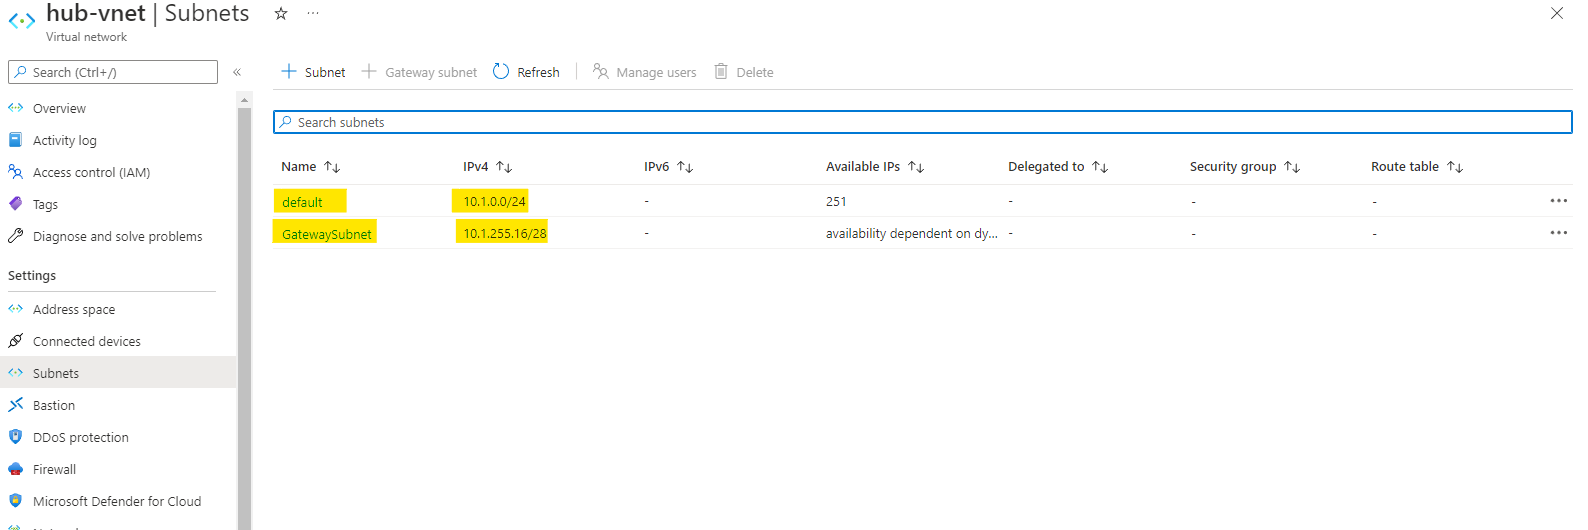
We can also verify that it has two subnets, just like we specified.
Now all the 3 vnets are created.
You can see all the 3 virtual networks.

Our lab is now complete.