The goal of this task is to establish transitive routing across three existing virtual networks.
The task includes provisioning a network virtual appliance router in the hub network and configuring it to route requests between the internal virtual network and the public virtual network. The task also includes provisioning and configuring route tables to implement the desired routing.
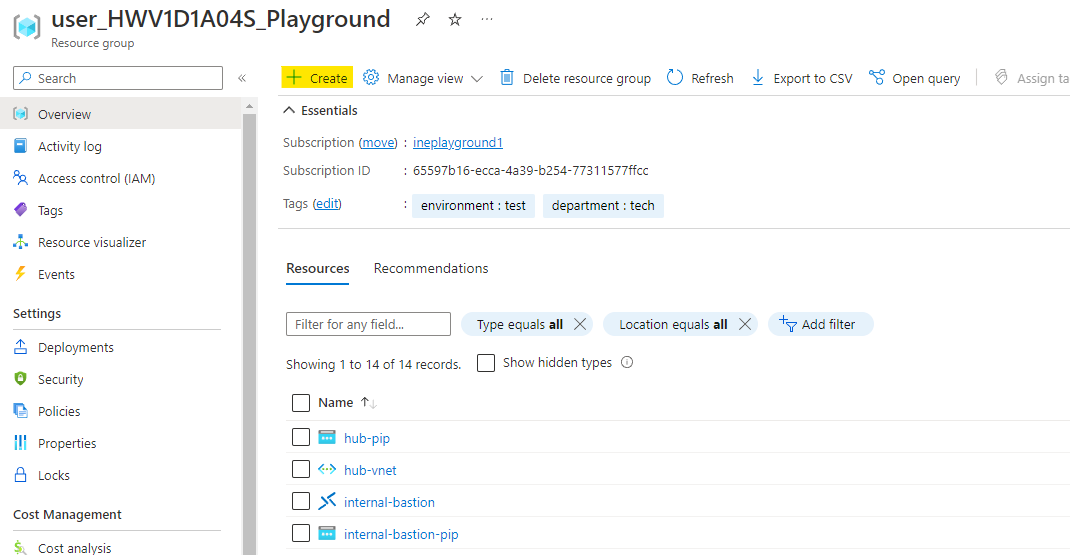
When you will login to the azure with the provided credentials, you will find some predeployed resources. This is all you will need for this lab. Click on Create as highlighted below to create some resource.
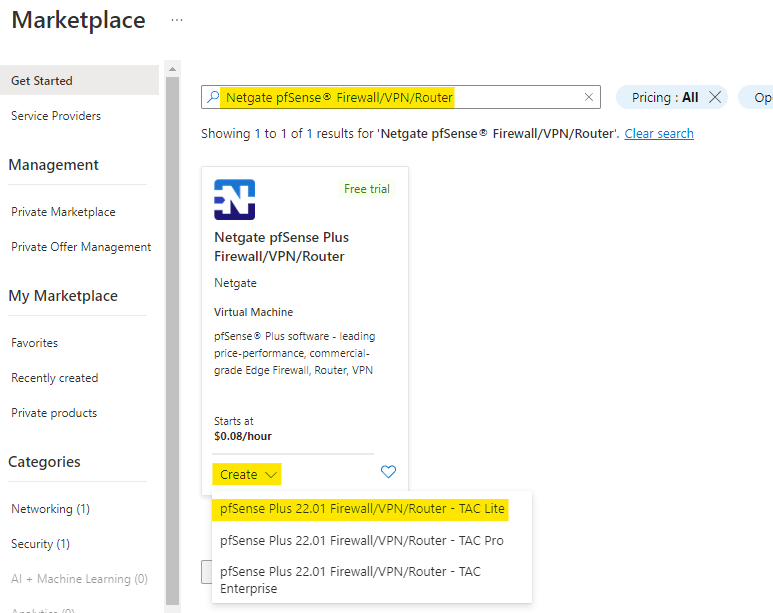
Search for Netgate pfSense® Firewall/VPN/Router and click on create, then pfSense TAC Lite VM.
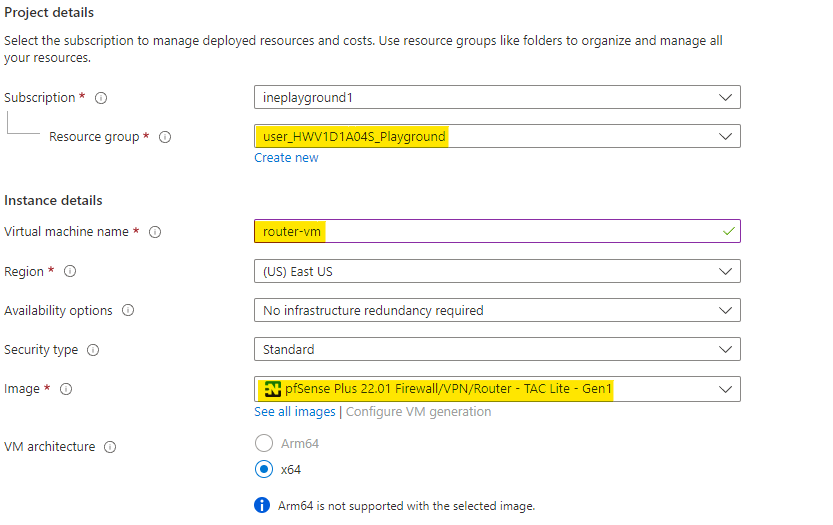
Configure the virtual machine as below:
Use the assigned resource group
Give a name to the virtual machine as router-vm
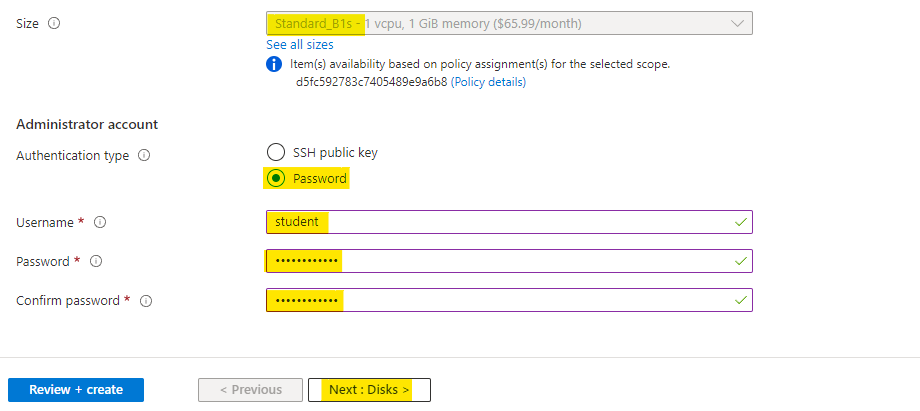
Select a basic size of VM
Use admin name as student
Provide a strong password for the VM
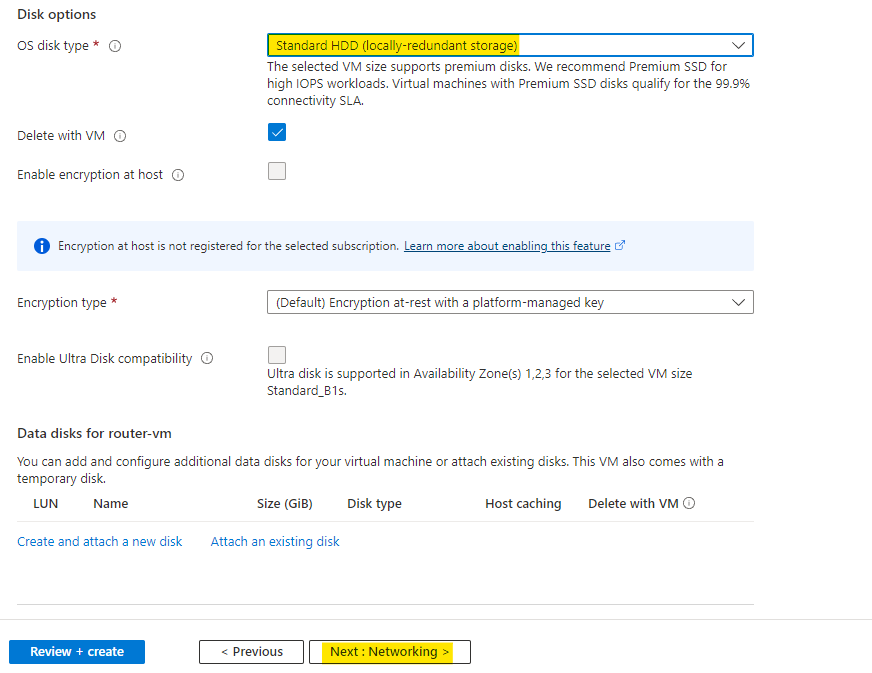
Click on Next to configure the disks.
Select Standard HDD type of OS disk and click on Next to configure the networking.
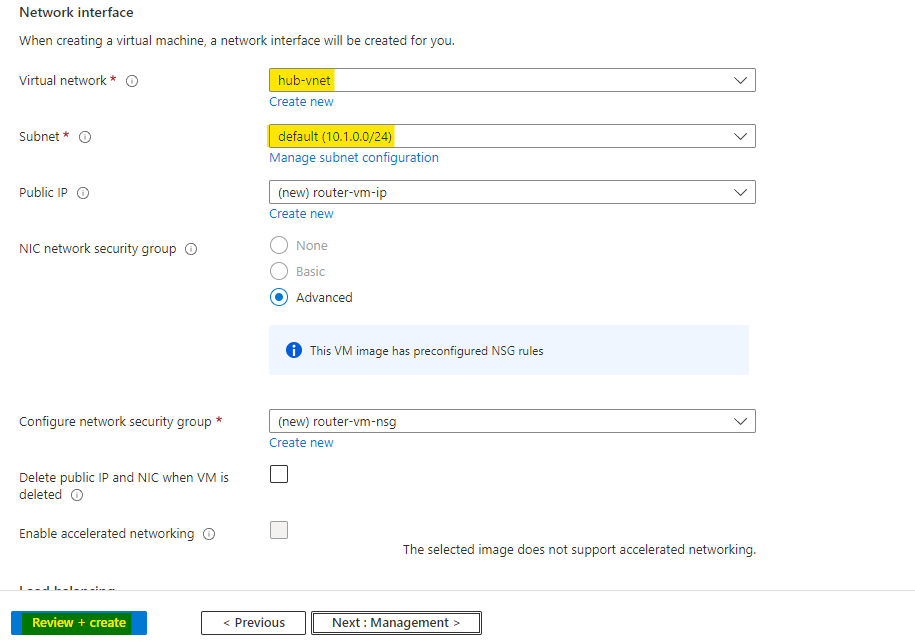
Make sure to select the virtual network as hub-vnet and the default subnet.
Then click on Review + Create.
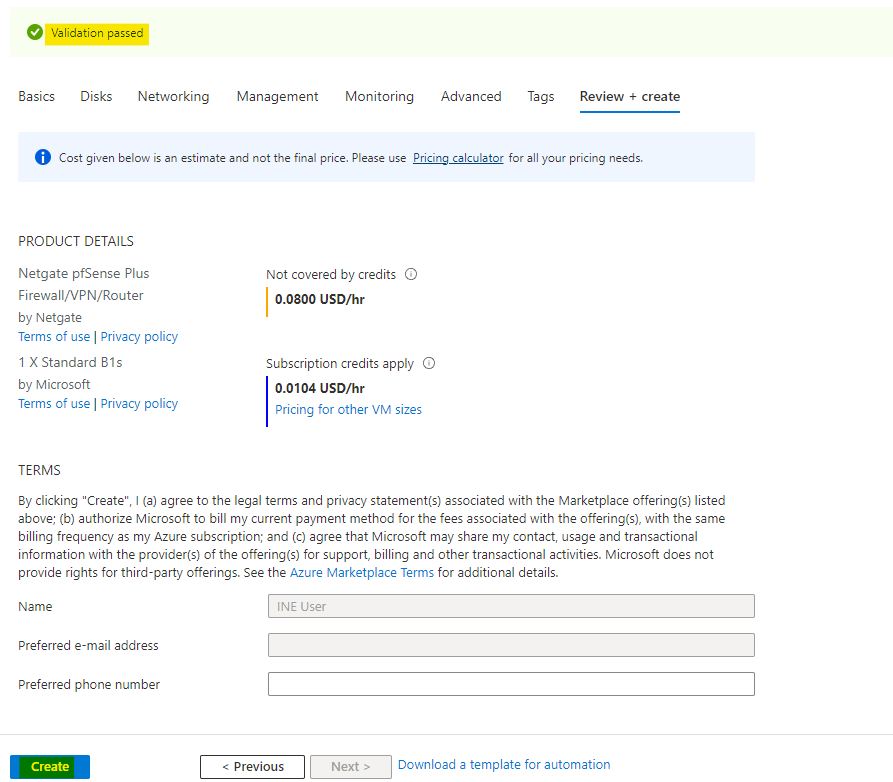
Azure will verify the configuration and it will show Validation passed. Click on Create to provision the virtual machine.
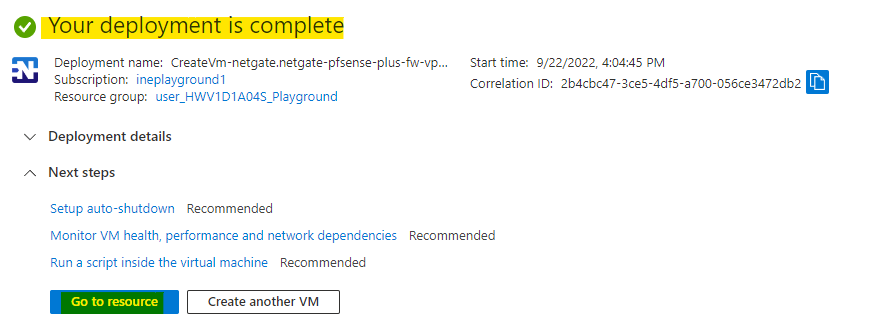
You will see Your deployment is complete which means virtual machine is provisioned. You can click on Go to resource to check the resource.
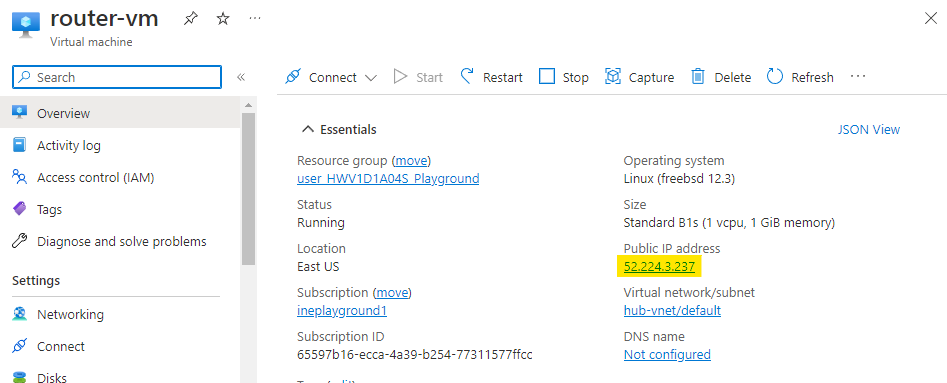
Copy the public IP address of your router-vm.
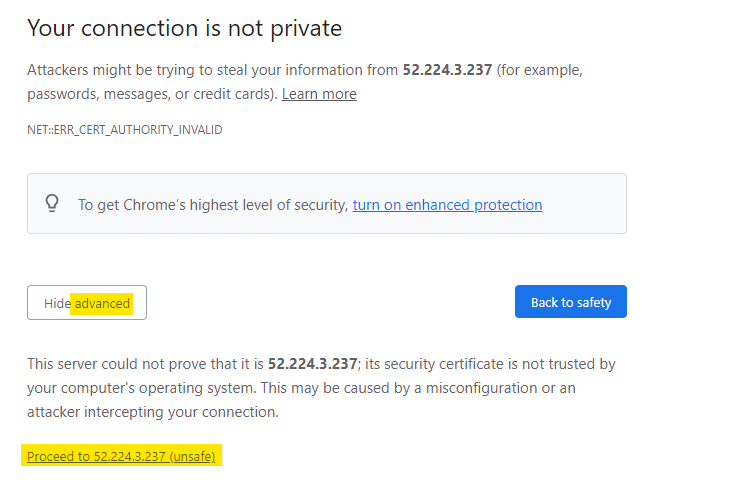
Open this IP address in a new browser tab. Click on Advance and then Proceed to IP to access the pfSense.
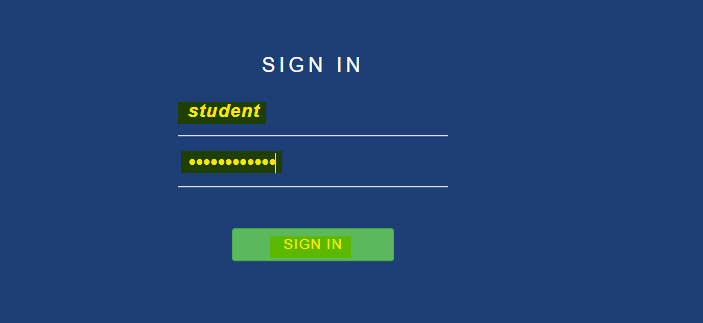
Login with the username and password you used while creating the virtual machine.
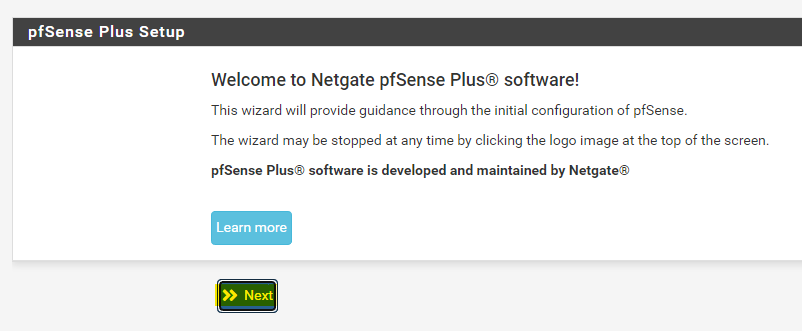
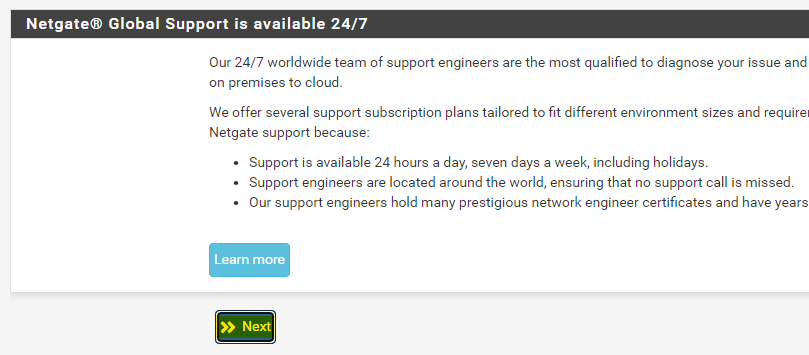
Click on Next to start the pfSense Plus setup.
Click on Next after reading the information.
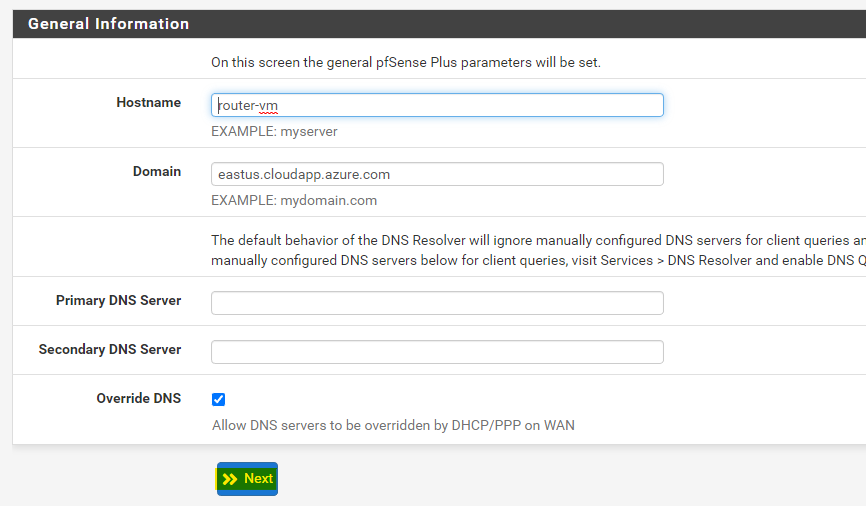
Let the general information as it is and click on Next.
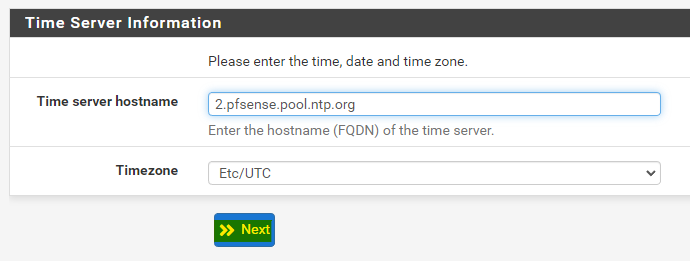
Leave the time server information to default also and head to Next.
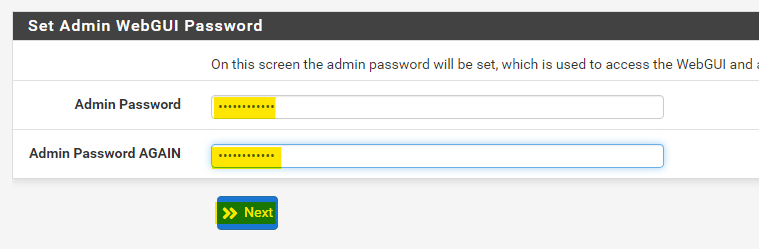
Click on Next on the next step also to configure the admin password.
Set a strong password for pfSense admin.
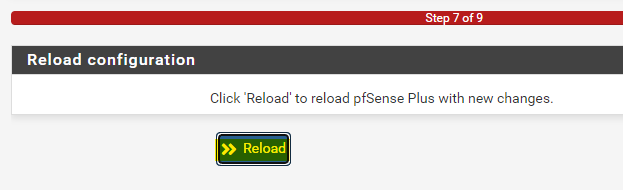
To save the changes click on Reload.
After the setup is complete you can click on Finish to close the setup.

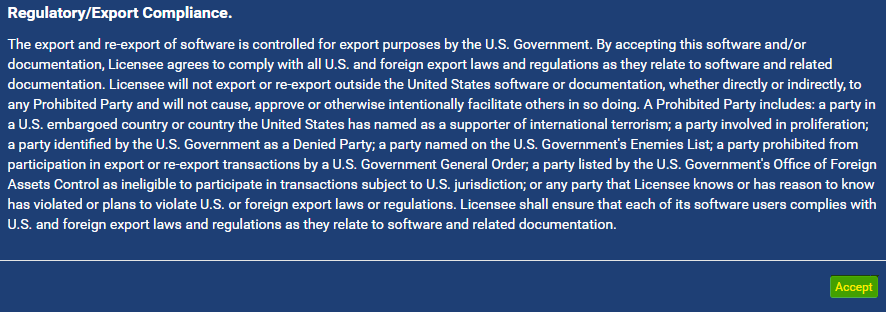
Accept the terms and conditions.
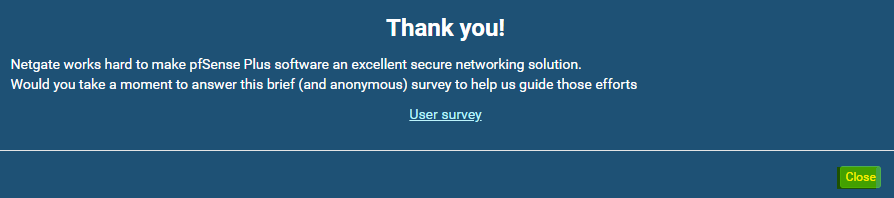
Close the thank you qoute to start configuring the pfSense machine.
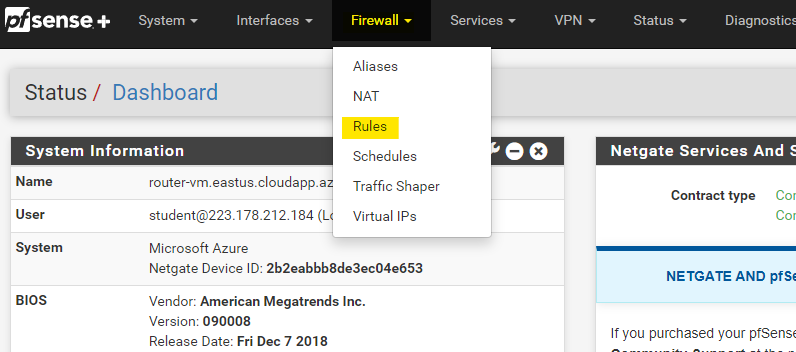
Here open the Rules under Firewall option.
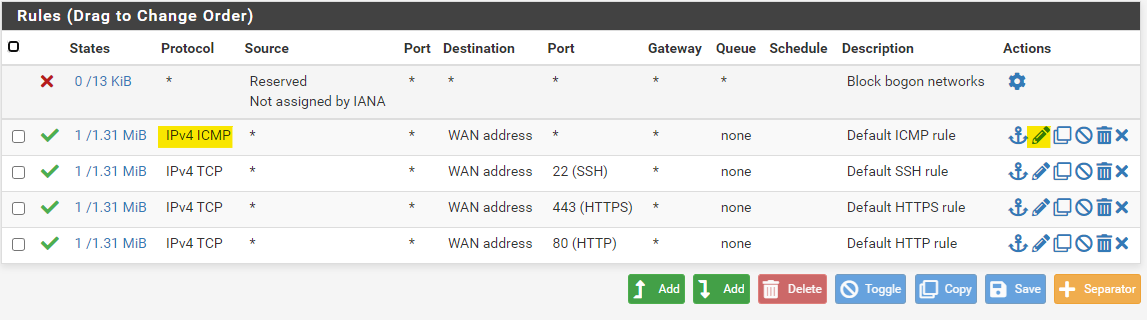
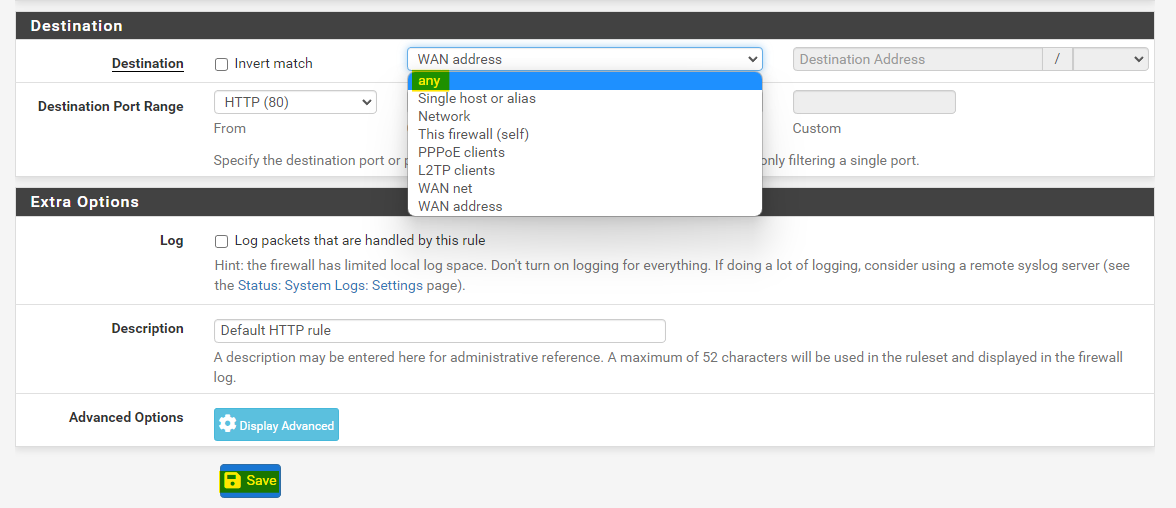
Click on the edit logo as highlighted below to edit the ICMP rule.
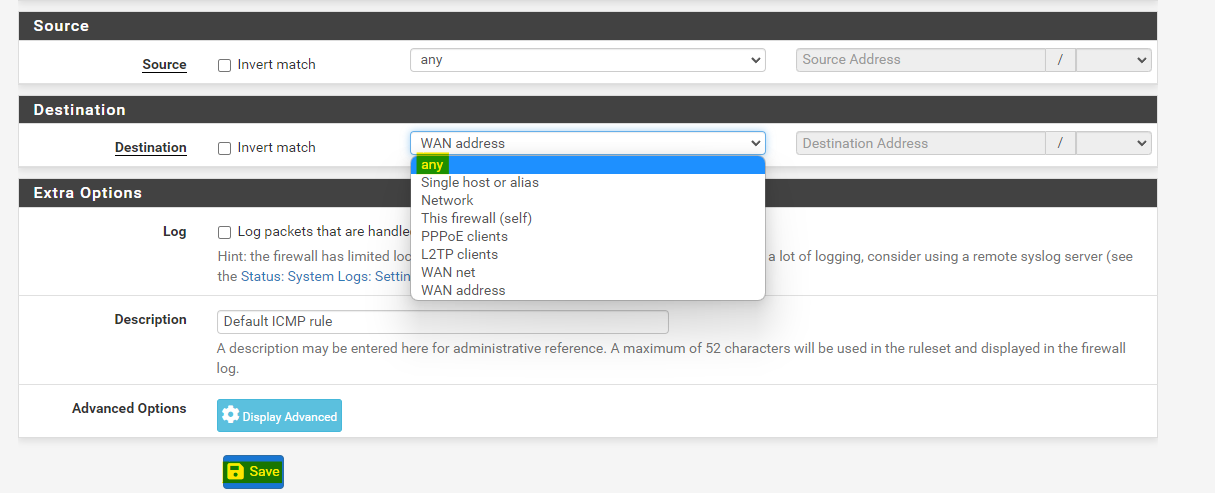
Set the destination to any and save the rule.
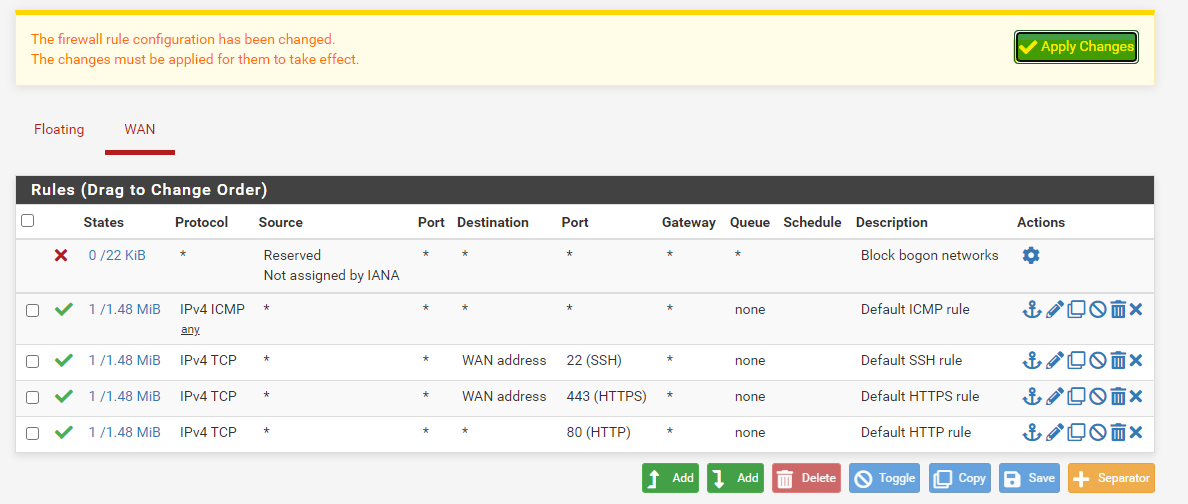
In the same manner edit the rule for port 80 traffic.
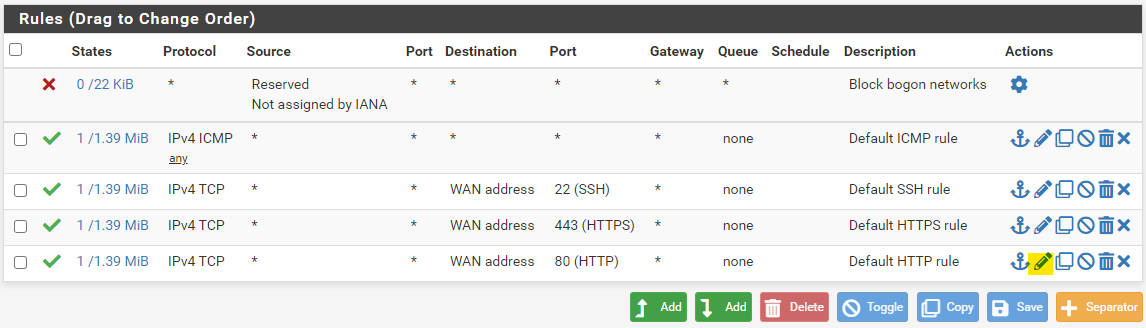
Set the destination to any and save the rule.
Click on Apply Changes to actually apply these updated rules.
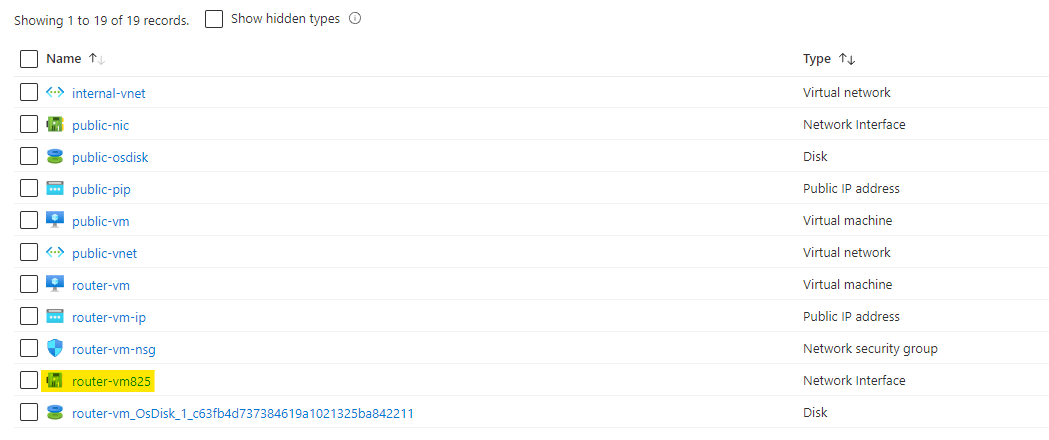
Open the network interface card of you pfSense virtual machine, you can find it from your resource group.
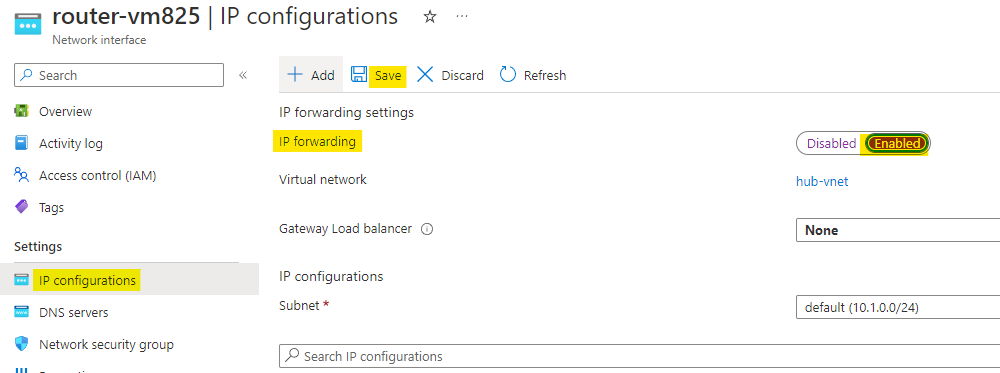
Open the IP configuration of this NIC and enable the IP forwarding. Click on Save to save the changes.
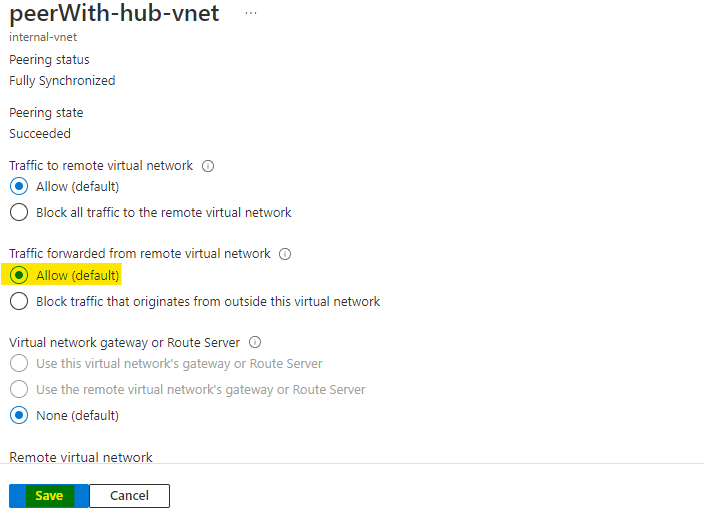
Navigate to the internal vnet and open the Peerings for this vnet. Here open the peering with hub-vnet.
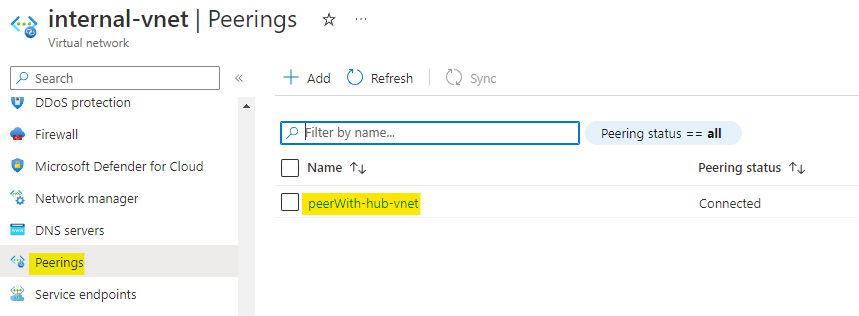
Here allow the forwarded traffic and click on Save.
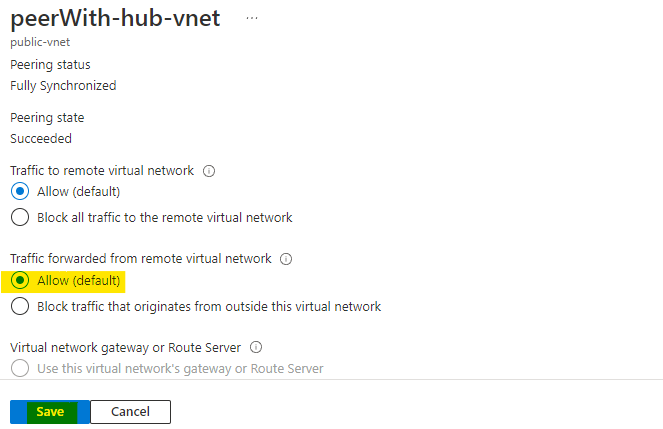
In the same manner navigate to the peerings of public-vnet. Open the peering with hub-vnet.
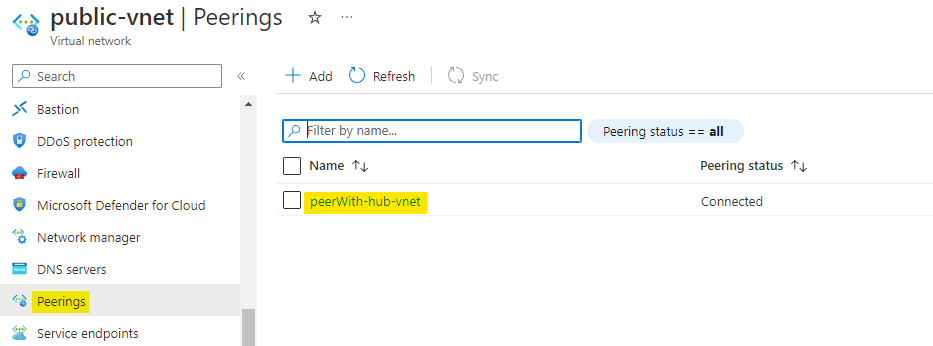
Here also allow the forwarded traffic and click on Save to save the changes.
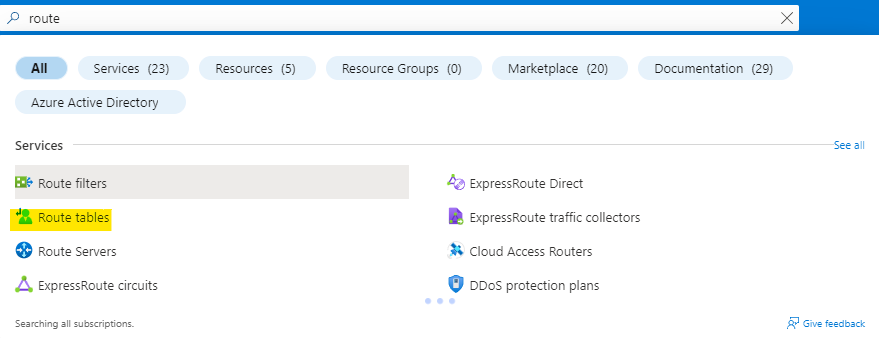
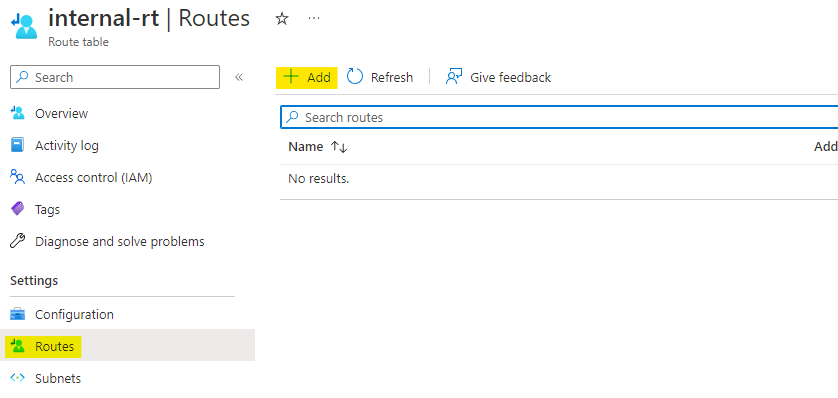
Search for route tables and open the Route tables service as highlighted below.
Click on Create to create a new route table.

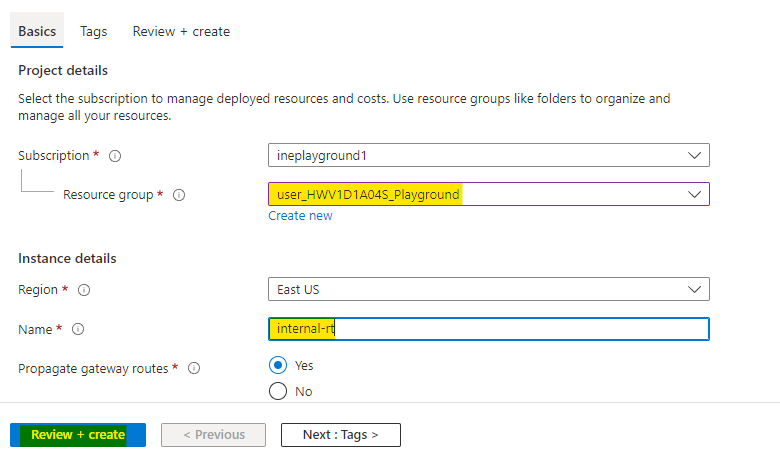
Name this route table as internal-rt and use the assigned resource group.
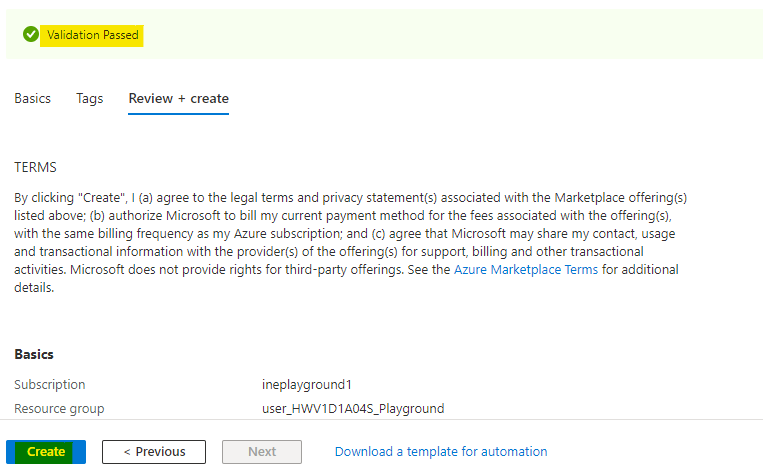
Click on Review + Create.
Azure will verify the configuration and it will show Validation passed. Click on Create to provision the route table.
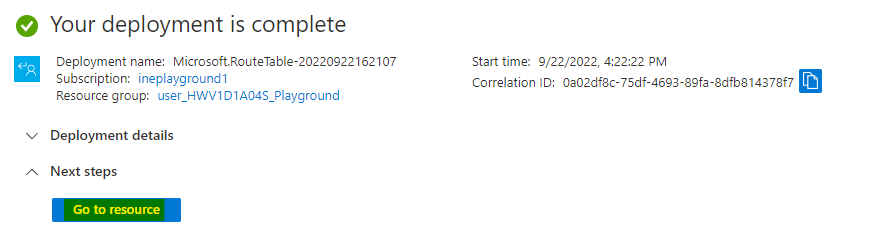
You will see Your deployment is complete which means route table is provisioned. You can click on Go to resource to check the resource.
Here navigate to the Routes and click on Add to add new route.
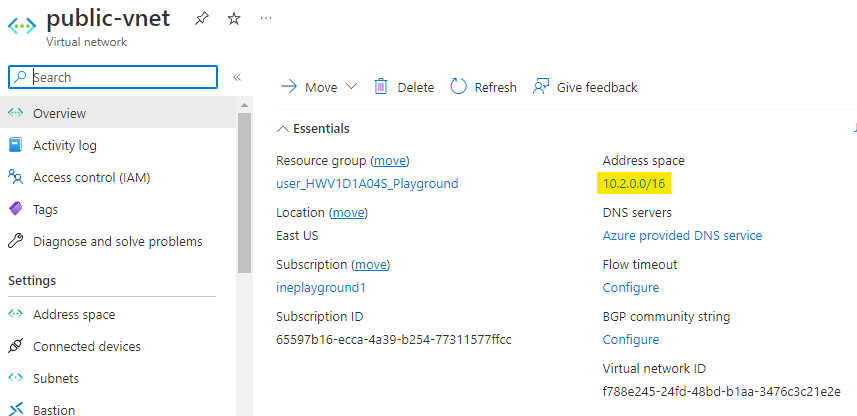
For adding the route we will need the address space for public-vnet. Navigate to public-vnet and copy the address space which is 10.2.0.0/16.
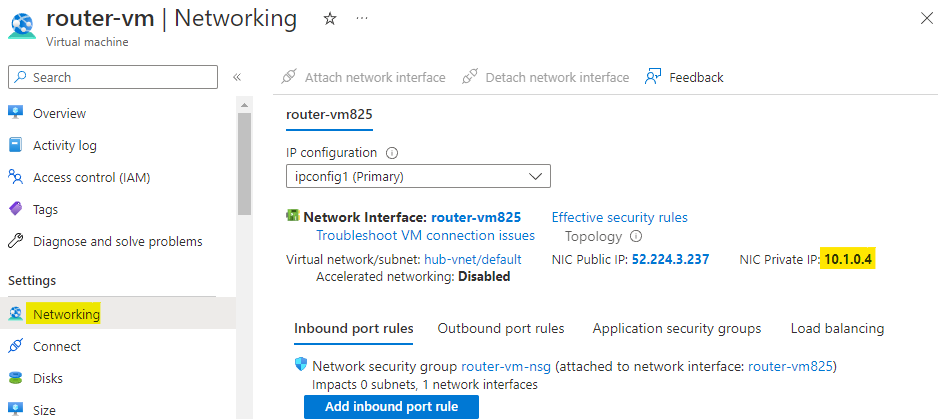
We will also need the private IP address of our router VM. Navigate to the networking of the router VM and copy the private IP address. Which in this case is 10.1.0.4
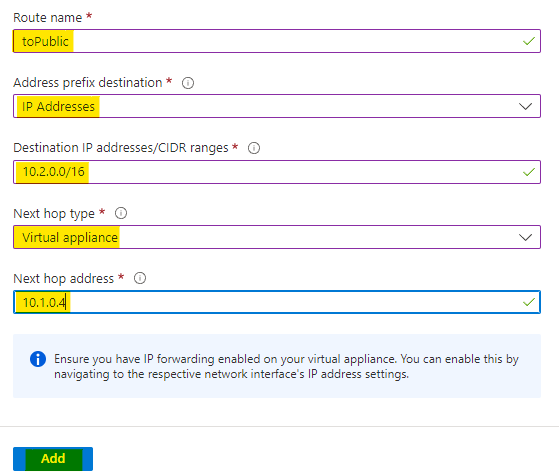
Now add the route with below configs.
Give the route a name as toPublic
Set the address prefix destination as IP address
Set the CIDR range as 10.2.0.0/16 which is address space of public vnet.
Set the next hop type as Virtual appliance
Set the hop address as the private IP address of router VM, which is 10.1.0.4
Click on Add to add the route.
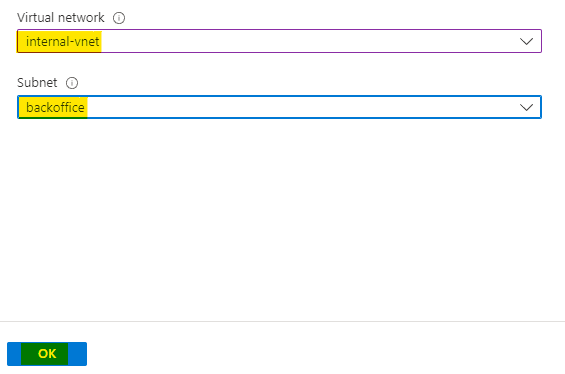
Now go to the subnets of this route table and click on Associate to associate it with a subnet.
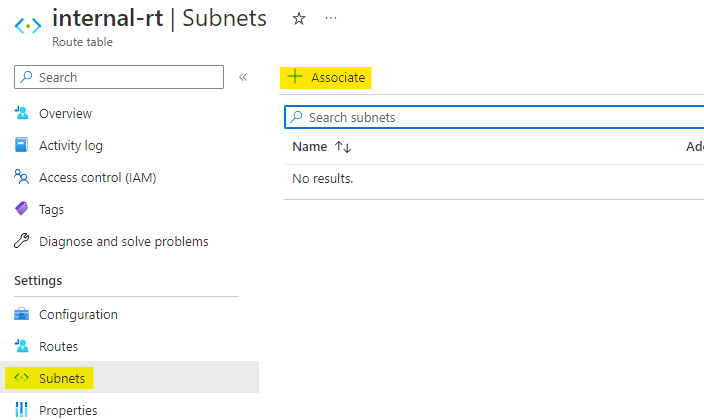
Choose the virtual network as internal-vnet and the subnet as backoffice. Click on OK to associate route table with subnet.
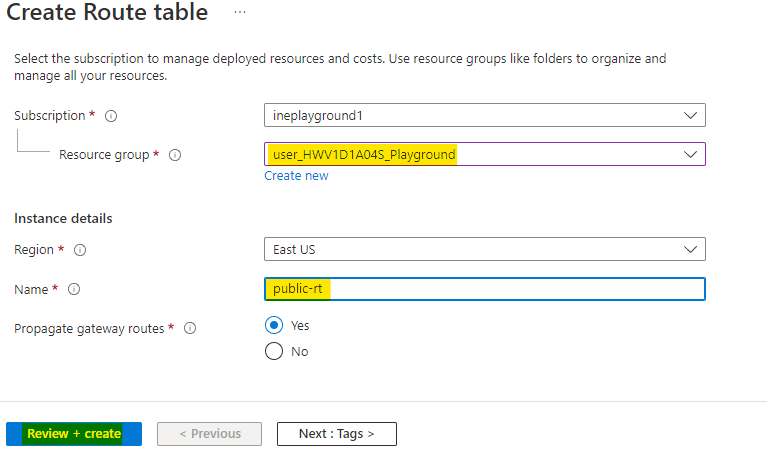
Now create one more route table with below config
Name this route table as public-rt
Use the assigned resource group.
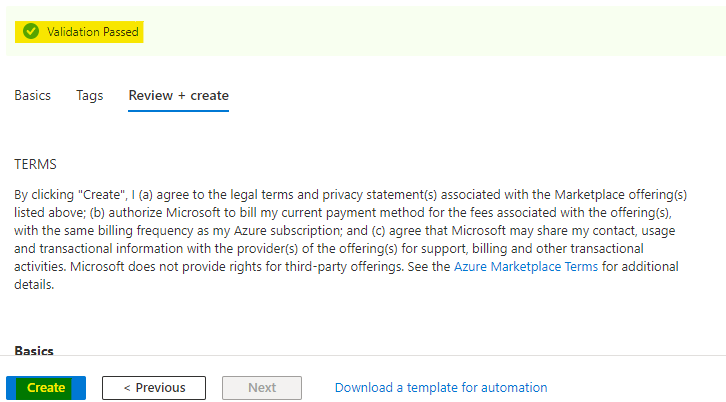
Click on Review + Create.
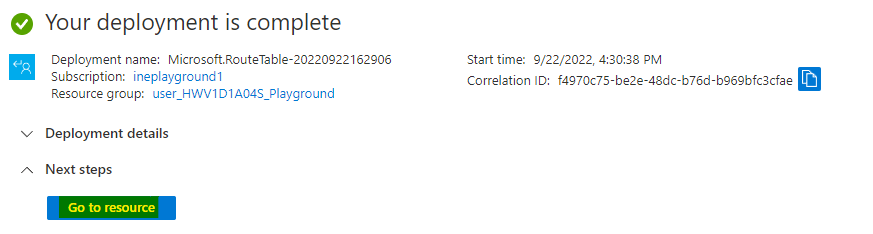
Azure will verify the configuration and it will show Validation passed. Click on Create to provision the route table.
You will see Your deployment is complete which means route table is provisioned. You can click on Go to resource to check the resource.
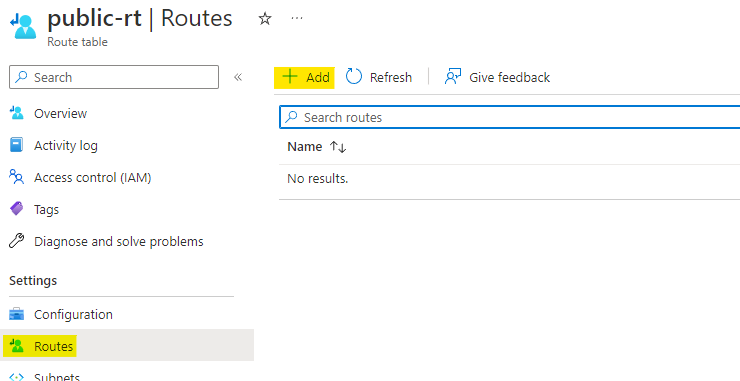
Here also navigate to the Routes and click on Add to add new route.
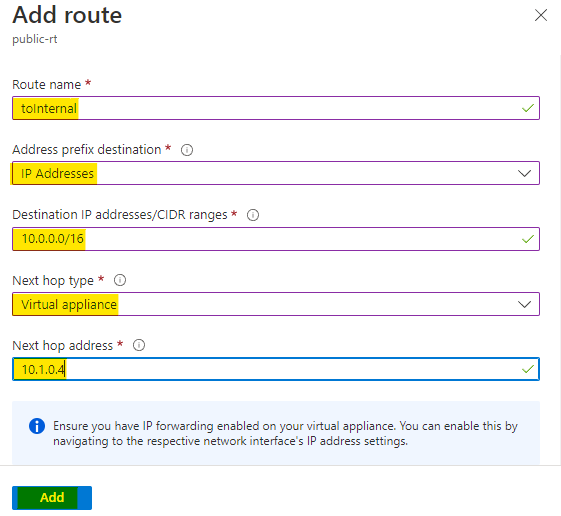
Configure the route as below:
Give the route a name as toInternal
Set the address prefix destination as IP address
Set the CIDR range as 10.0.0.0/16 which is address space of internal vnet.
Set the next hop type as Virtual appliance
Set the hop address as the private IP address of router VM, which is 10.1.0.4
Click on Add to add the route.
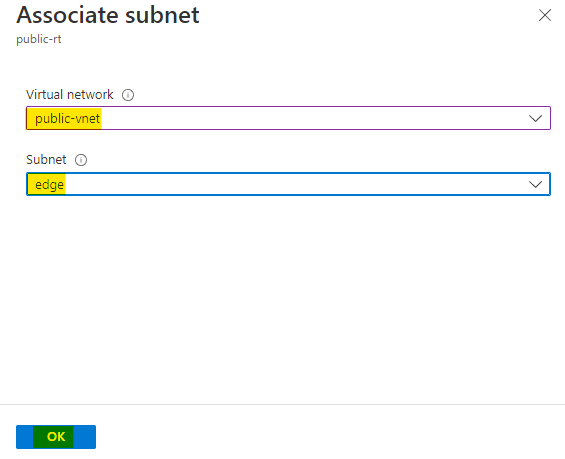
Now go to the subnets of this route table and click on Associate to associate it with a subnet.
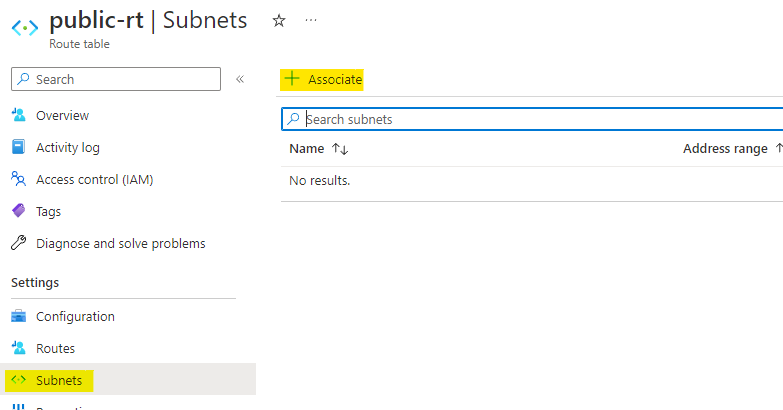
Choose the virtual network as public-vnet and the subnet as edge. Click on OK to associate route table with subnet.
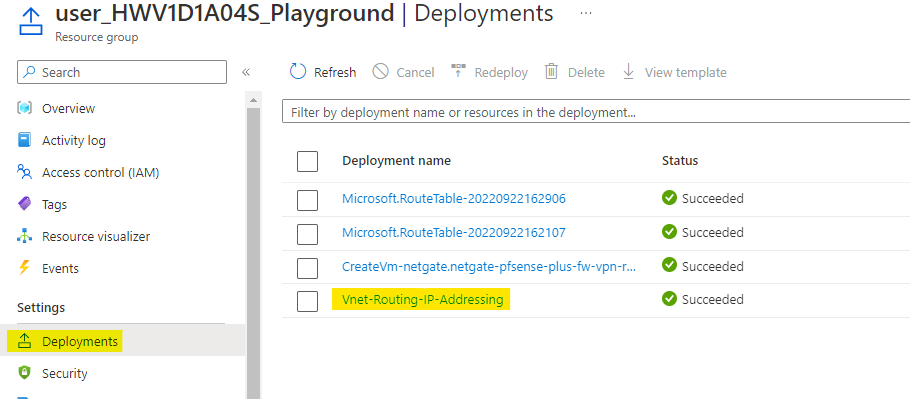
Navigate to the deployments of your resource group and open the Vnet-Routing deployment. This deployment was for pre-requisites.
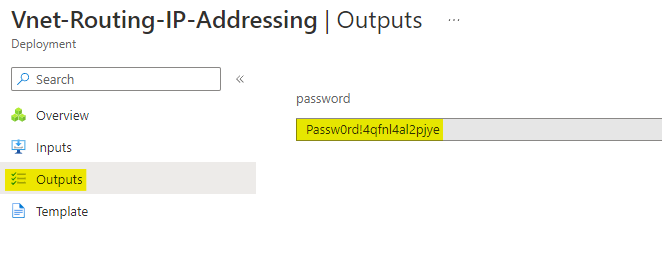
Open the outputs of this deployment and copy the password. This is the password for the pre deployed VMs.
Go to the internal VM and click on Connect. Choose the Bastion option.
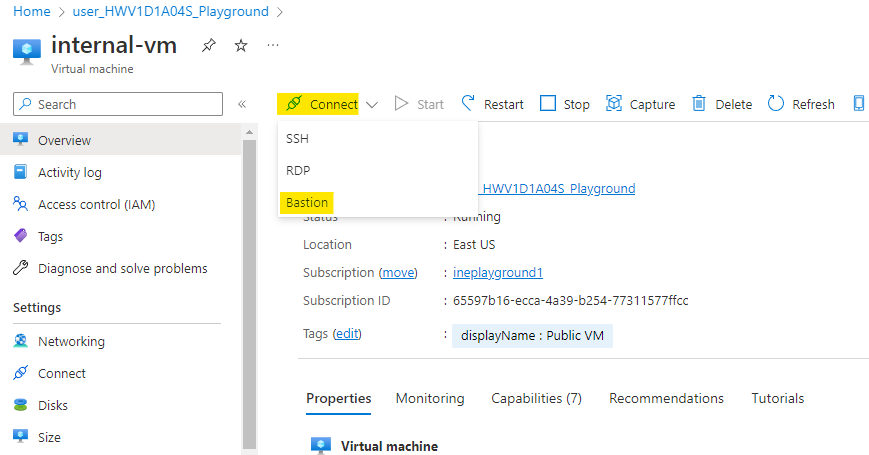
Use the username as student and password you copied earlier. Click on Connect.
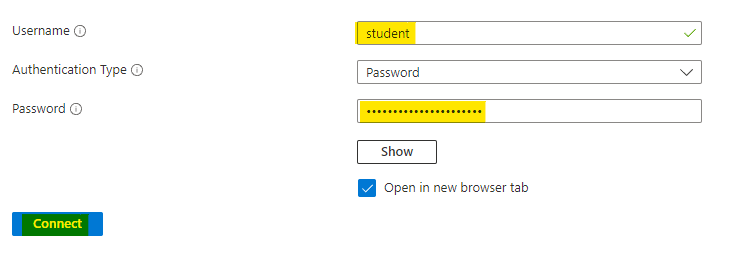
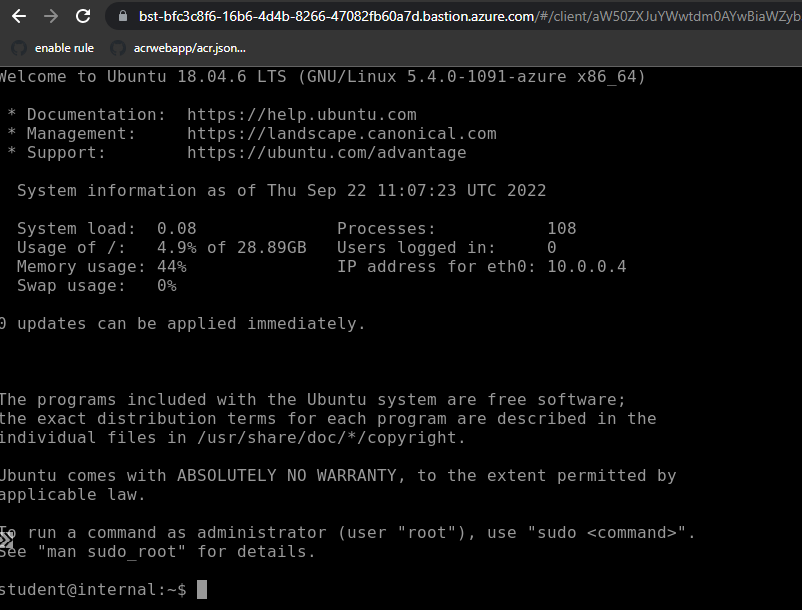
A new browser tab will open, where you will have a SSH connection to internal VM.
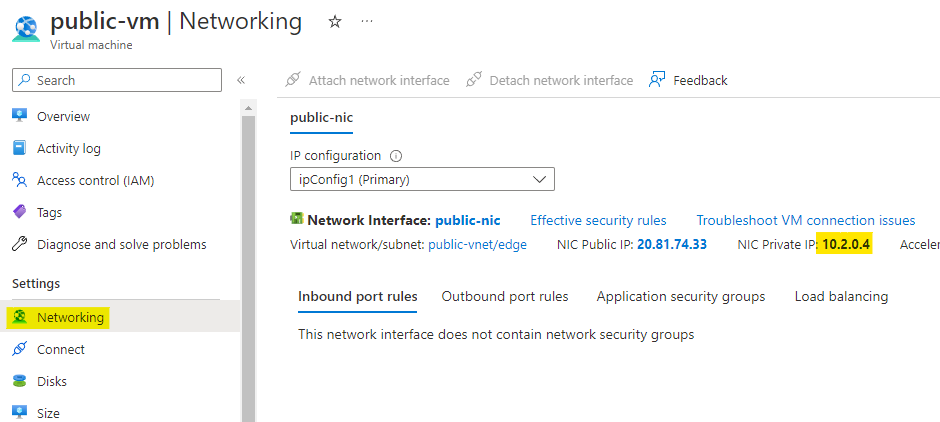
Go back to the portal and check the networking for public-vm. Here copy the private IP address of the VM.
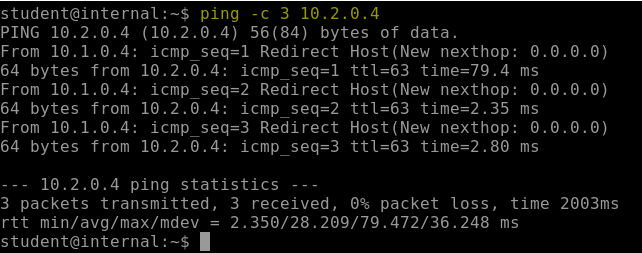
Go back to the SSH connection and run the below command to check if you can ping the public VM from internal VM.
ping -c 3 10.2.0.4You will see that, we are getting response from public VM.
Also curl the webserver running on the public VM using below command.
curl http://10.2.0.4It will revert back to you with name of the VM.

Our lab is now complete.