
The goal of this task is to control access to public facing virtual machines. There are three virtual machines in a single subnet. Two of the virtual machines serve a web application over port 80, and one serves as an SFTP server. The SFTP server is configured to listen to a non-standard port - 50001. Completing this task will allow only the required access to the servers using a single network security group.
When you will login to the azure with the provided credentials, you will find some predeployed resources. This is all you will need for this lab.
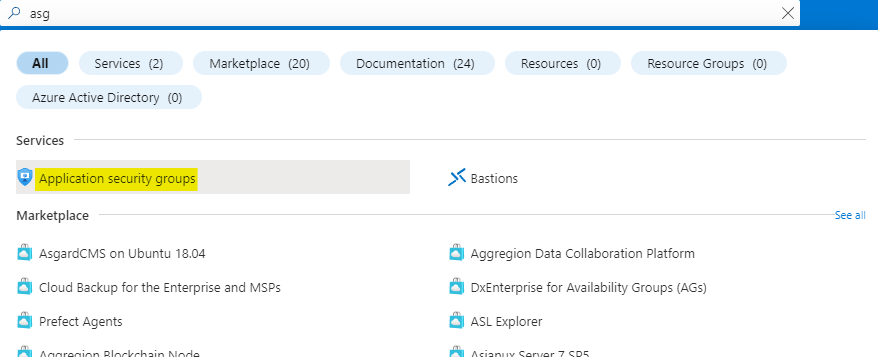
Search for asg and open the Application security groups service as highlighted below.
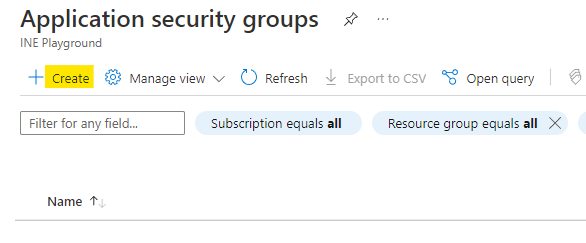
Click on Create to start creating the application security group.
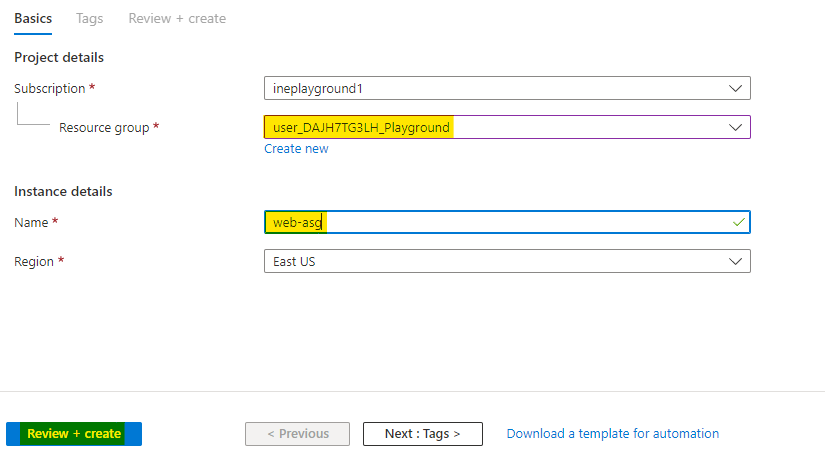
Configure the ASG as below:
Use the assigned resource group
Name the asg as web-asg
Click on Review + Create.
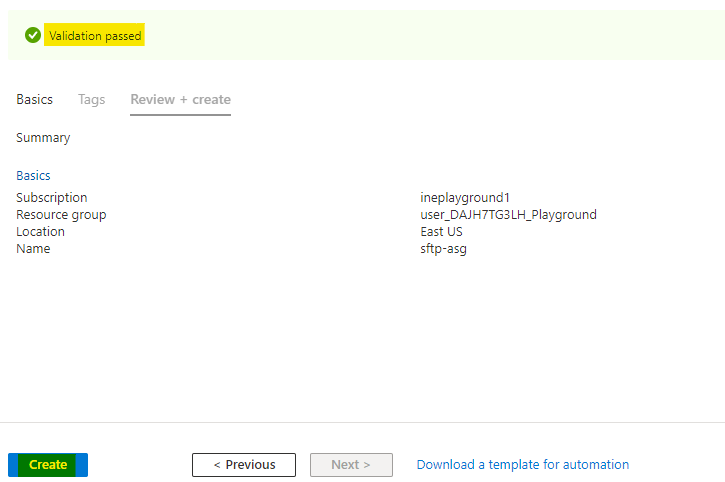
Azure will verify the configuration and it will show Validation passed. Click on Create to provision the ASG.

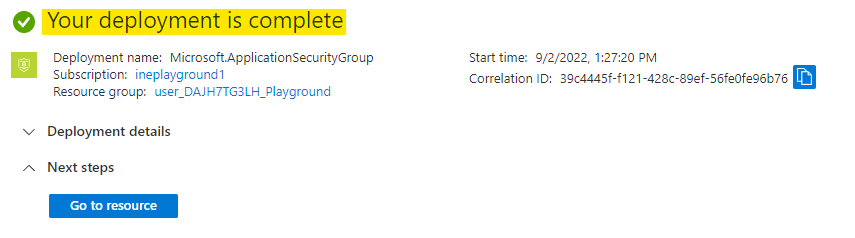
It will take few seconds to deploy the ASG. You will see Your deployment is complete which means ASG is provisioned.
Go to the public-web1-vm and open the Networking. Here under Application security groups click on Add asg as highlighted below.
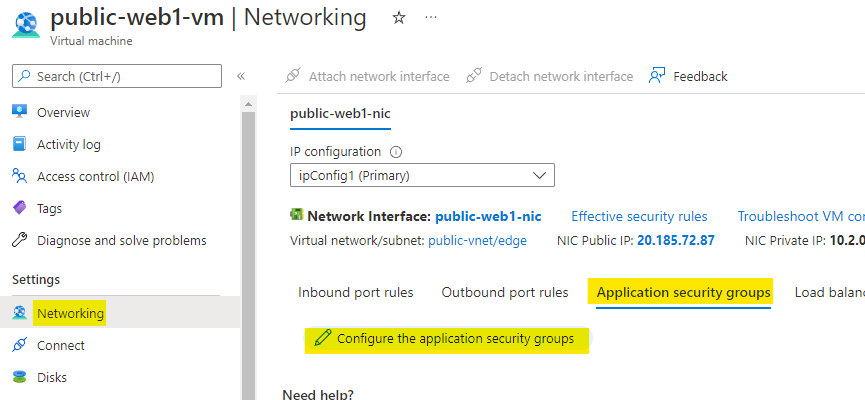
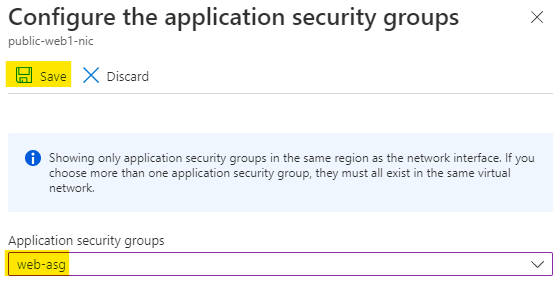
Choose the web-asg ASG which we created just now and click on Save.
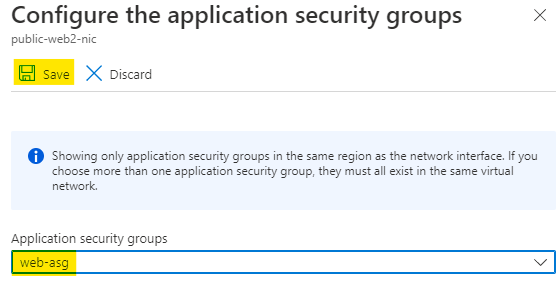
In the same manner, go to the public-web2-vm and open the Networking. Here under Application security groups click on Add asg as highlighted below.

Choose the web-asg ASG which we created just now and click on Save.
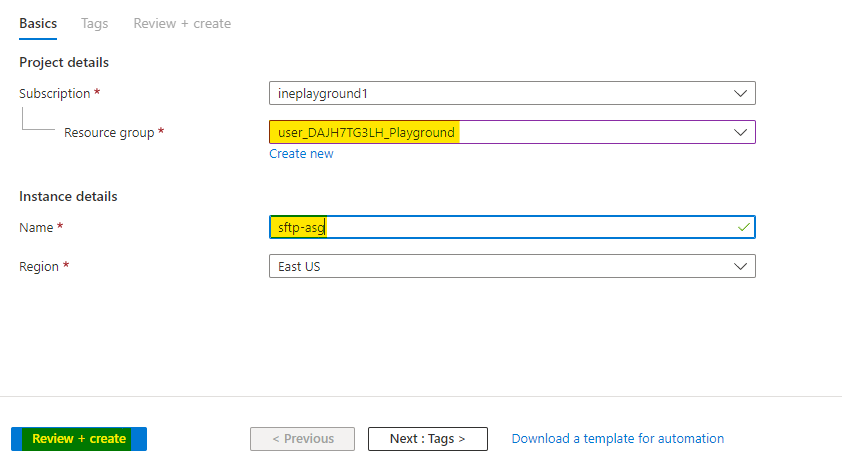
Now go and create one more ASG with below configurations:
Use the assigned resource group
Name the ASG as sftp-asg
Click on Review + Create.
Azure will verify the configuration and it will show Validation passed. Click on Create to provision the ASG.
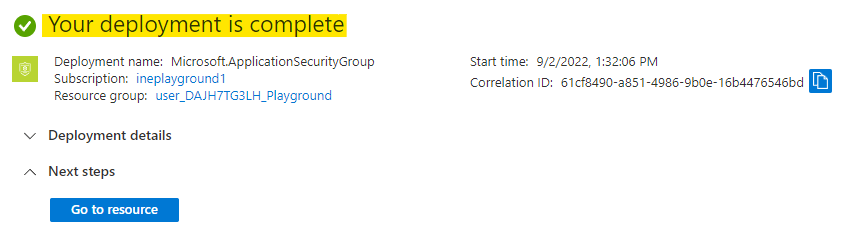
It will take few seconds to deploy the ASG. You will see Your deployment is complete which means ASG is provisioned.
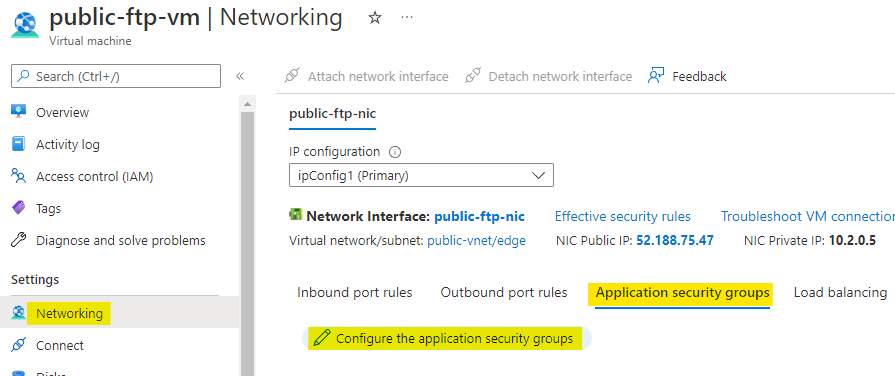
Go to the public-ftp-vm and open the Networking. Here under Application security groups click on Add asg as highlighted below.
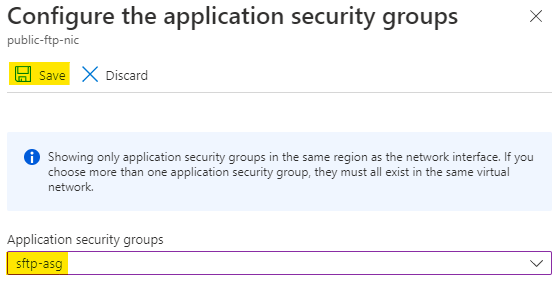
Choose the sftp-asg ASG which we created just now and click on Save.
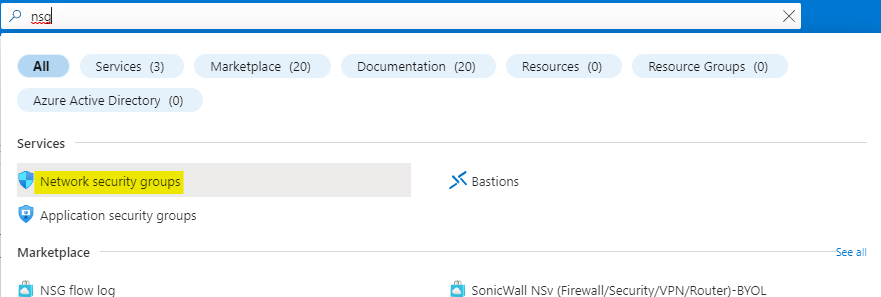
Search for nsg and open the Network security groups service as highlighted below.
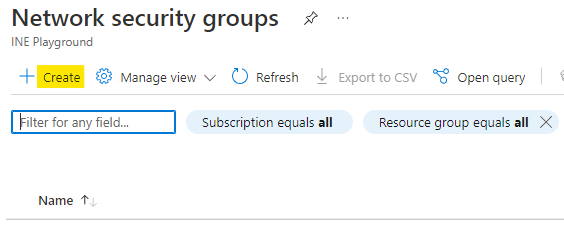
Click on Create to start creating the network security group.
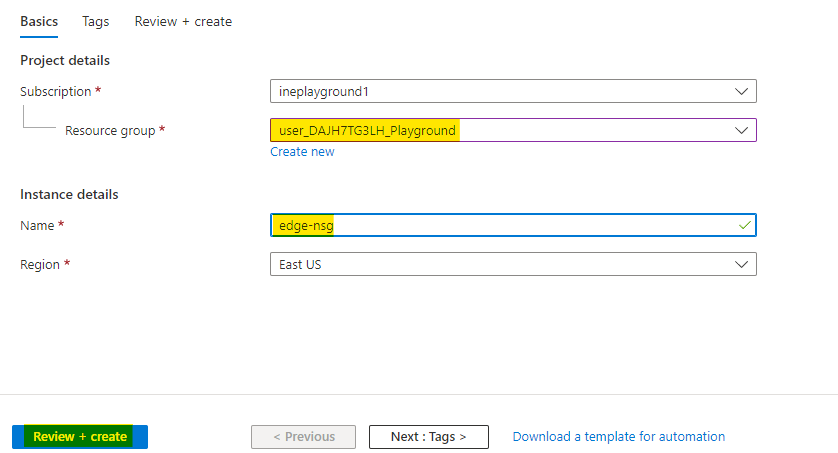
Configure the NSG as below:
Use the assigned resource group
Name the nsg as edge-nsg
Click on Review + Create.
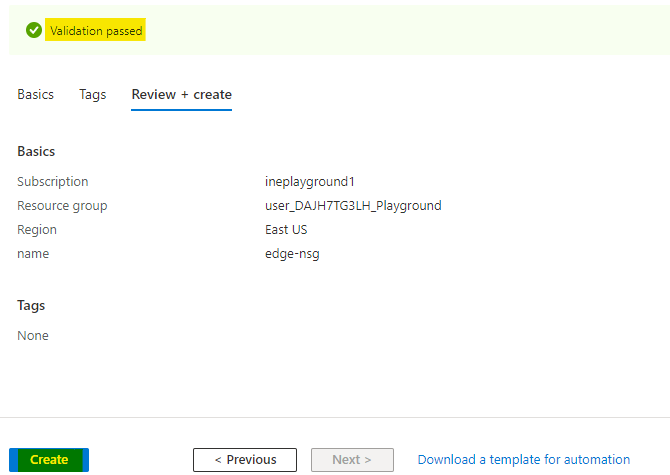
Azure will verify the configuration and it will show Validation passed. Click on Create to provision the NSG.
It will take few seconds to deploy the NSG. You will see Your deployment is complete which means NSG is provisioned. Click on Go to resource to check the NSG.
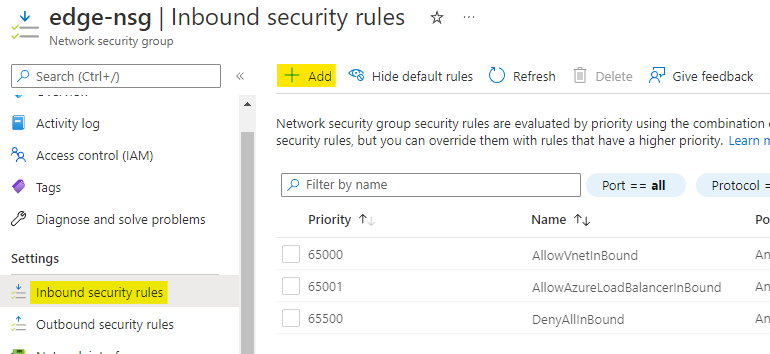
Here navigate to Inbound security rules and click on Add to add new rule.
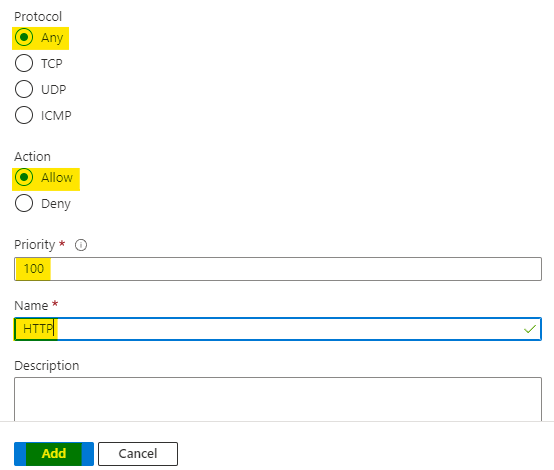
Configure the rule as below:
Set the destination of rule as Application security group and select web-asg
Set the destination port as 80

Choose the protocol as Any and action as Allow
Set the priority as 100 and name the rule as HTTP
Click on Add to add this rule.
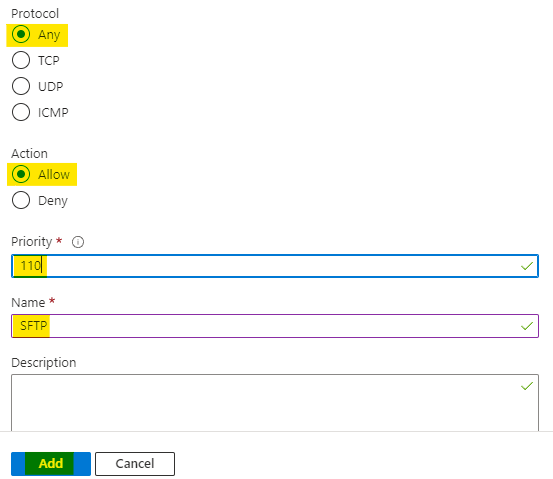
In the same manner add one more rule with below configuration:
Set the destination of rule as Application security group and select sftp-asg
Set the destination port as 50001

Choose the protocol as Any and action as Allow
Set the priority as 110 and name the rule as SFTP
Click on Add to add this rule.
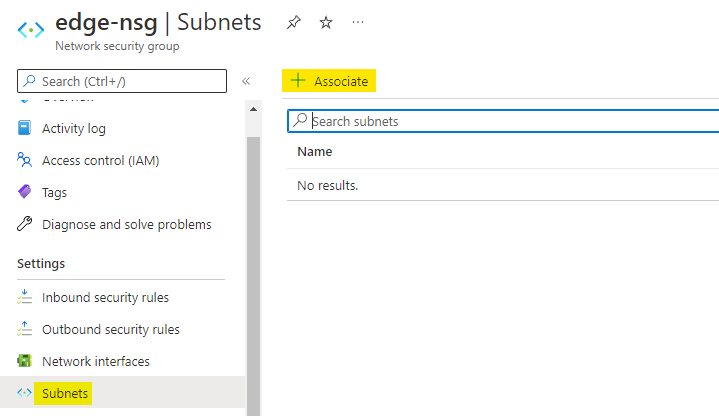
Now navigate to the Subnets of NSG and click on + Associate to associate this NSG with a subnet.
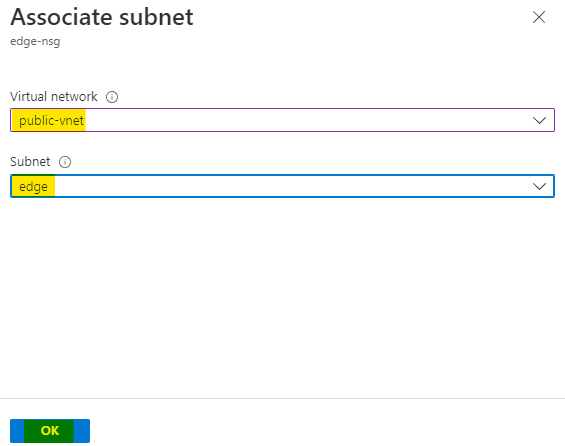
Choose the virtual network as public-vnet and subnet as edge.
Click on OK to associate the NSG with this subnet.
Note: It may take a few minutes for the NSG to fully take effect. Wait for few minutes to actually test it out.
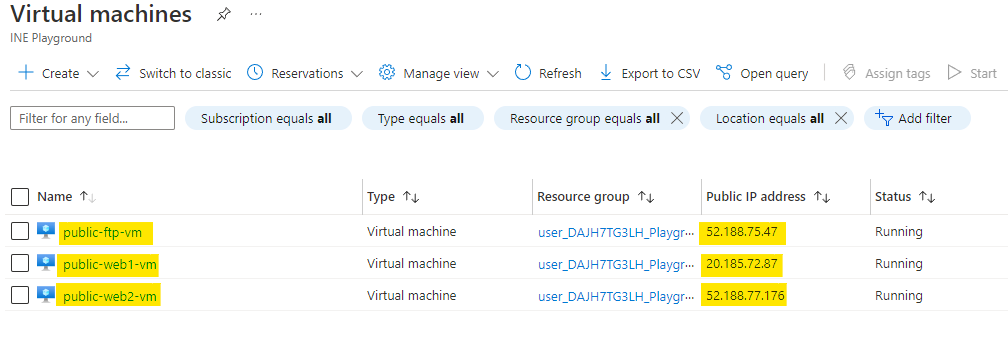
Open the virtual machines service and note down the public IP addresses of all three servers. Try to open these in your browser.
Public IP address of web1 VM will revert back with it's name.

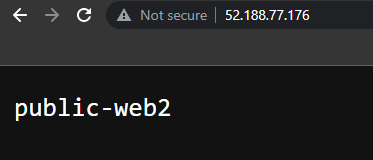
In same manner web2 VM will show you below output.
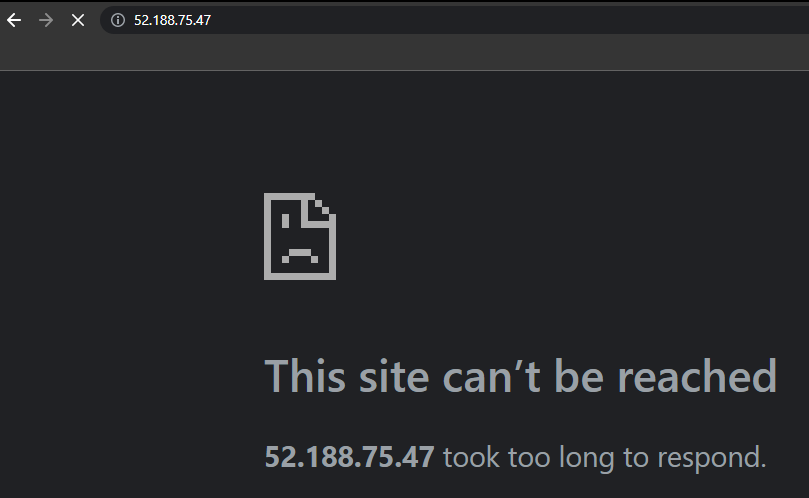
But you will see that you are unable to access the ftp-vm server from the public IP address.
This means that our NSG is working properly.
You can also verify that ftp-vm is only not avaliable on public network. There is indeed a web server running.
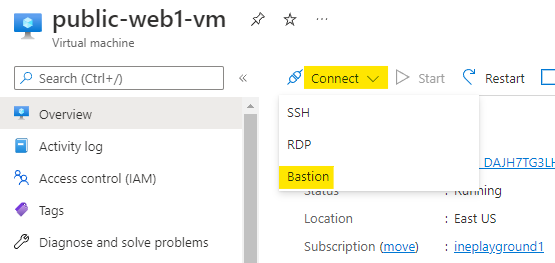
Navigate to the either of web-vm and click on Connect. Choose Bastion option to connect.
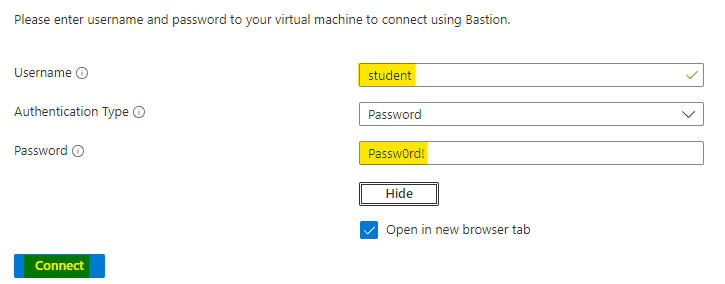
Use the student username and Passw0rd! password to connect to the VM. Click on Connect.
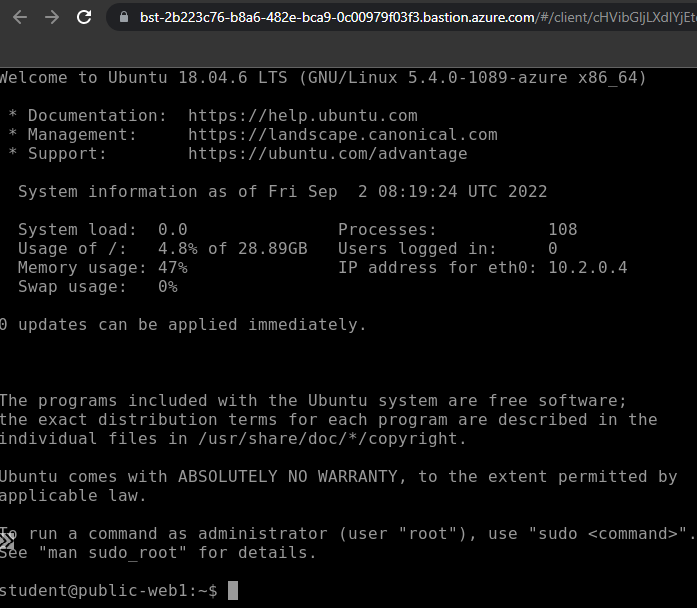
A new window with SSH session to the web1-vm will open.
Go to the public-ftp-vm and note down private IP address of virtual machine.
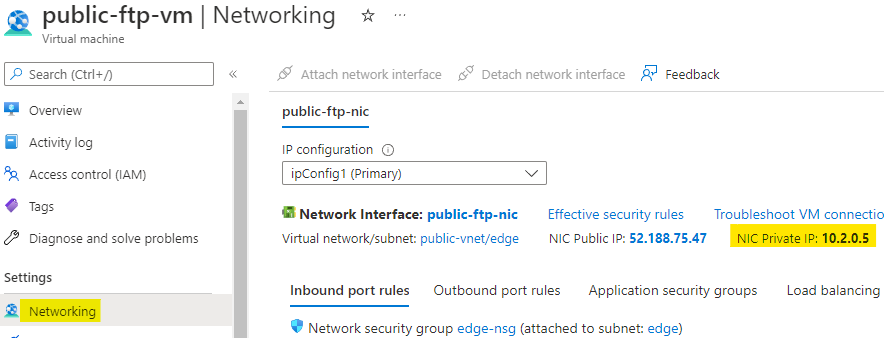
Use the below command to access the webserver of ftp-vm from web1-vm.
curl http://PrivateIpAddressYou will see that it will revert back with name of the VM. This means that there is server running on the VM but we can't access it because of the NSG.

Our lab is now complete.