The goal of this task is to provision two Azure public DNS zones. One will serve as a primary zone, and the other will serve as a sub-dmoain.
Note: For this task, you will only need to test the zone configuration by querying the name server for the DNS zone directly. If you can register the DNS zone and want to test actual public access to the DNS record you are encouraged to do so. If you do plan on publically registering the DNS zones, you should acquire a domain name first. Use that name when provisioning your first DNS zone in requirement 1. For example, if you register ine-demo.com, your first DNS zone should be named ine-demo.com.
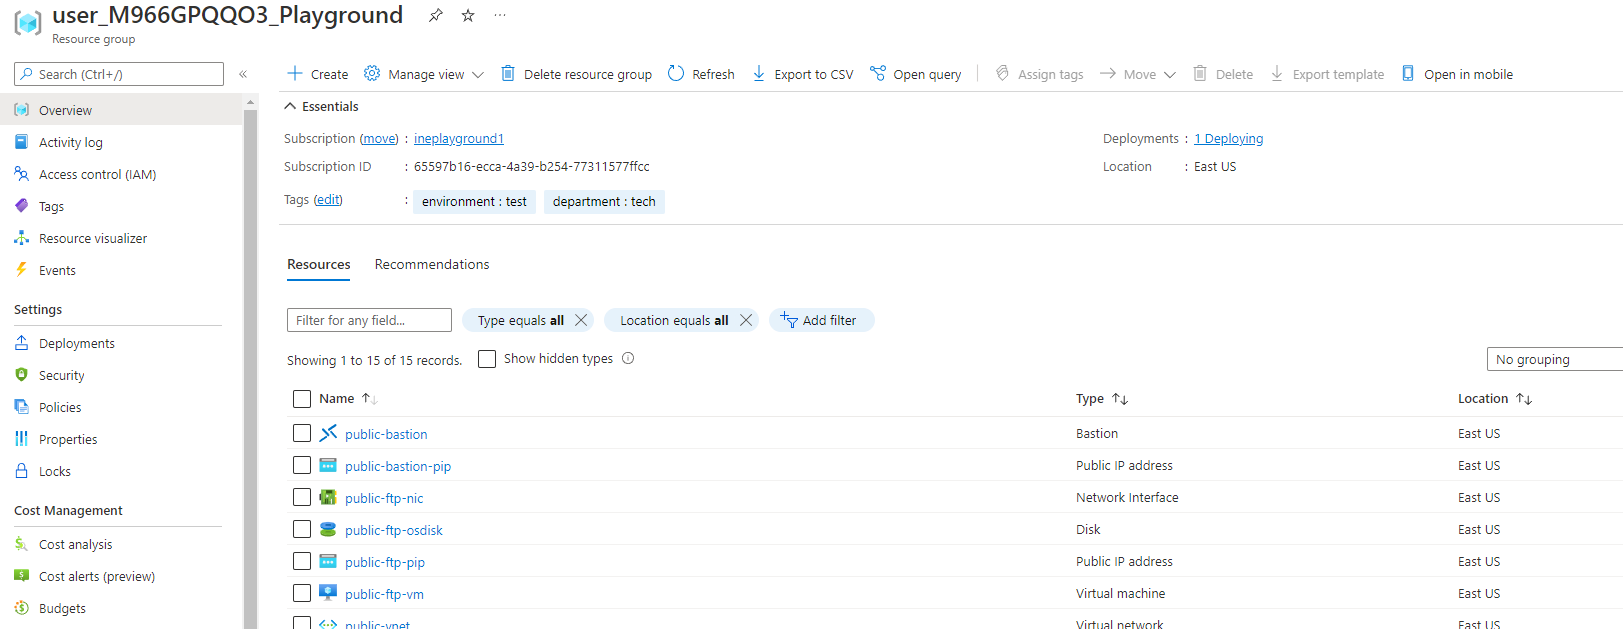
When you will login to your azure portal with the generated credentials. You will see that there are some resources pre created for you.
This all you will need to work with this lab.
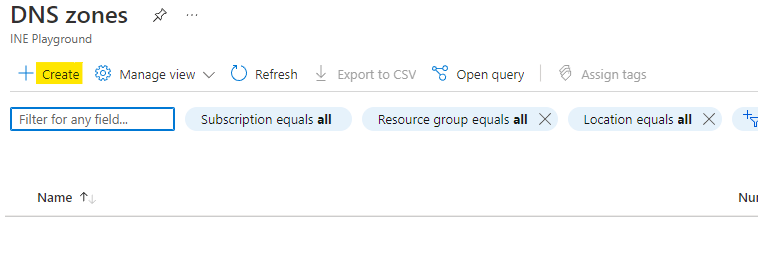
Search for dns zones and open the DNS zones service as highlighted below.

Click on Create to add azure dns zone.
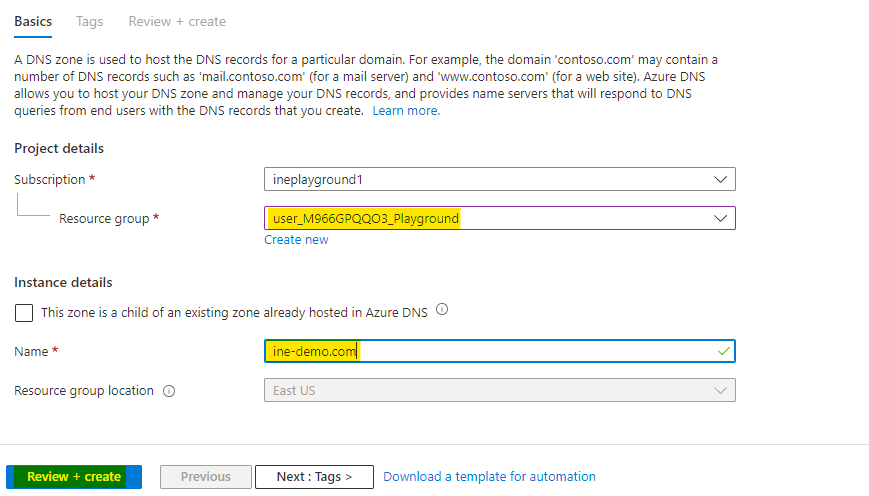
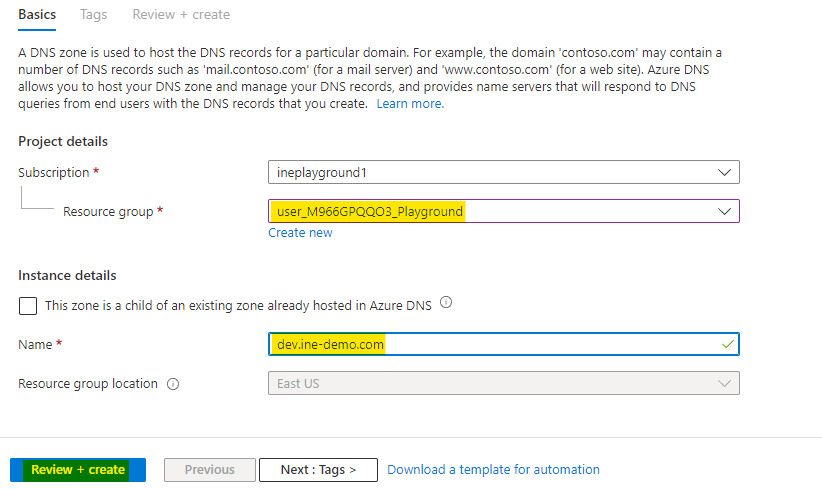
Now configure your DNS zone as below:
Click on Review+Create.
Azure will validate your configurations and you will see something like the below image. Click on Create after you see Validation passed

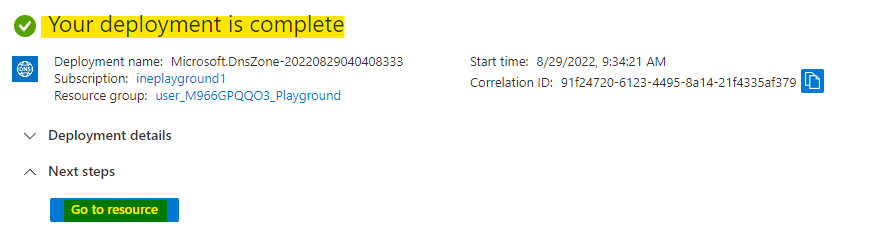
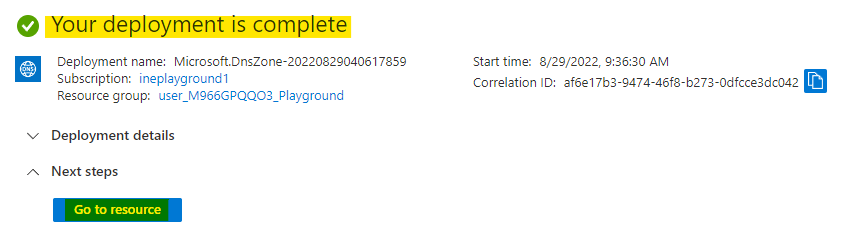
It will take time to deploy the DNS zone. You will see something like the below image after the DNS zone is deployed.
You can click on Go to resource to check the DNS zone you just created.
Now you have to deploy one more DNS zone and make this as a sub-domain of the first created DNS zone.
Create a new DNS zone with below configs:
Click on Review+Create.
Azure will validate your configurations and you will see something like the below image. Click on Create after you see Validation passed

It will take time to deploy the DNS zone. You will see something like the below image after the DNS zone is deployed.
You can click on Go to resource to check the DNS zone you just created.
Now take a not of the nameservers, we will use these to configure it as a sub-domain of the first created DNS zone.
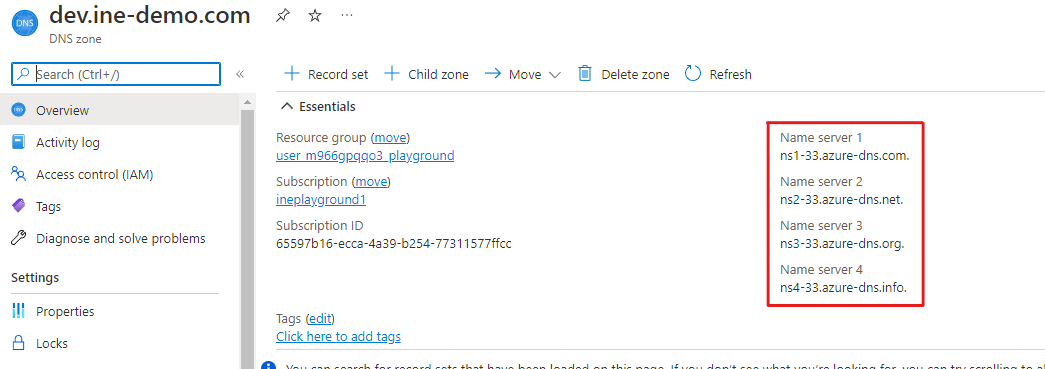
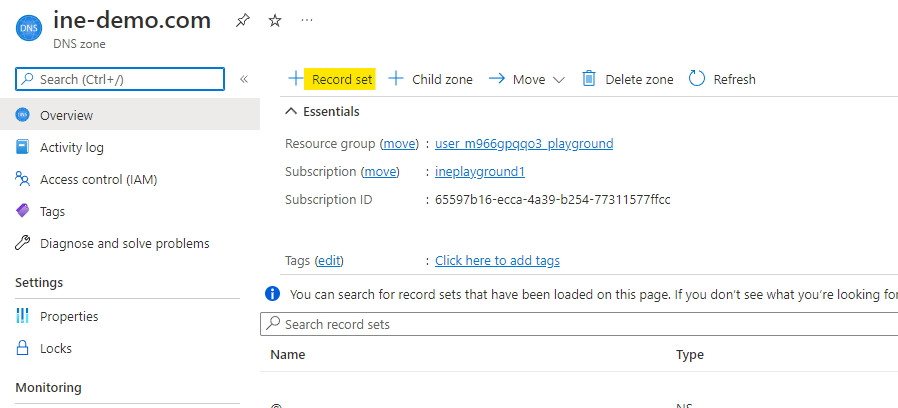
Go to the first created DNS zone and click on + Record set to add a DNS record.
Give it a name as dev, set the type as NS which means nameserver type record. Paste all the name servers of the second DNS zone.
Click on OK to add the record.

Go to the web1-vm and copy the public IP address of VM.

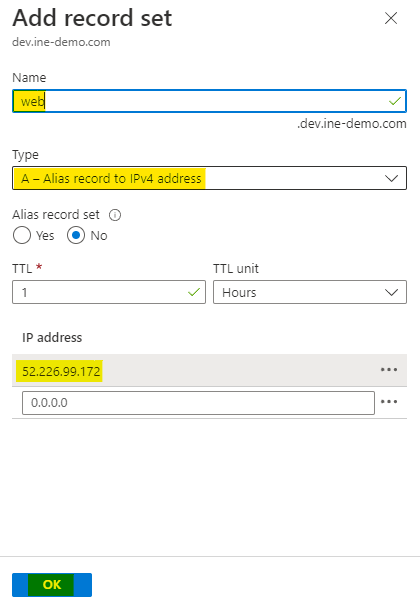
Go to the child zone and click on + Record set to add a DNS record.
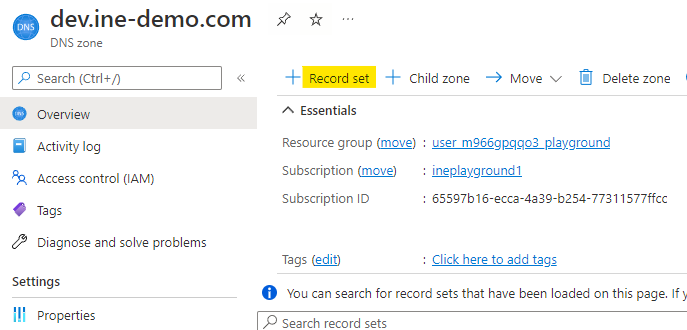
Click on OK to add the record.
We have created the second DNS zone as sub-domain of first DNS zone. This whole procedure could also be done by some simple steps as follows:
Note: Below step is just for the information, no need to configure the child zone if configured by adding the namespace record.
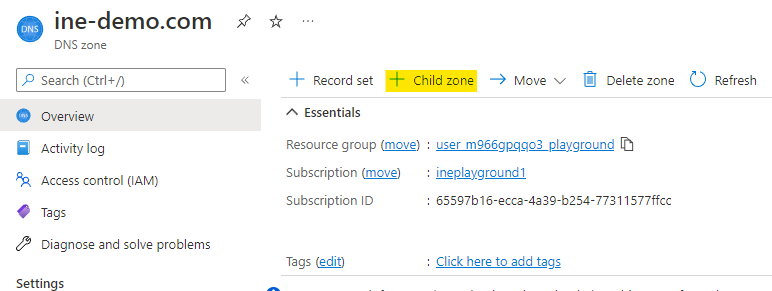
After creating the first DNS zone, open it and click on + Child zone.
Click on Review + Create to add the dev as child zone.
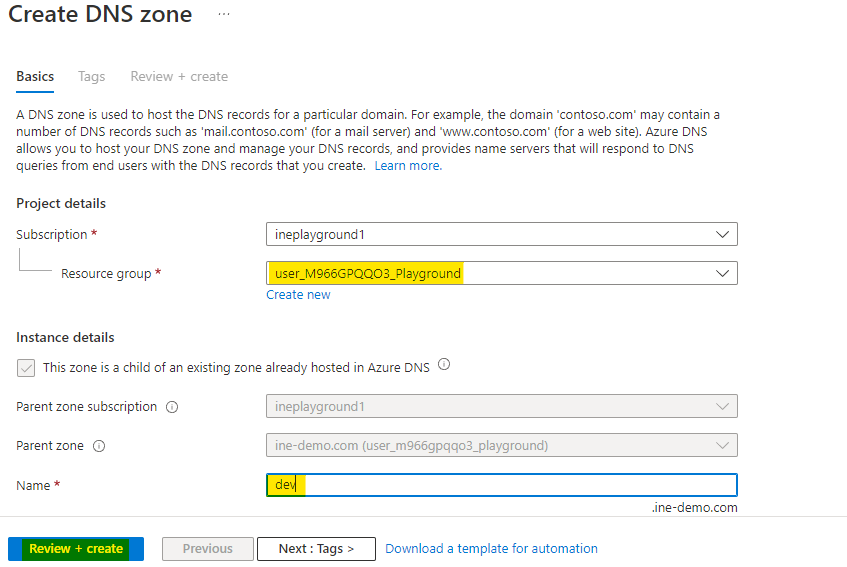
This is a new feature added by azure. This way azure will configure everything for you.
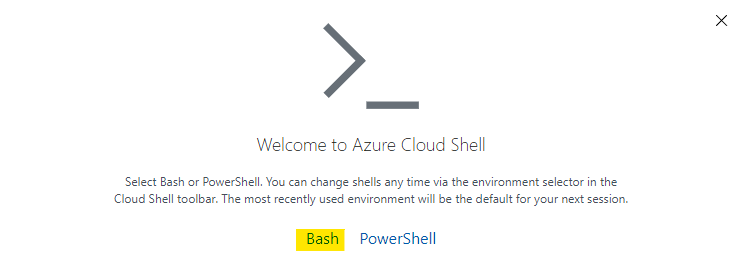
Open the azure cloudshell from the below link:
shell.azure.comClick on Bash to create a bash environment.
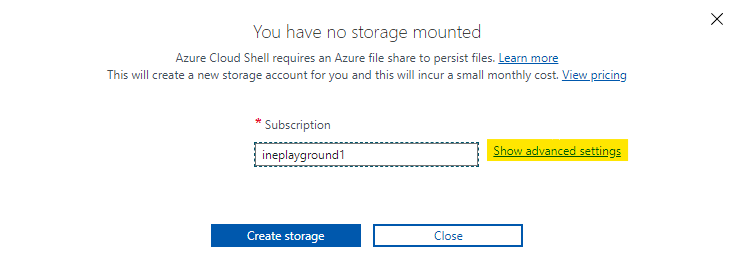
Click on Show advanced settings to configure the storage for cloudshell.
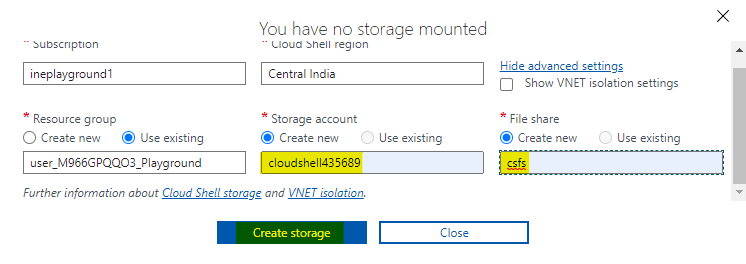
Provide a unique name for storage account and file share. Click on Create storage to provision the cloudshell.
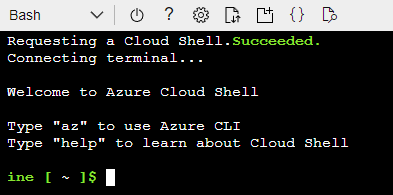
A bash environment of cloudshell will open up to you.
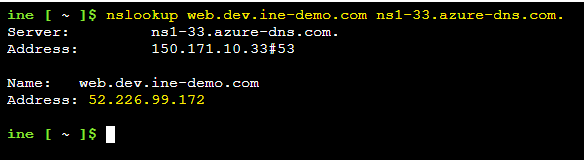
Use the below command to test out the DNS record.
nslookup web.dev.<your primary DNS zone> <the .com. name server>Use the web record and nameserver from the 2nd DNS zone.
This will revert back with the IP address of web1-vm.
Note: If you registered a domain name with the public internet, you can test name resolution with your browser. In order to do this, you will need to update your domain registration with the name servers for your Azure DNS zone. Once you have done that you should be able to navigate to the DNS name of your web app server.
Our lab is now complete.