The goal of this task is to associate a private DNS zone with two virtual networks. It will serve as the registration DNS zone for one virtual network and a resolution DNS zone for the other.
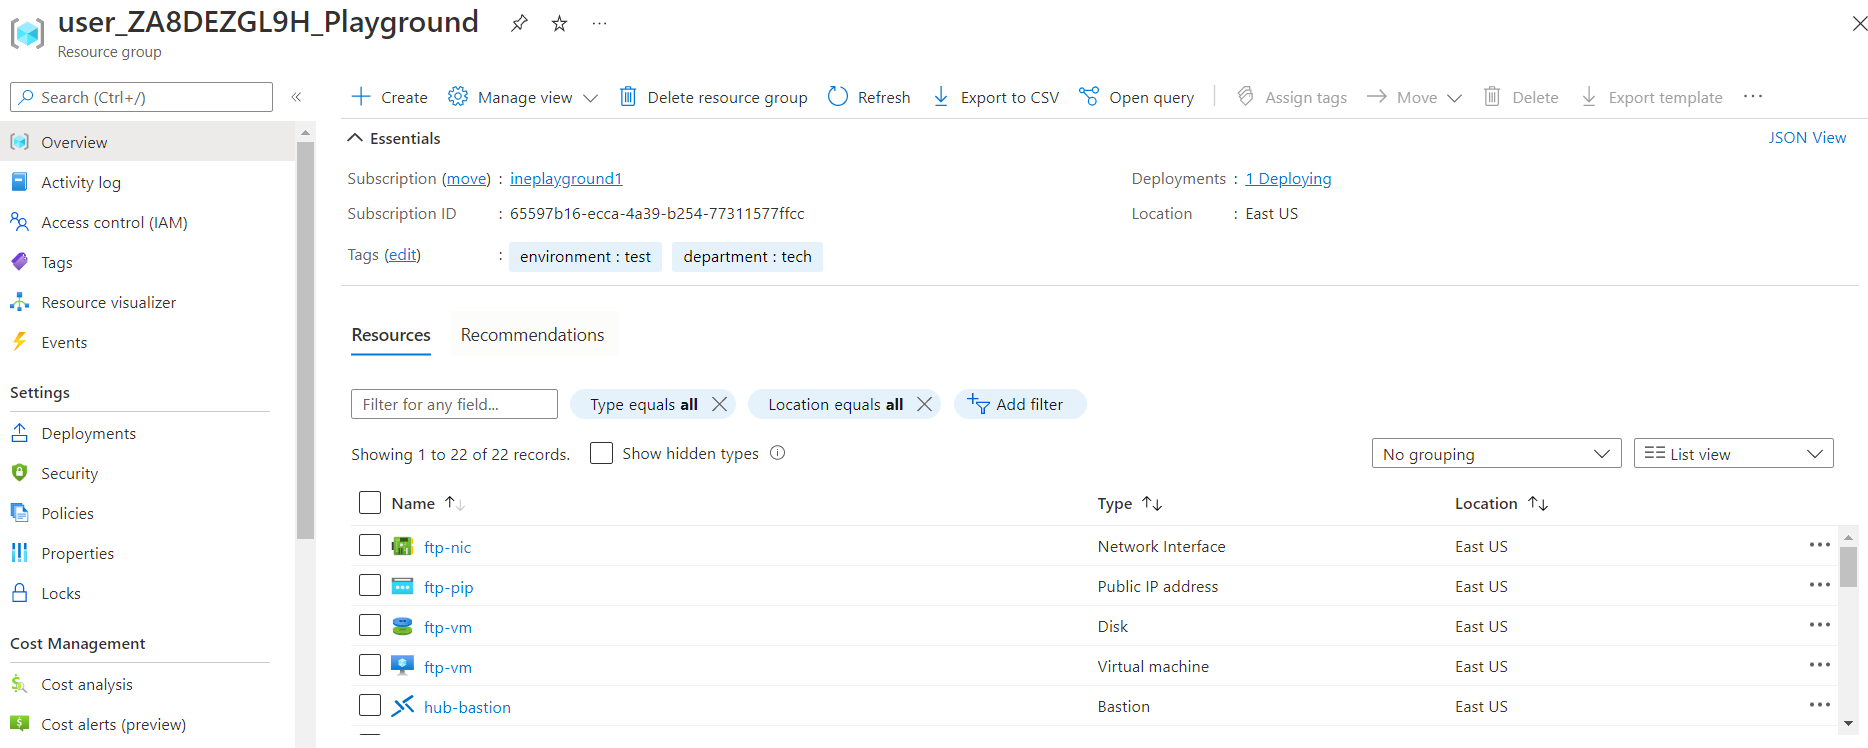
When you will login to your azure portal with the generated credentials. You will see that there are some resources pre created for you.
This all you will need to work with this lab.
For creating Private Azure DNS, you can use cloudshell, powershell or the azure portal.
I am going to show you the procedure with powershell environment of cloud shell.
Access the cloudshell with below link.
https://shell.azure.comClick on Powershell.

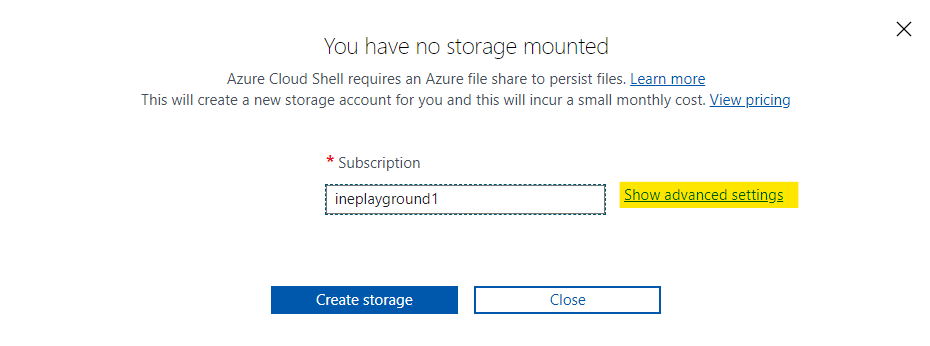
Use Show advanced settings to configure storage for cloudshell.
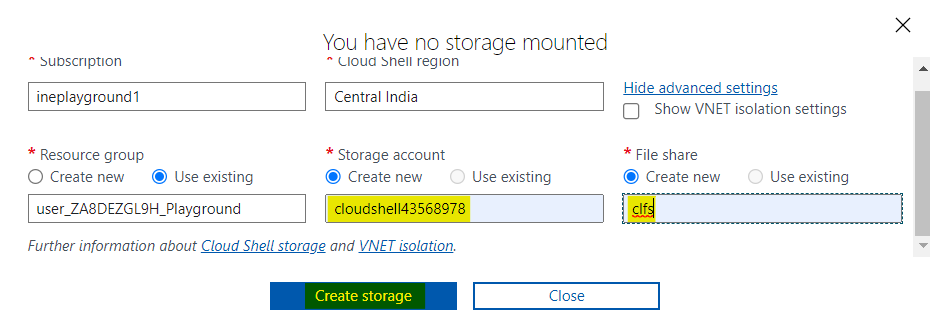
Give a unique name for storage account and file share. Then click on Create storage.
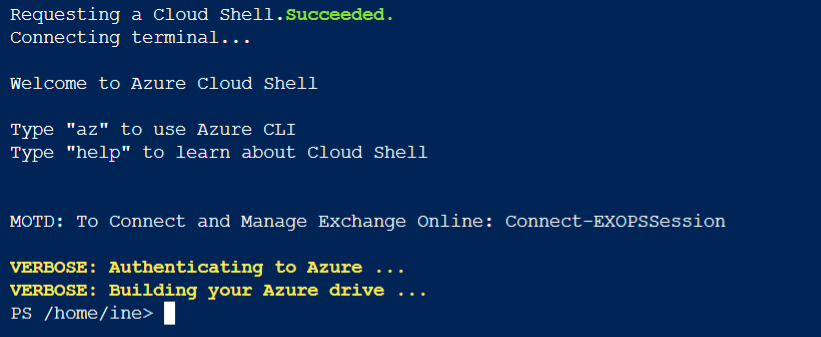
A powershell environment of cloudshell will open in your browser.
Install the neccessary module for azure private DNS using below command.
Install-Module -Name Az.PrivateDns -force
Now create a private DNS zone using the below command and give it a name as ine-student.task.
$zone = New-AzPrivateDnsZone -ResourceGroupName user_ZA8DEZGL9H_Playground -Name ine-student.taskNote: Use the resource group which is assigned to you.

Use the below command to set the vnet variable to point to public-vnet.
$vnet = Get-AzVirtualNetwork -ResourceGroupName user_ZA8DEZGL9H_Playground -Name public-vnetNow use the below command to create a virtual network link with public-vnet and setting it up as a registration zone.
New-AzPrivateDnsVirtualNetworkLink -Name public-link -ZoneName ine-student.task -ResourceGroupName user_ZA8DEZGL9H_Playground -VirtualNetworkId $vnet.Id -EnableRegistration
Use the below command to set the vnet variable to point to hub-vnet.
$vnet = Get-AzVirtualNetwork -ResourceGroupName user_ZA8DEZGL9H_Playground -Name hub-vnetNow use the below command to create a virtual network link with hub-vnet and setting it up as a resolution zone.
New-AzPrivateDnsVirtualNetworkLink -Name hub-link -ZoneName ine-student.task -ResourceGroupName user_ZA8DEZGL9H_Playground -VirtualNetworkId $vnet.Id
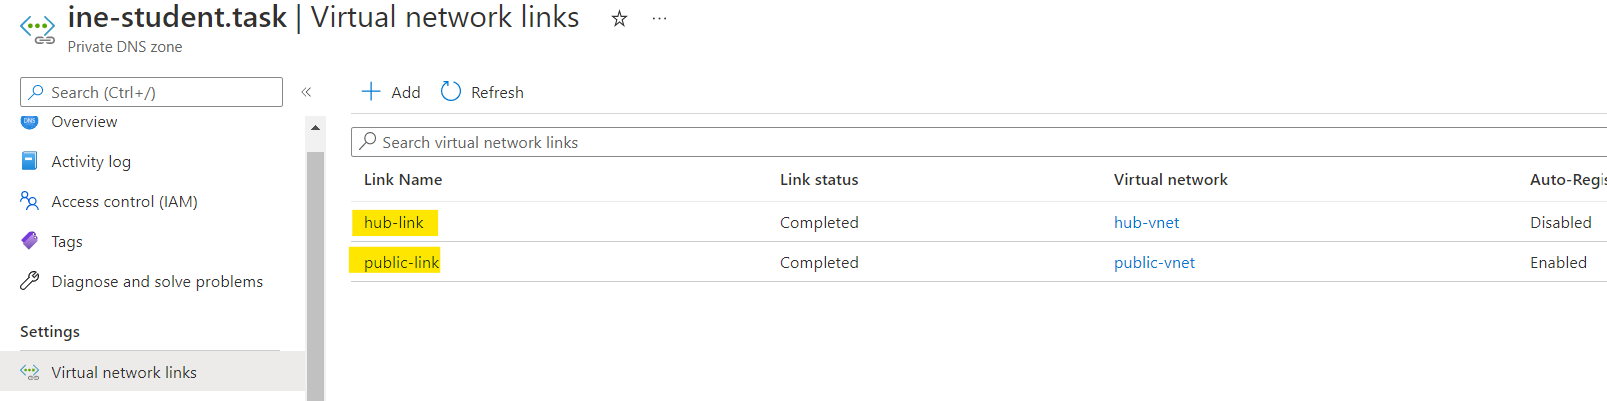
You can go to the portal and check the Virtual netwrok links in the private DNS zone we created. You will find both the links.
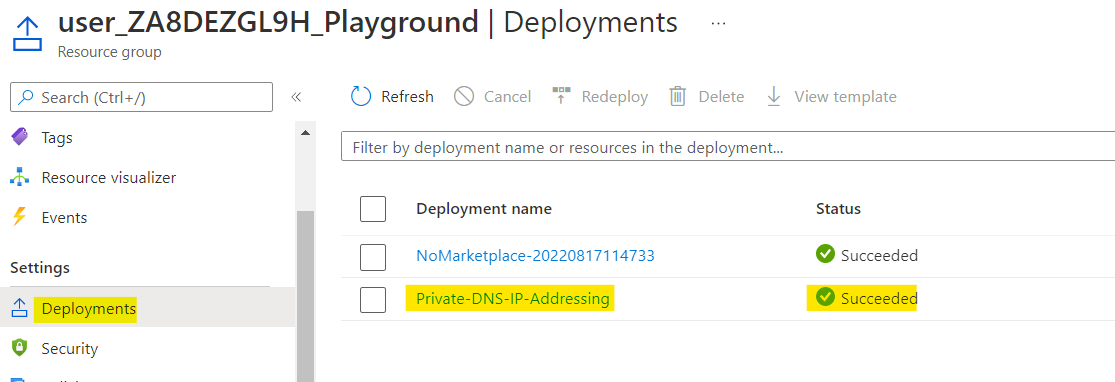
First go to the Deployments of your assigned resource group. You can see a deployment name Private-DNS-IP-Addressing, click on it.
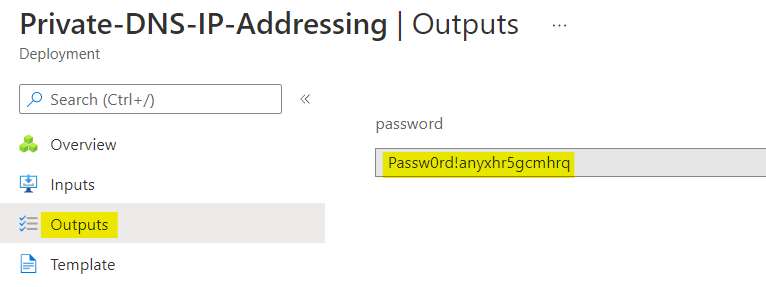
Go to the Outputs and copy the password. We will use it to connect to the virtual machines.
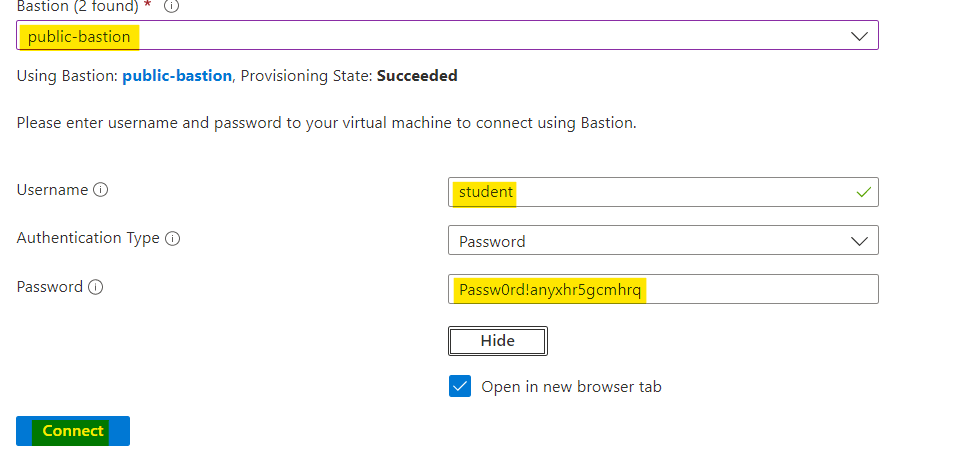
Now go to the public-web2-vm and open the Connect. Here go to bastion and click on Use Bastion.
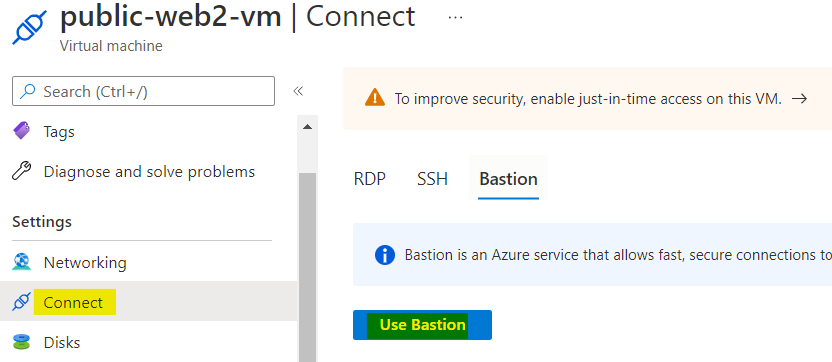
Use the public-bastion. Enter the username as student, use the copied password and click on Connect.
A SSH session will open in a new tab in your browser.
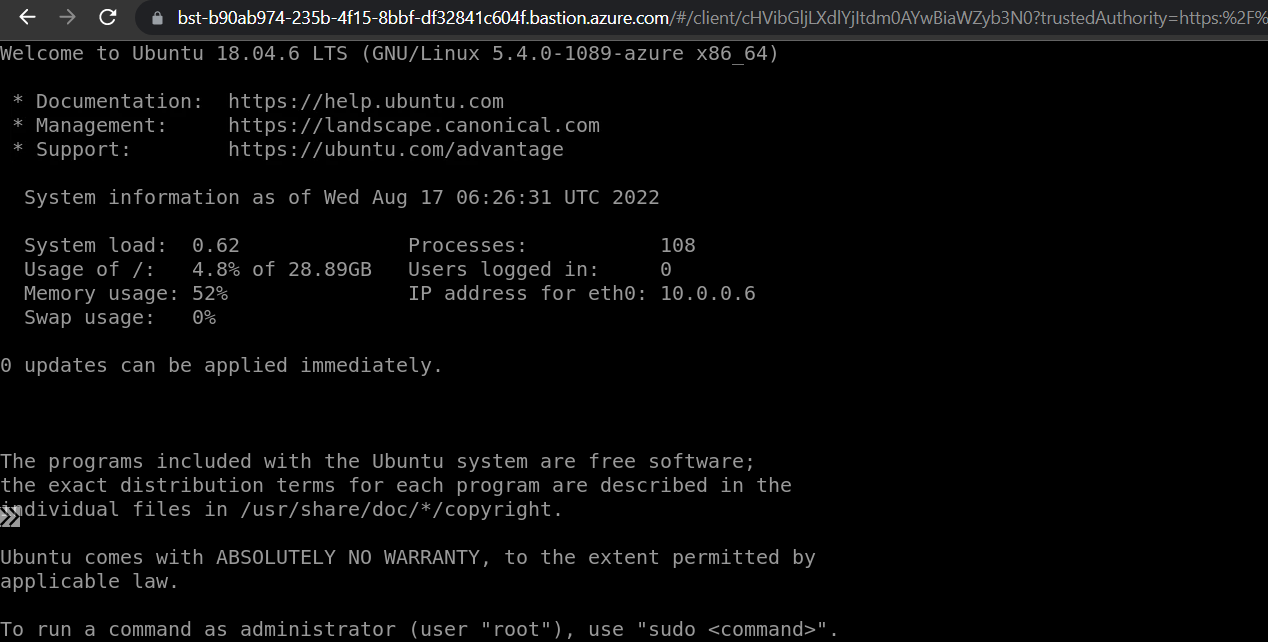
Use the below command in public-web2-vm.
curl public-web1.ine-student.taskIf you get the output as below, which is the name of web1 VM. This means that you have configured the private DNS zone properly.

In the same manner go to the hub VM and connect to it with the same creadentials, using hub-bastion.
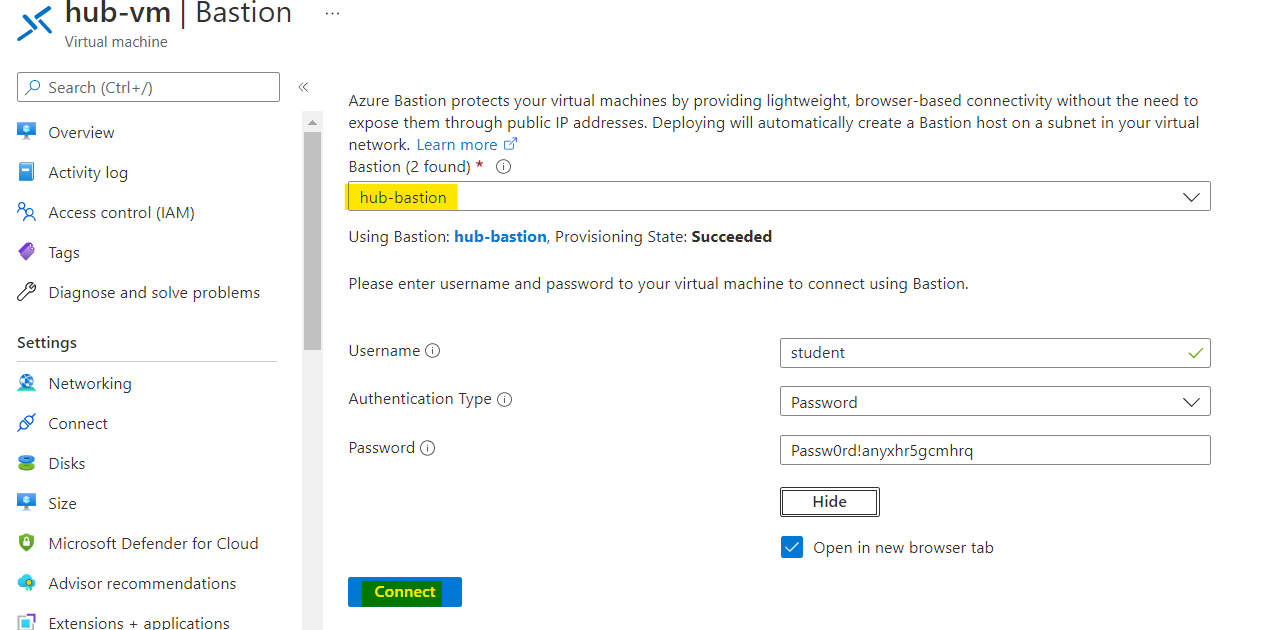
Use the same command as above in the hub VM also.
curl public-web1.ine-student.taskYou will get the same output which is name of web1 VM's name.

Note: We had peering relationship between these two virtual networks. You could have used any of the bastion hosts to connect to any of the virtual machines.
Our lab is now complete.