The goal of this task is to provision an Azure load balancer that serves as a public load balancer for a web app. The web app is hosted on two virtual machines.
First of all login to your azure portal with the generated credentials. You have to accept the terms and click continue to generate the credentials.
Note: Your credentials will be different from the one shown in the figure.
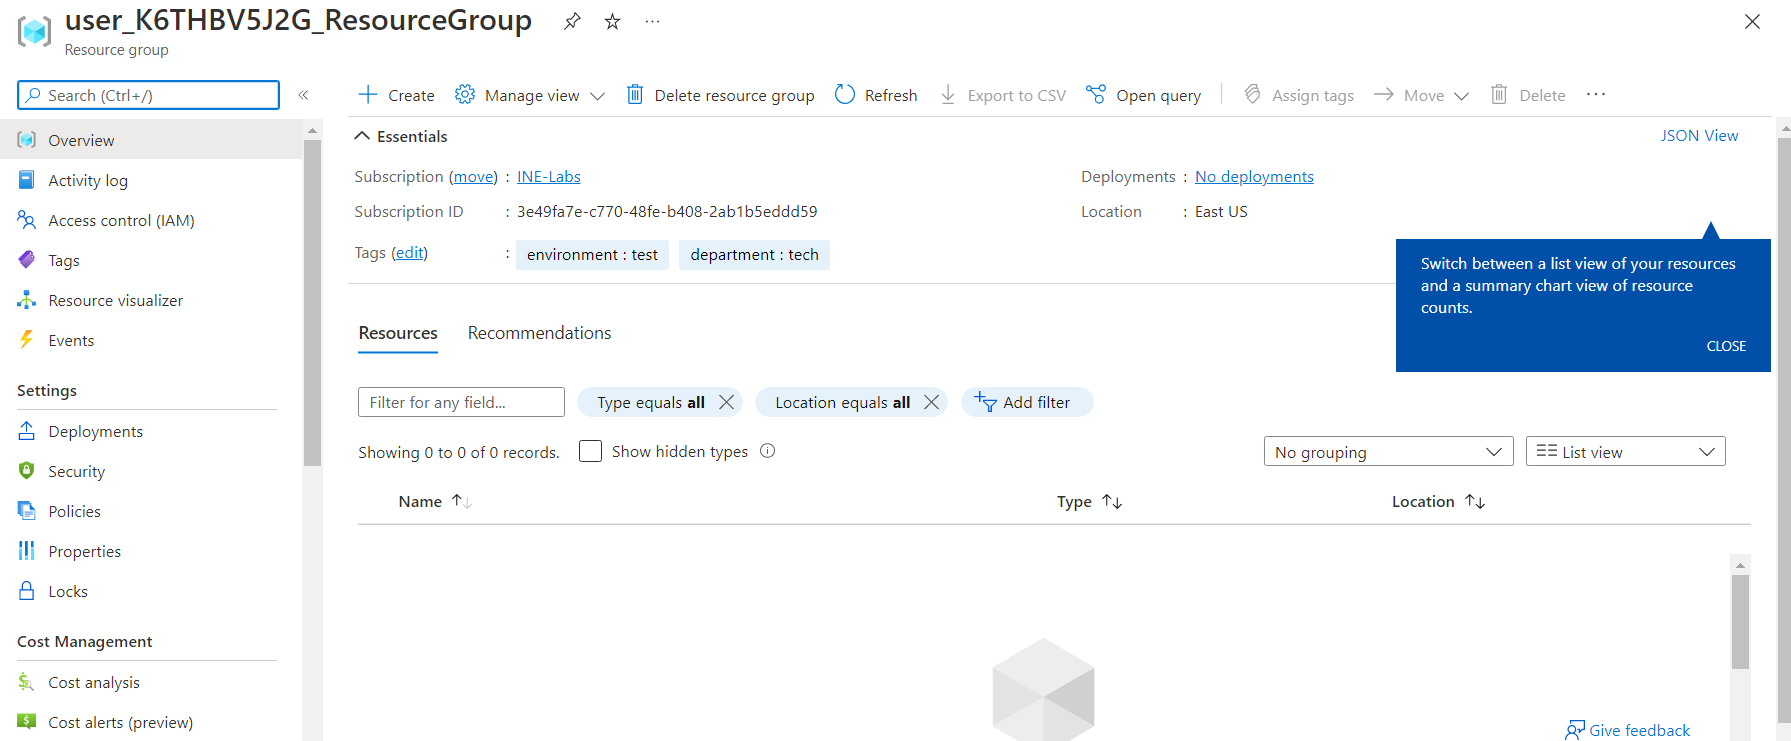
After logging in to portal using the credentials. If You see a empty resource group, wait for some time for the pre-requisite setup to be deployed.
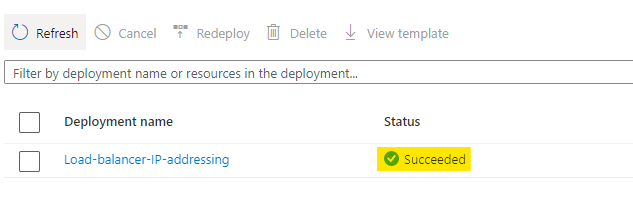
You can go to deployments and you will see that pre-requisites are deploying.

After a few seconds, deployment will succeed.
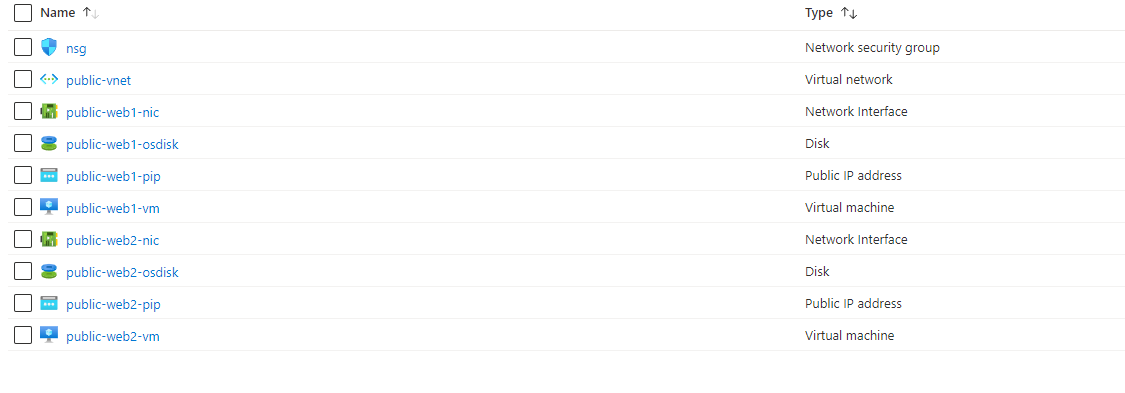
If you go to the overview of resource group, you will see some resources are now created.
First of all we will need a public IP address for the load balancer. We can also create it while creating Load balancer. It's totally up to you.
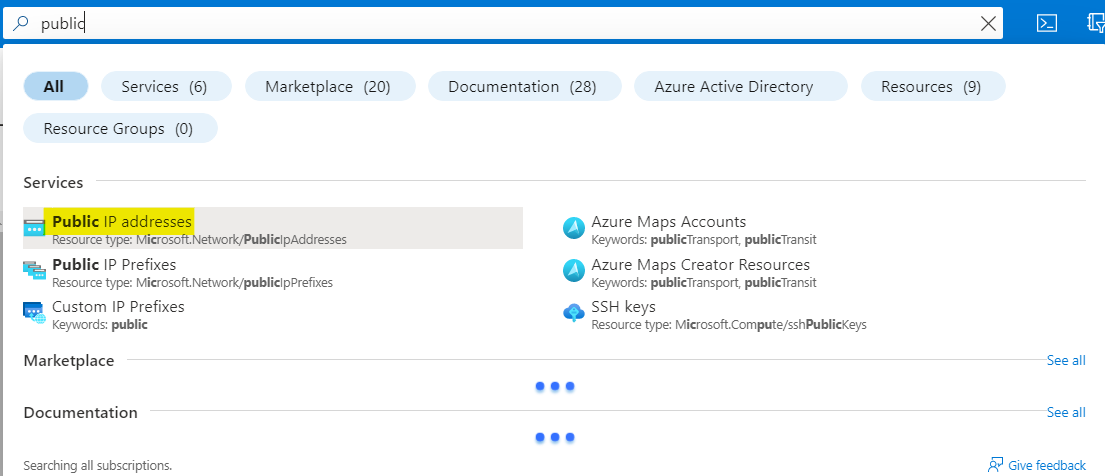
Now search for Public IP address you will see the service as highlighted in below image. Select this service.
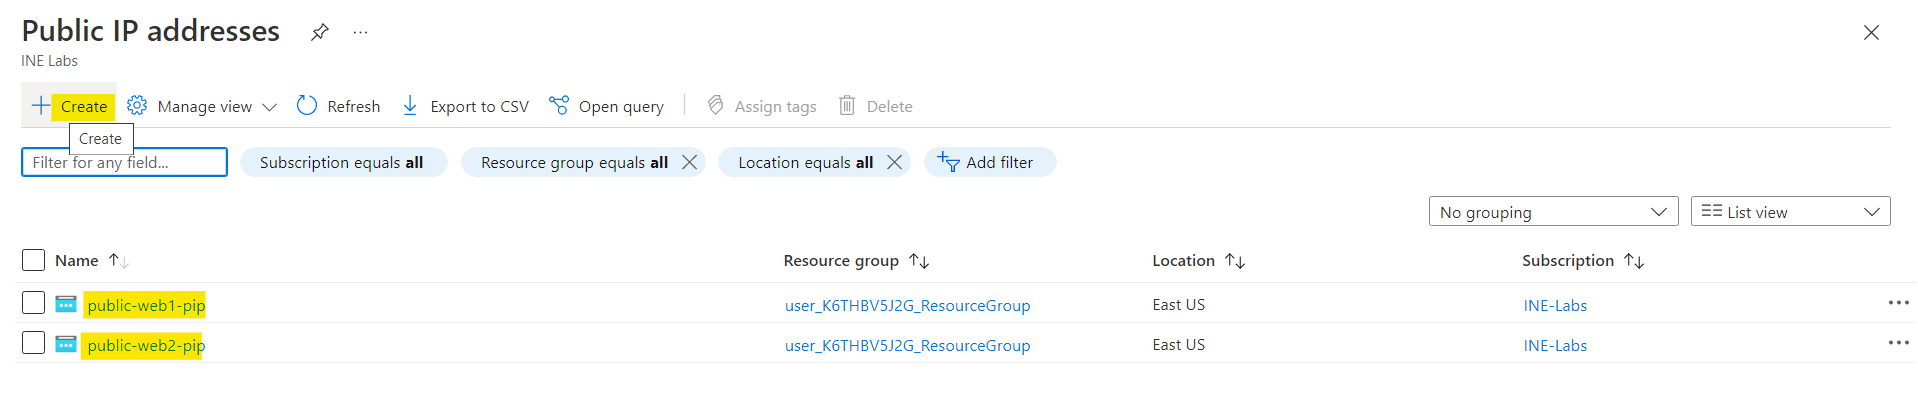
Here click on create to provision a new public IP address in our resource group. You can also see there are two public IPs for the VM already.
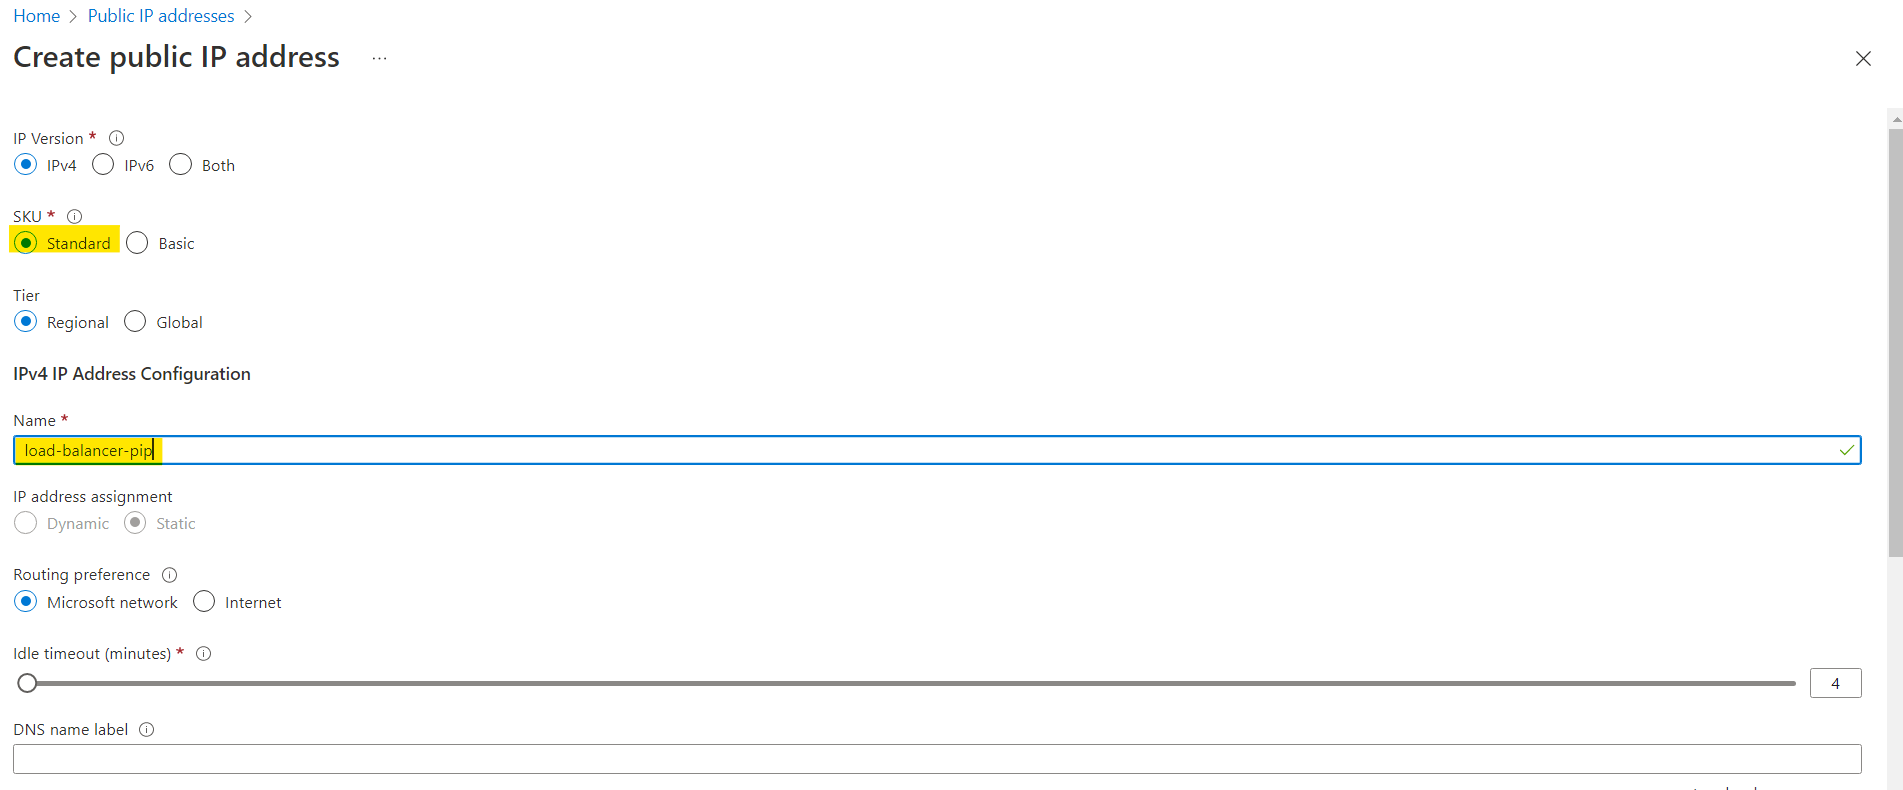
Here select the version as IPv4, then name it as load-balancer-pip. You can leave DNS label name empty.
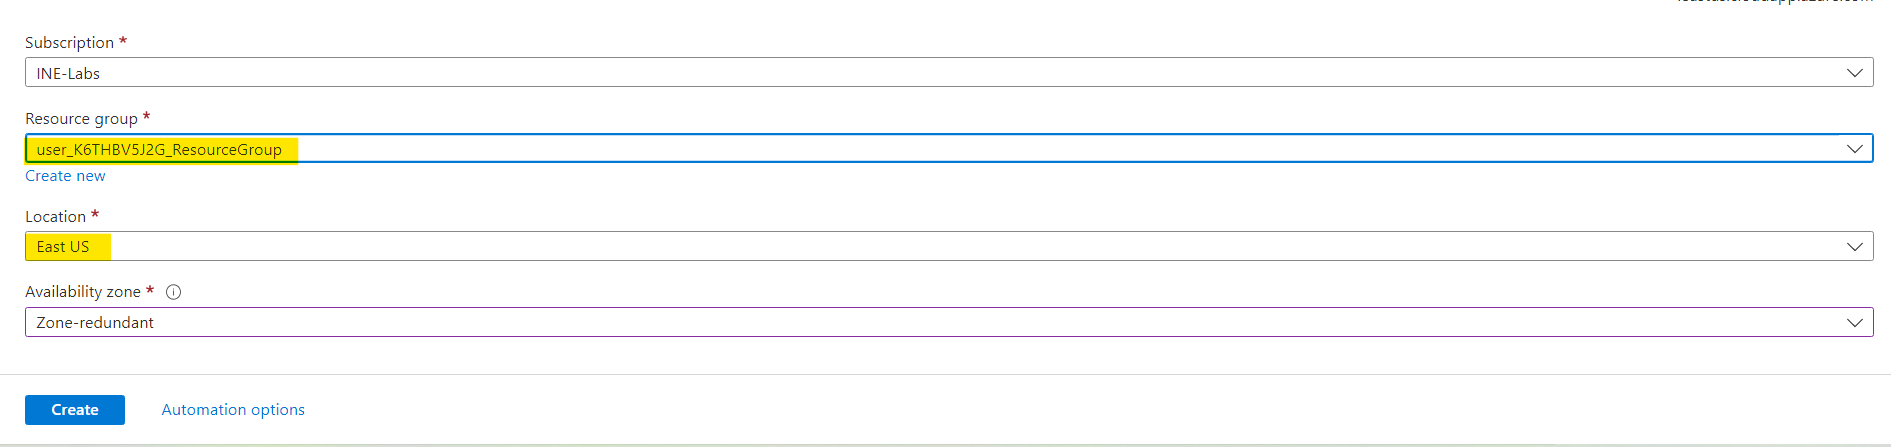
Note: Don't forget to use the same resource group as of your VM and the same region as of your Virtual Machine.
Finally click on create
It will take some time to create the public IP address.
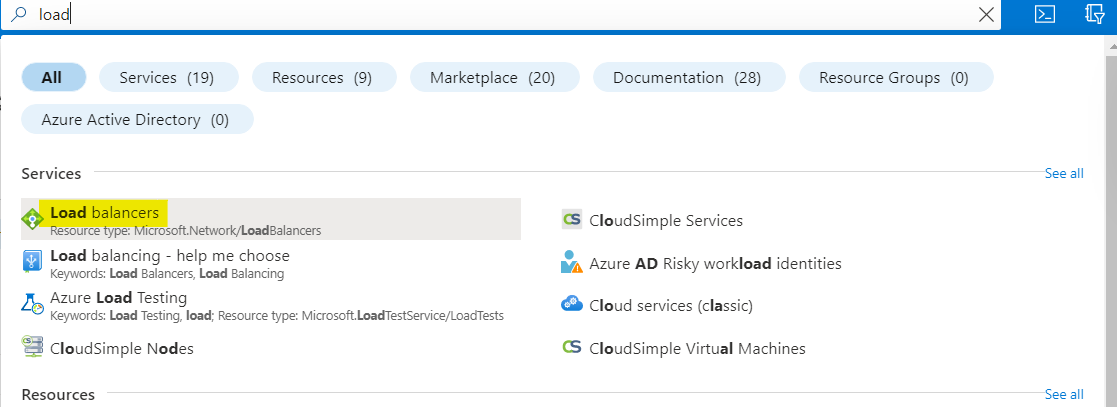
After the Public IP address is crated, search for load balancers and click on load balancers as highlighted in the image below.
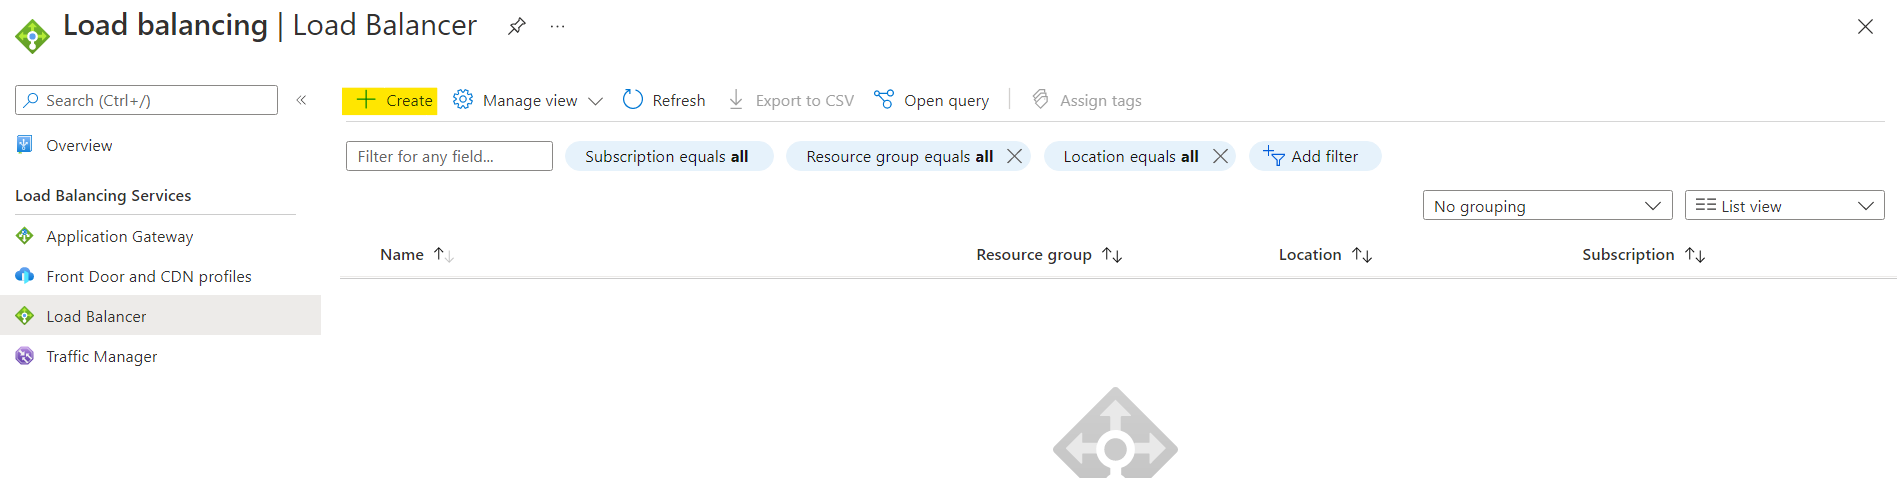
Click on create as highlighted below.
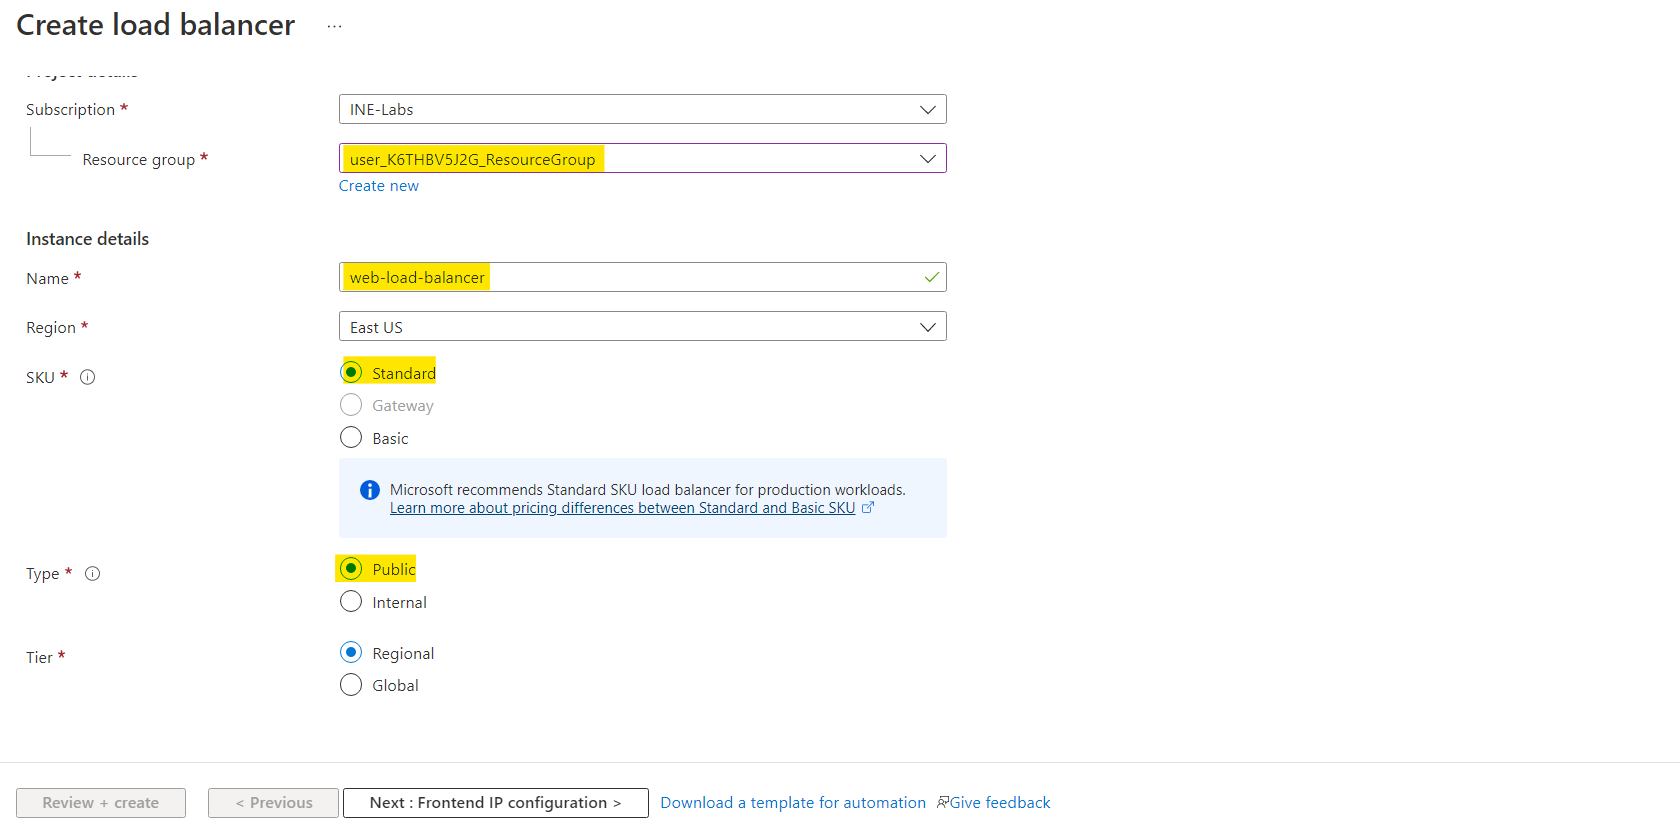
Use the same resource group and then name the load balancer.
As we want to create a load balancer for the Web Apps that can be accessed over internet.
For that use the SKU as Standard and Type of balancer as Public. Then click on Next
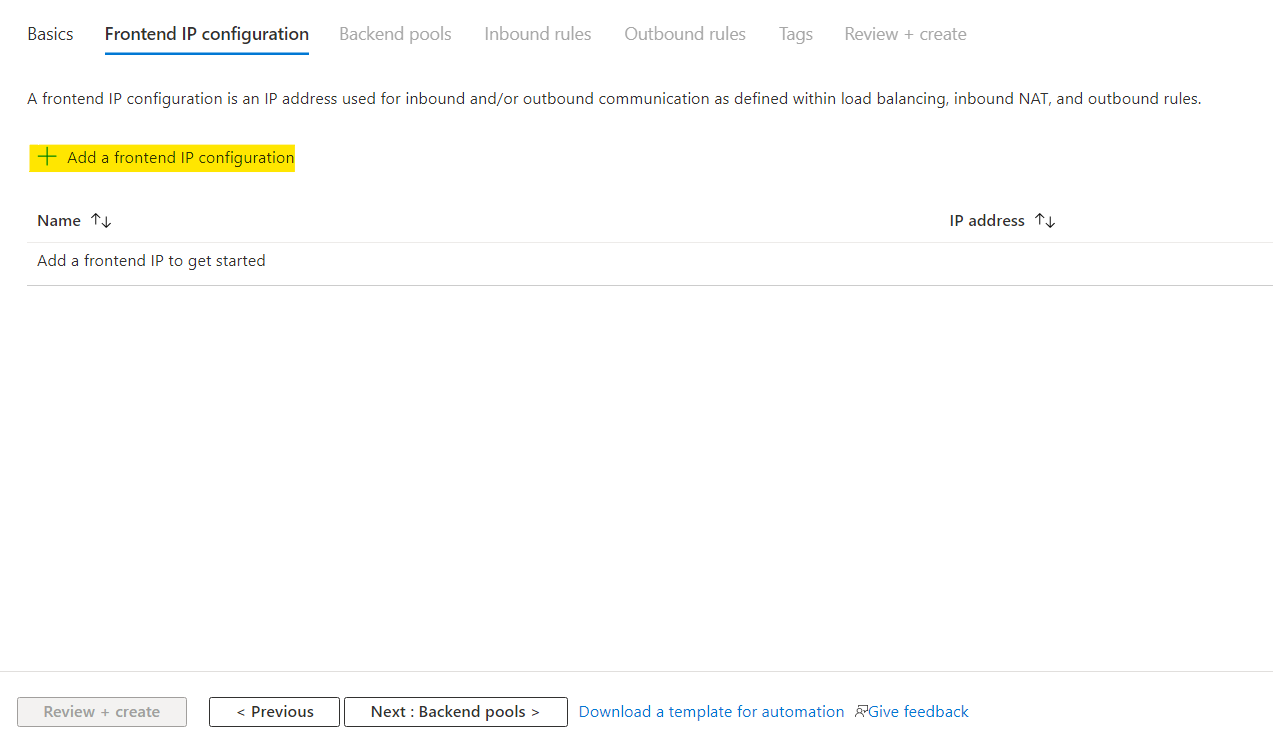
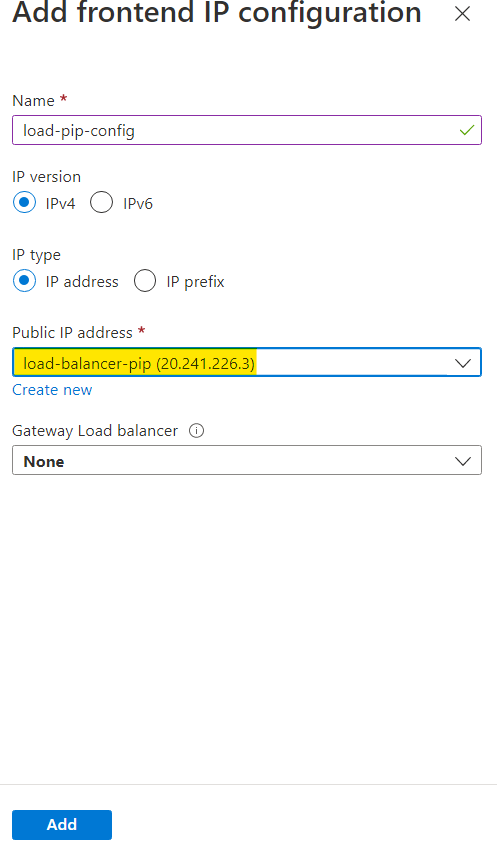
Here click on Add a frontend IP config
You will see something like the image below, give it a name and use the public IP we created earlier.
Here you can see a frontend IP config is added.
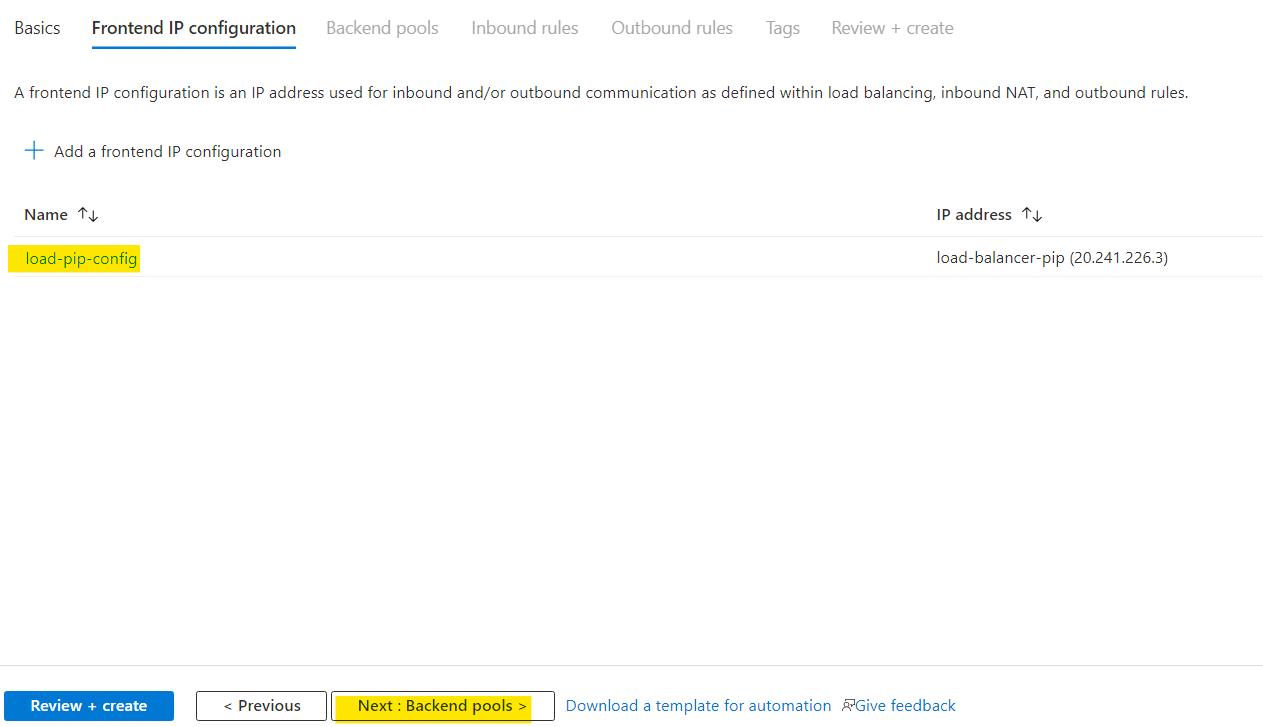
Click on Next
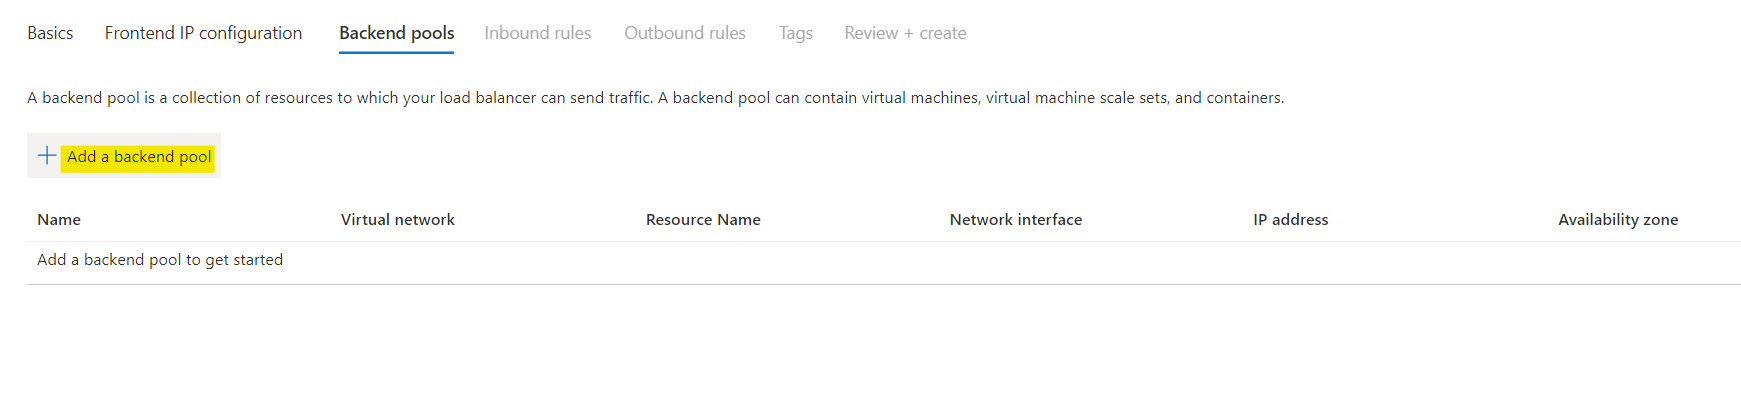
You will reach to Backend pools, here click on Add a backend pool
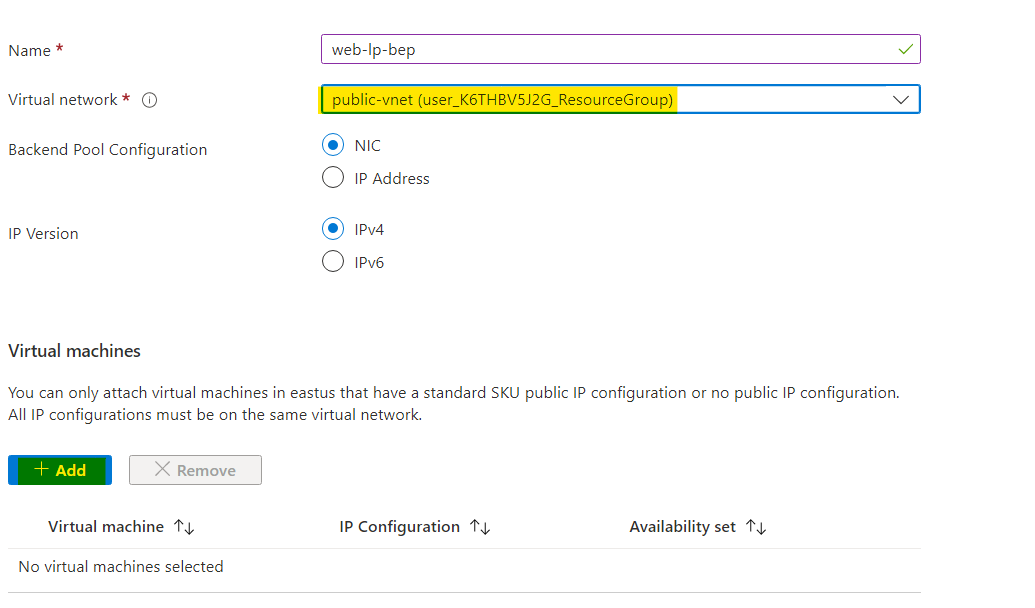
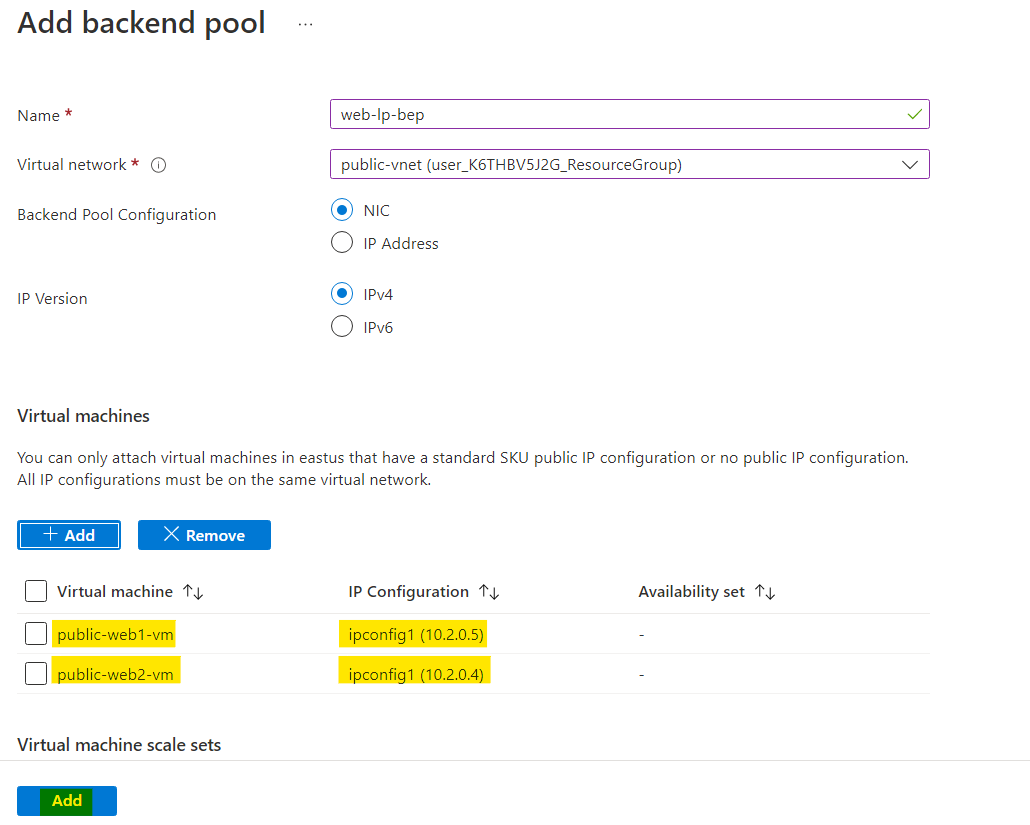
Give it a name and select the virtual network which was created during the initial deployment as highlighted below. Upon selecting you can see that you can now add VM to it. Click on Add
Select both the VM shown below.
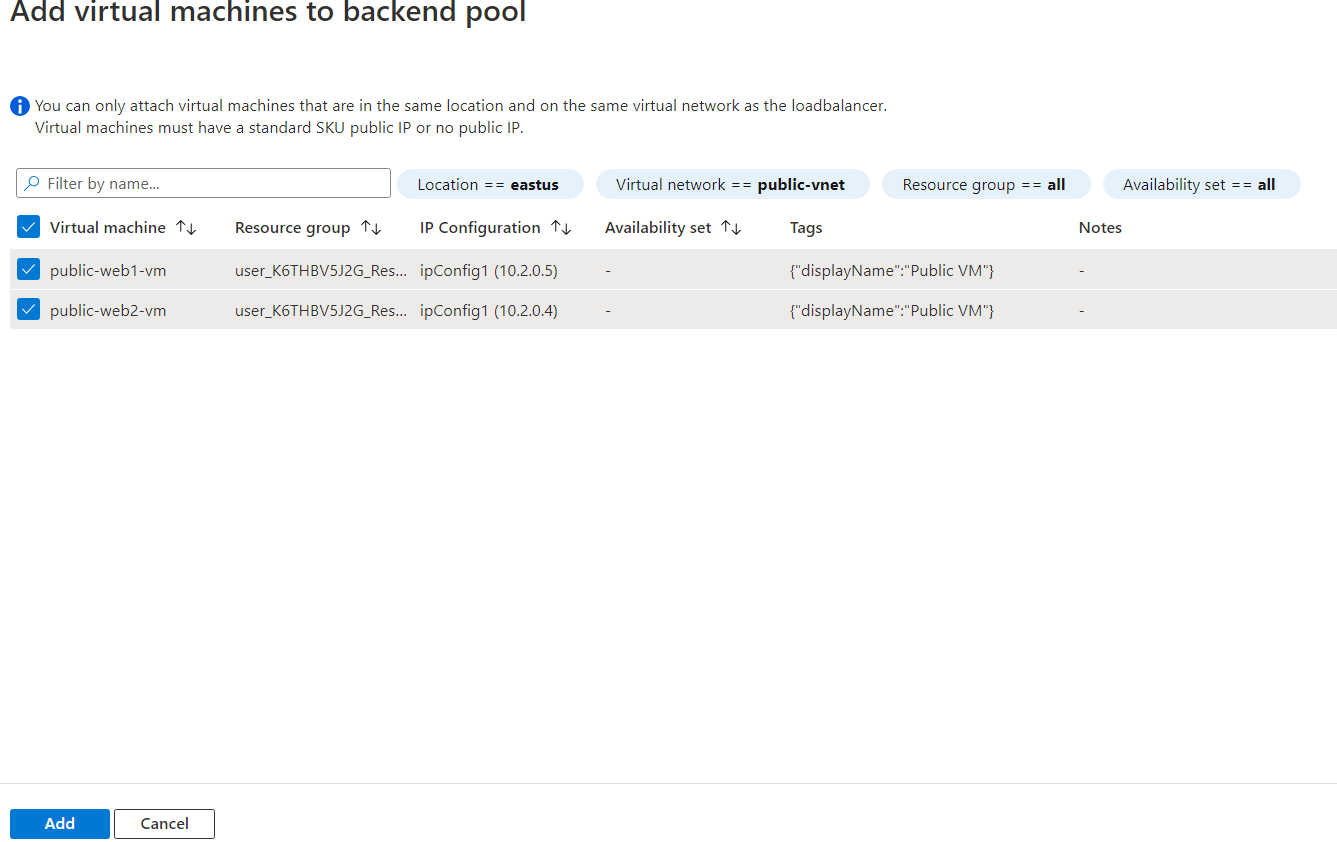
You can see that it is showing us the private IP config even though we have public IPs on these VMs. Now you can say that the load balancer uses the private network.
After adding the VMs you can click on Add to add this pool.
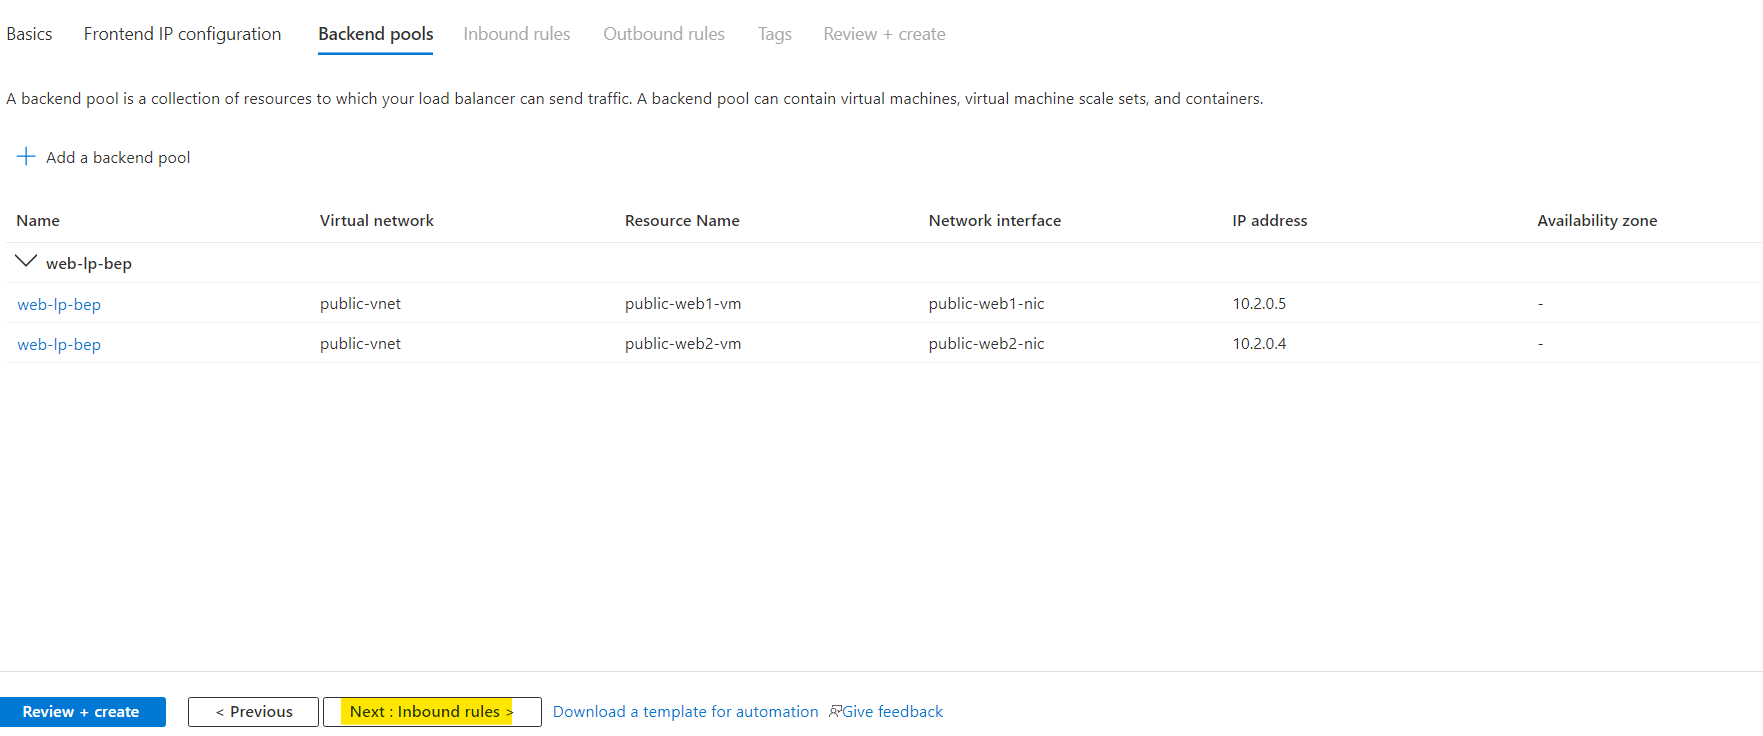
Both the VMs with there virtual network, IP addresses, NIC are shown. Click on Next
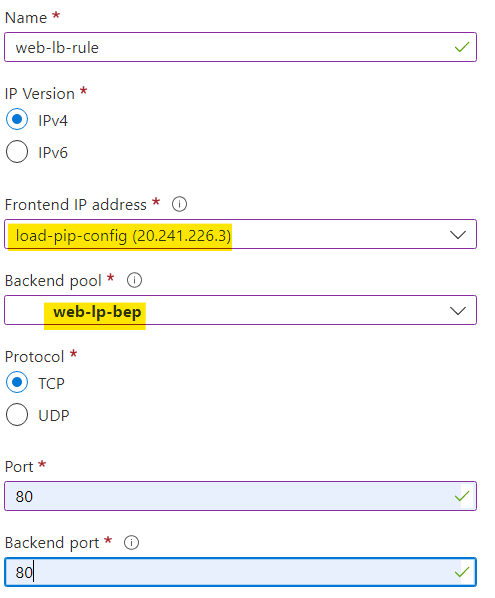
In the Inbound rules, you will see a option to add load balancing rule. Click on that as highlighted below.

Now scroll down a bit and you will see and option for health probe. Click on Create new.
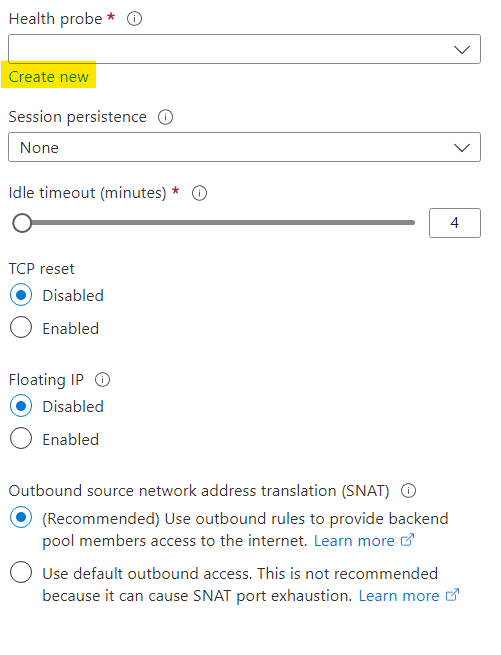
Let everything else remain same.
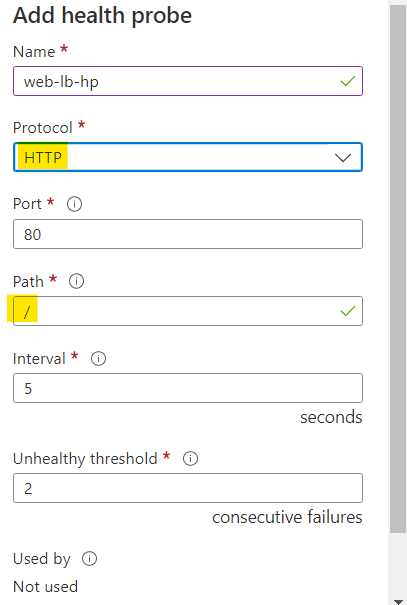
After creating the health proble you can see that the probe is already selected. Let other config remain same.
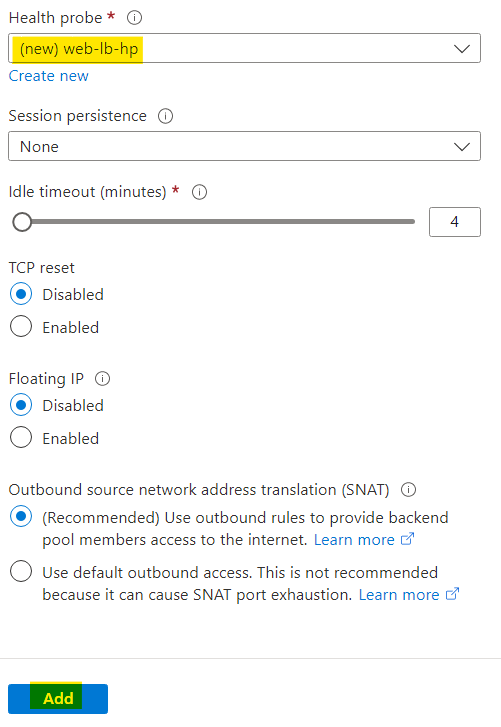
If you are wondering about the other configs, you can learn those from video where this all is explained very well. Click on Add
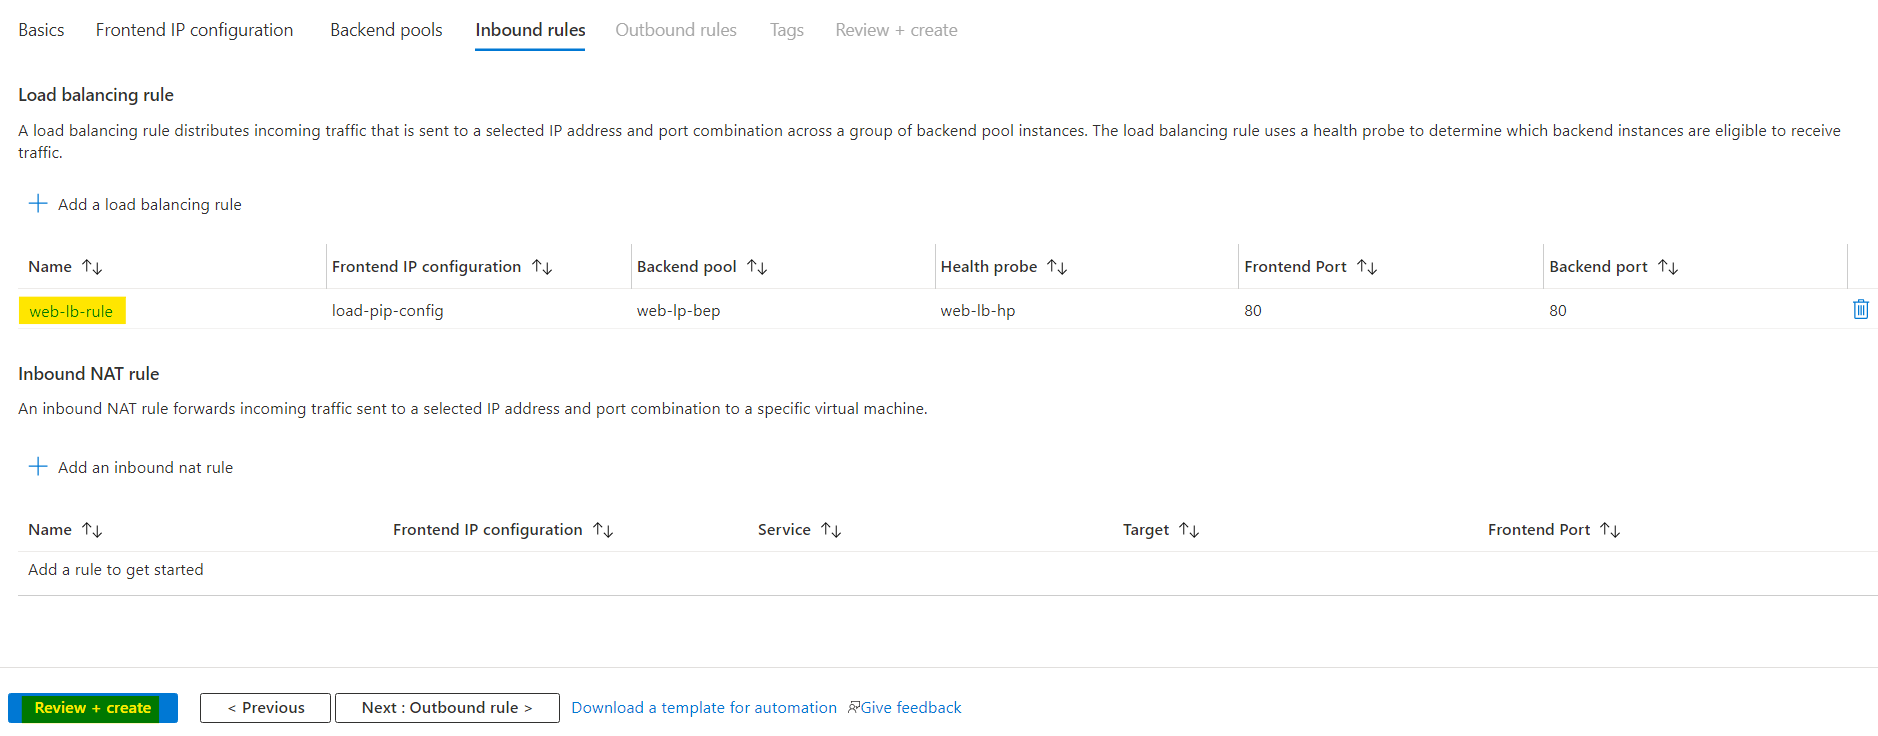
Now you can see that a new load balancing rule is added.
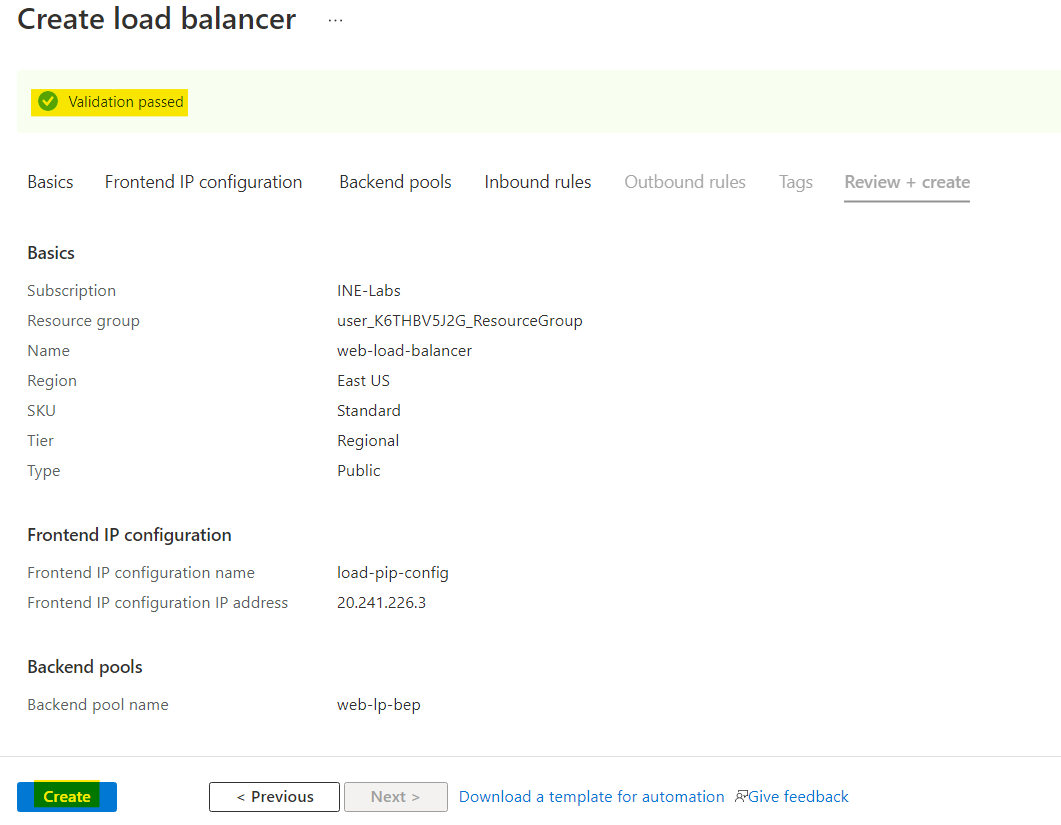
Now we have done everything needed so click on Review + create.
Azure will check if everything is fine. After a few second you will see Validation passed. Now click on Create to finally deploy the load balancer.
When the load balancer is deployed click on Go to resources. You will see the IP address for the load balancer. If not click on See more in overview.
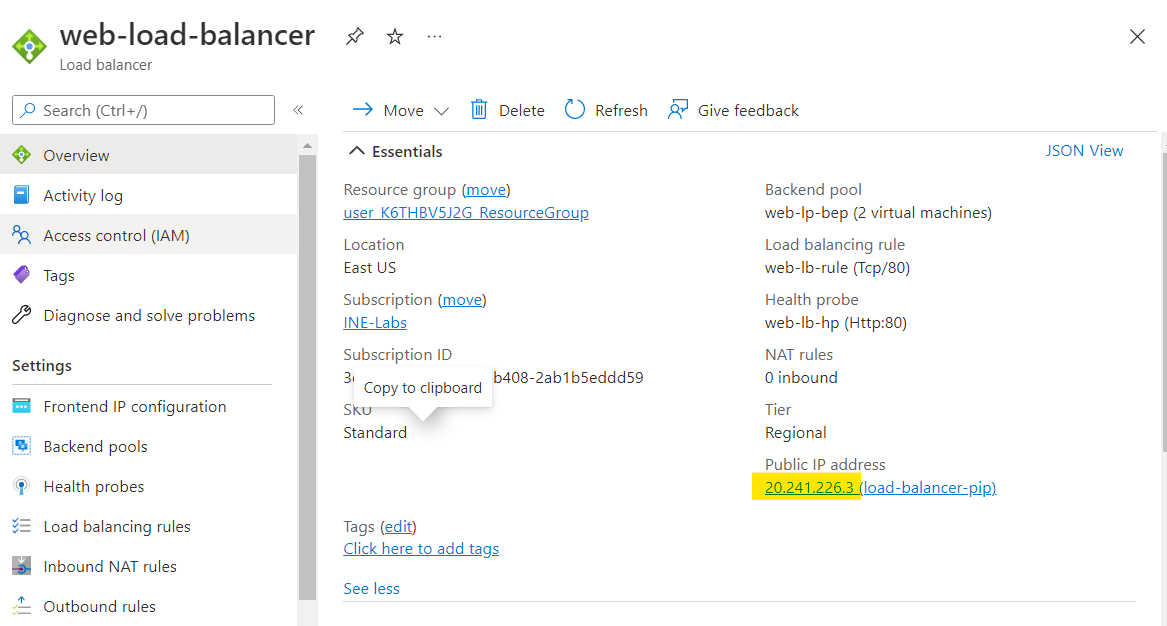
Use this IP address at your browser.
Refresh it few times and you can see two different outputs.
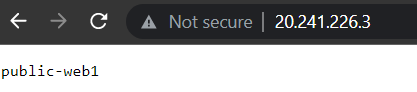
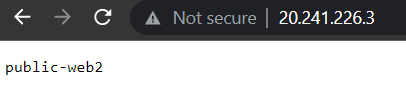
If you can see both the outputs, it means you have configured the load balancer properly.
Note: Here our web app VMs have public IP addresses so they can be directly accessed on Internet for debugging purposes and also to show you that load balancer use private network to connect to VMs. In a real world scenario do not assign public IP addresses to your services in similar situation.