The goal of this task is to complete a basic "hub and spoke" network topology. There are two virtual networks - hub-vnet and public-vnet - that have a pre-existing peering relationship. A third virtual network - op-vnet - will be connected via a VPN tunnel and changes will be made to the existing peering relationship to support full network connectivity.
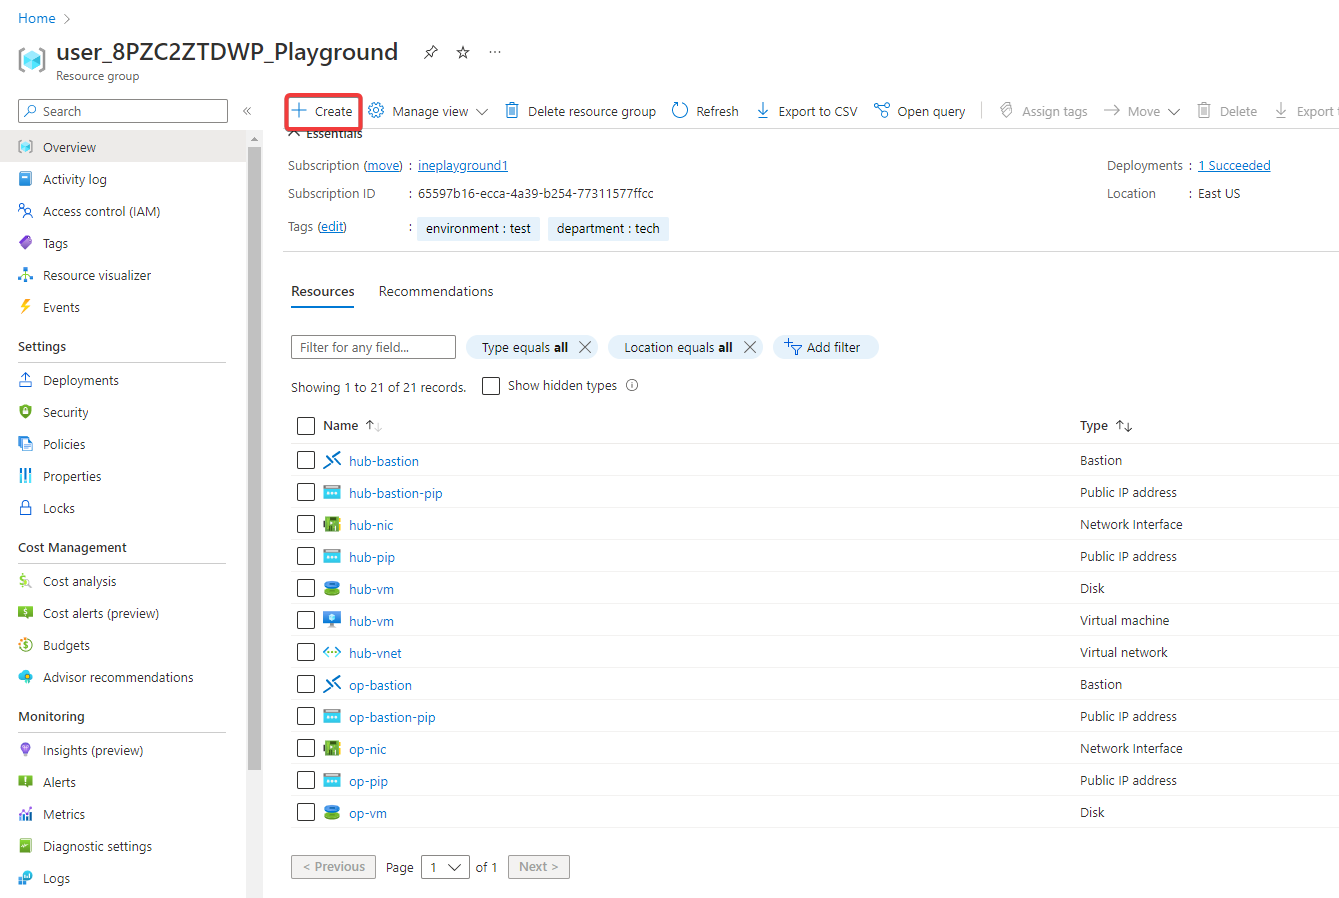
When you log in to Azure with the provided credentials, you will find all the pre-requisite setups available in the resource group. Now click on Create.
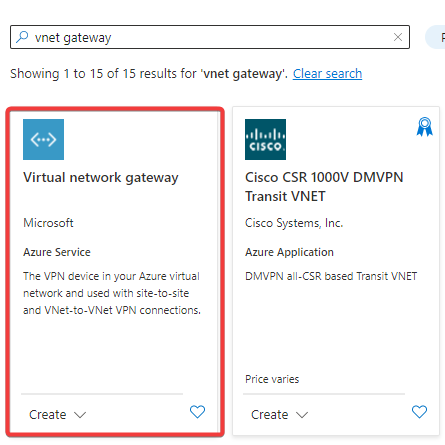
Search for vnet gateway and click on Virtual network gateway.
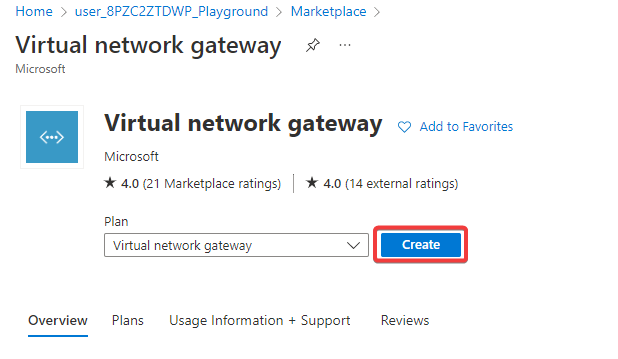
This page will provide an overview of the virtual network gateway. Now click on Create.
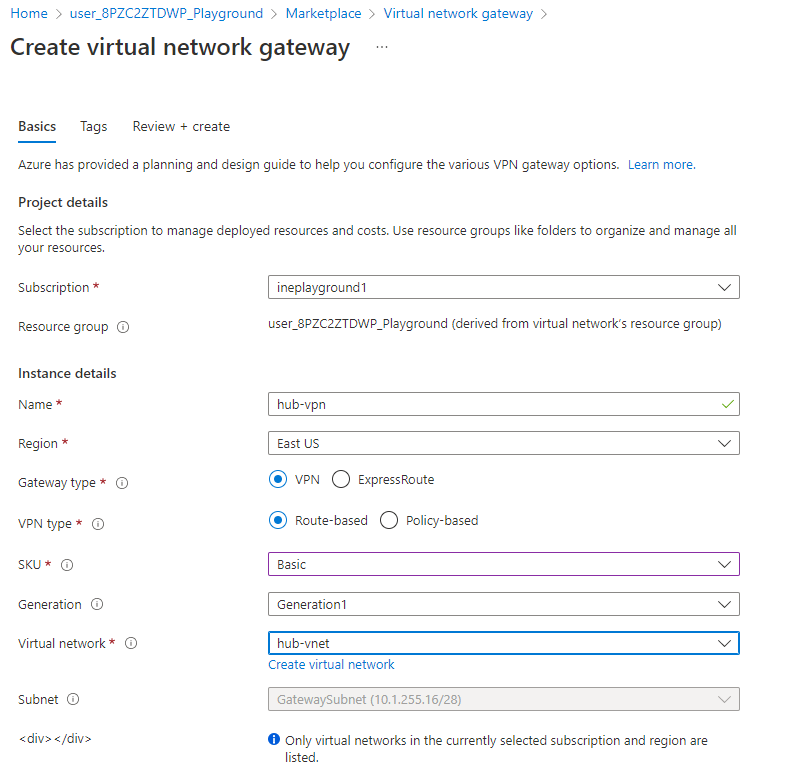
Configure the following settings and create a virtual network gateway.
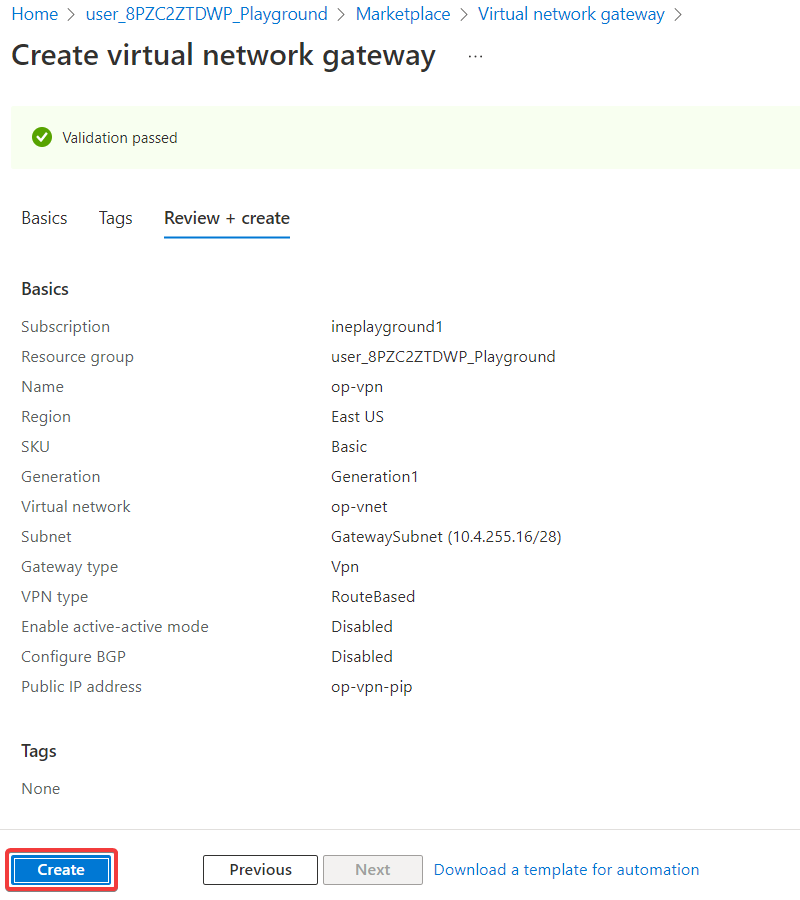
Select Create new in public IP address. Set IP address name as hub-vpn-pip and click on Review + create.
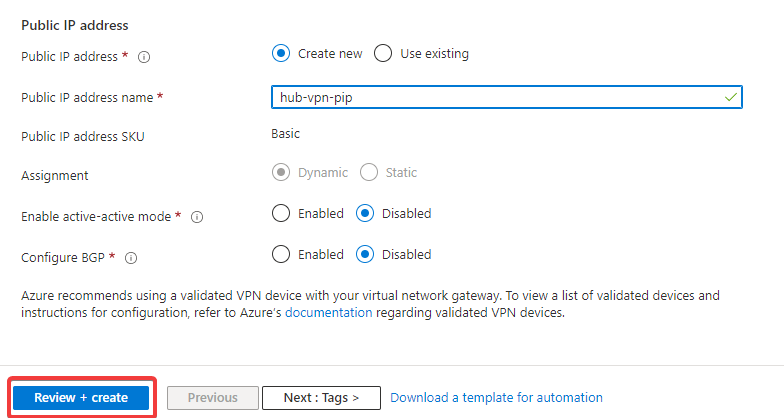
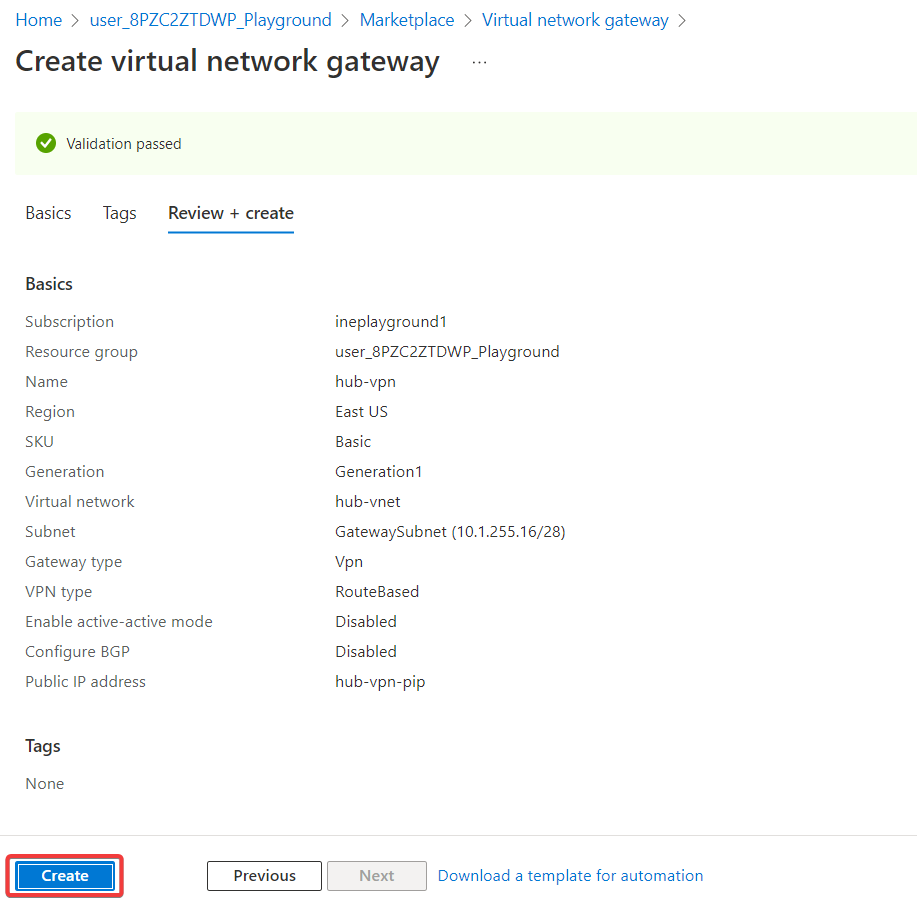
After the validation is passed, click on Create.
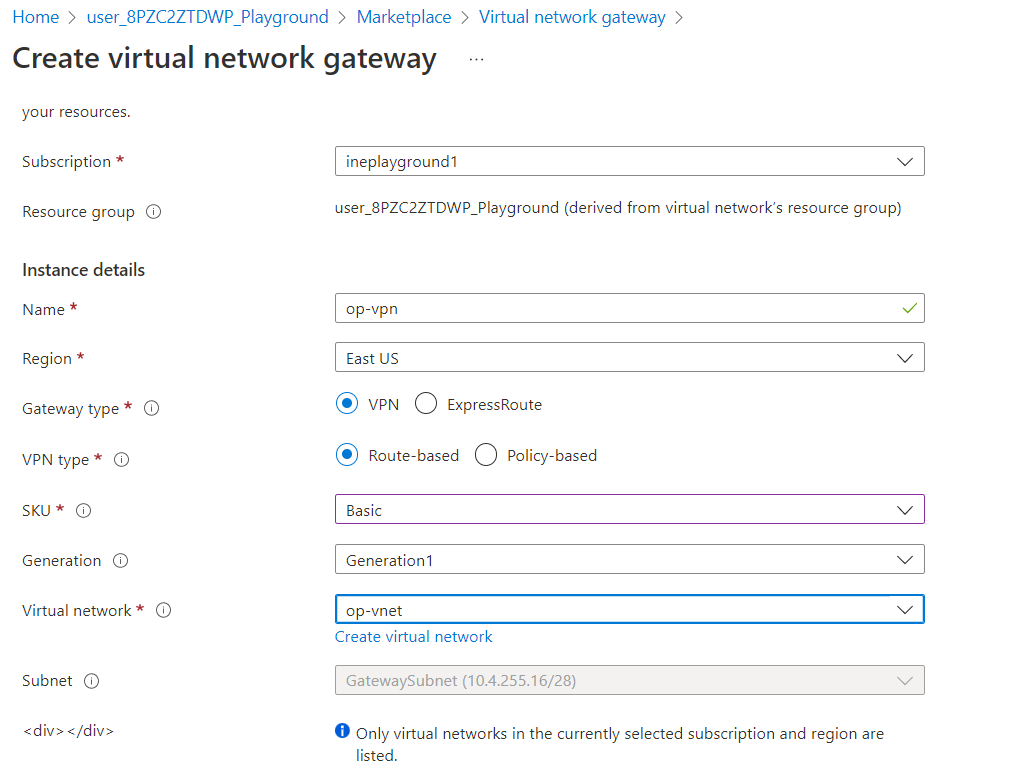
Now create the second virtual network gateway. Navigate back to the virtual network gateway in marketplace and click on Create.

Configure the following settings and create a virtual network gateway.
Select Create new in public IP address. Set IP address name as op-vpn-pip and click on Review + create.
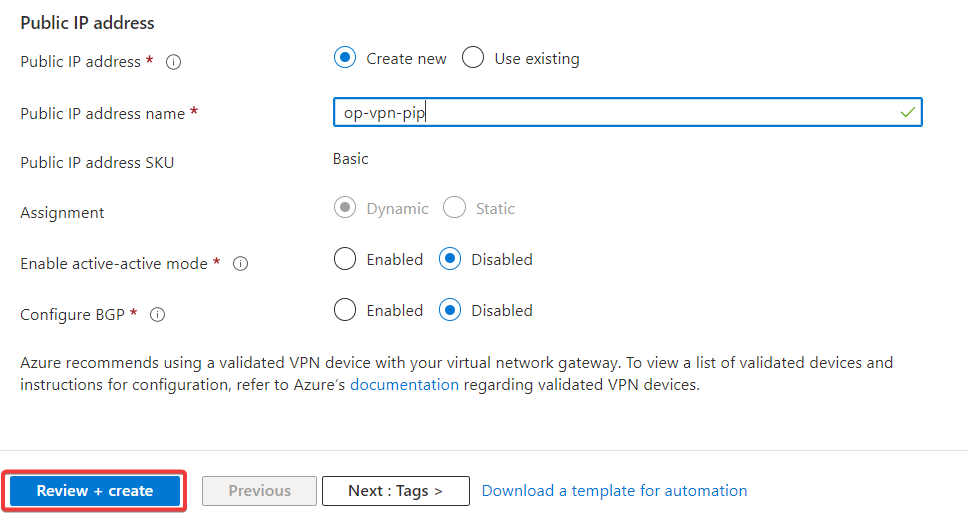
After the validation is passed, click on Create.
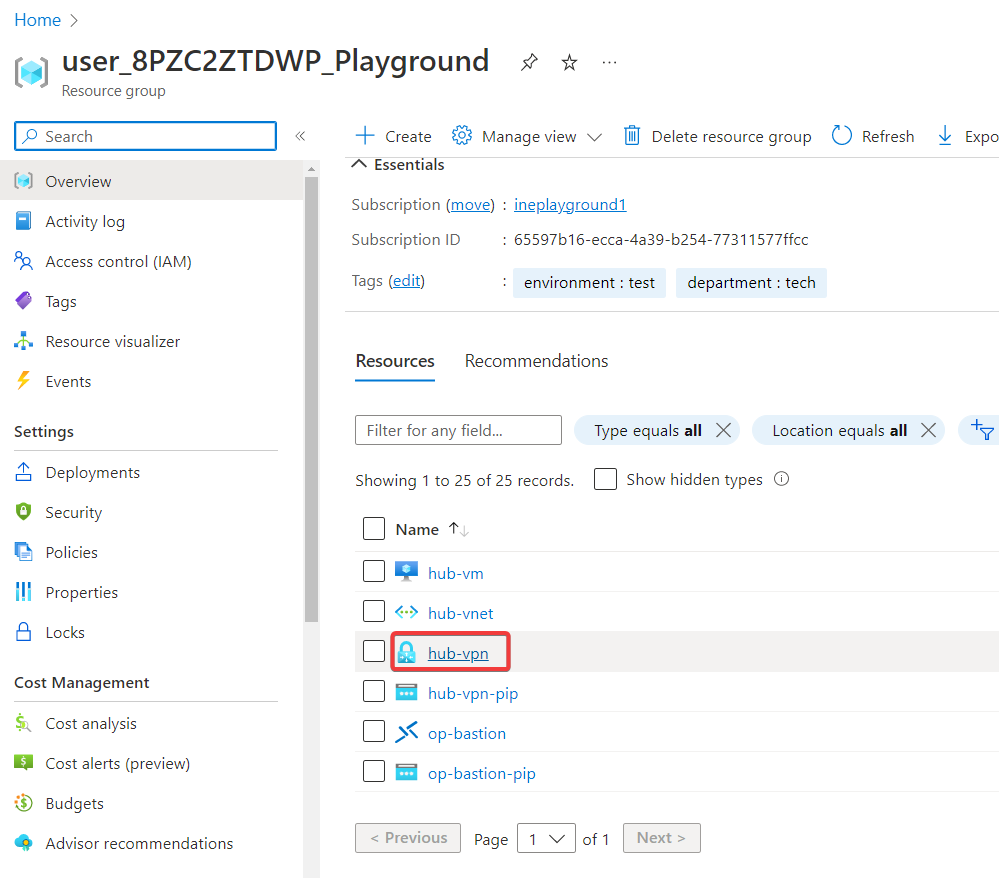
Once the deployment is completed, navigate back to resouce group and click on hub-vpn.
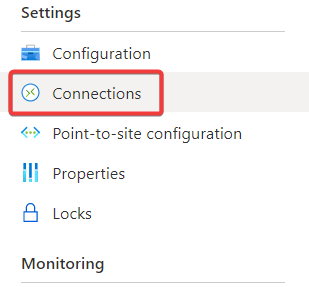
Now click on Connections.
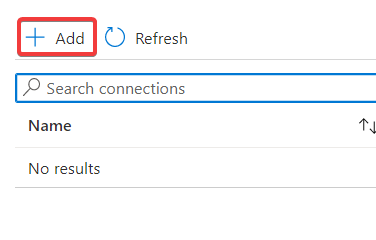
Click on Add.
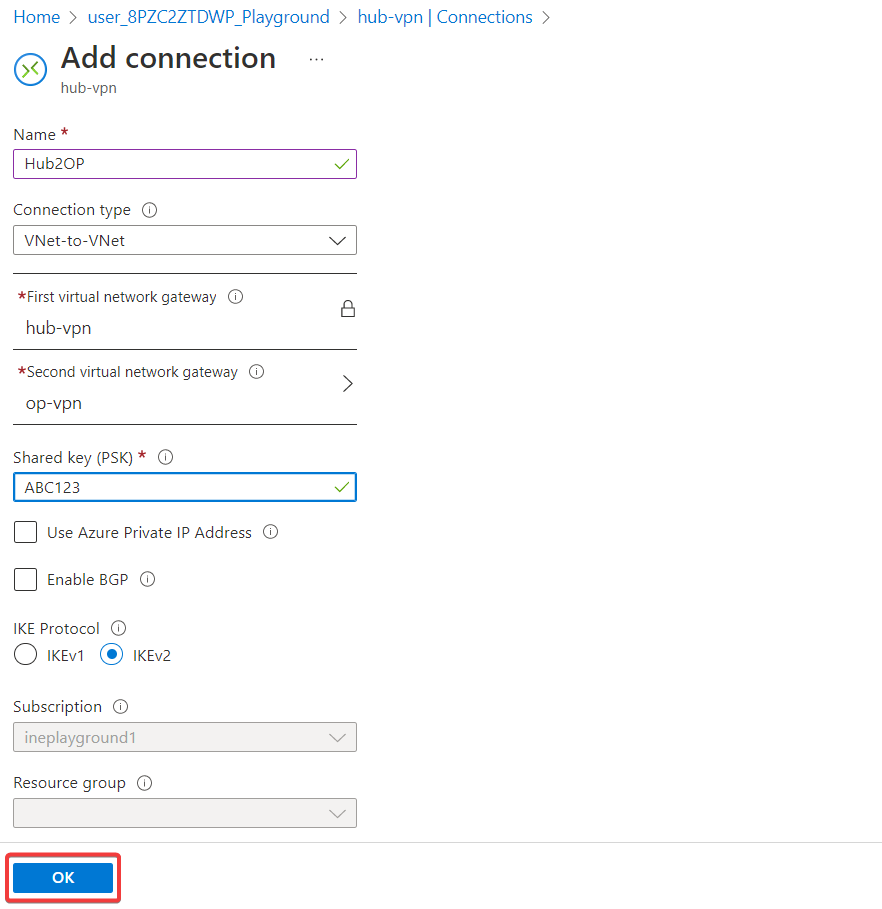
Configure the following settings and create a virtual network gateway connection and click on OK.
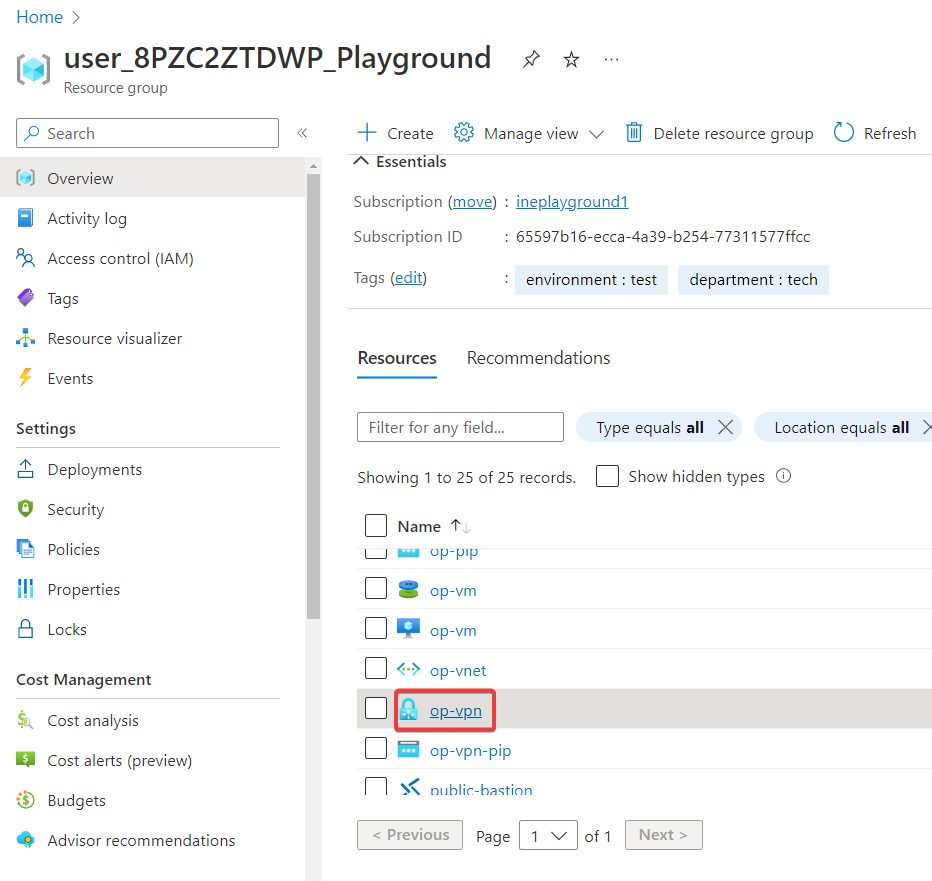
Navigate back to resource group and click on op-vpn.
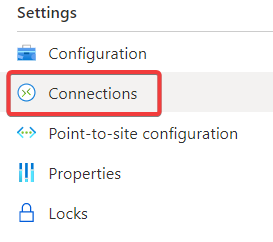
Now click on Connections.
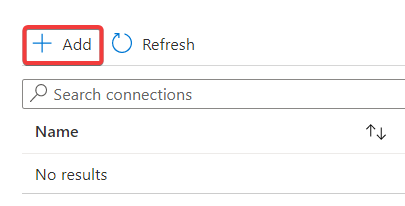
Click on Add.
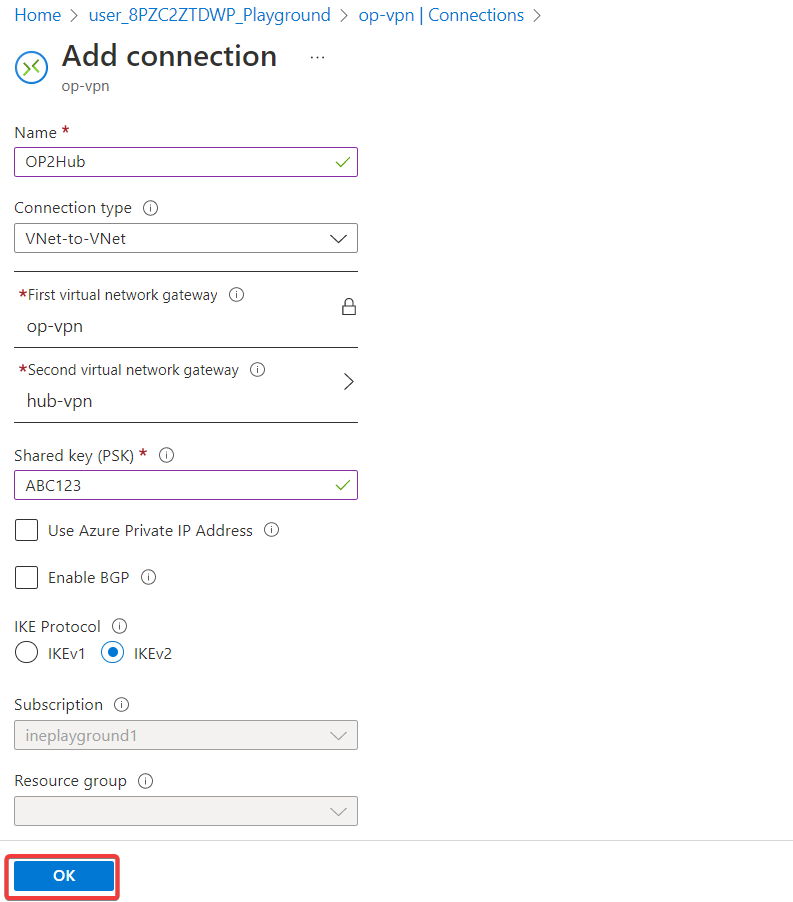
Configure the following settings and create a virtual network gateway connection and click on OK.
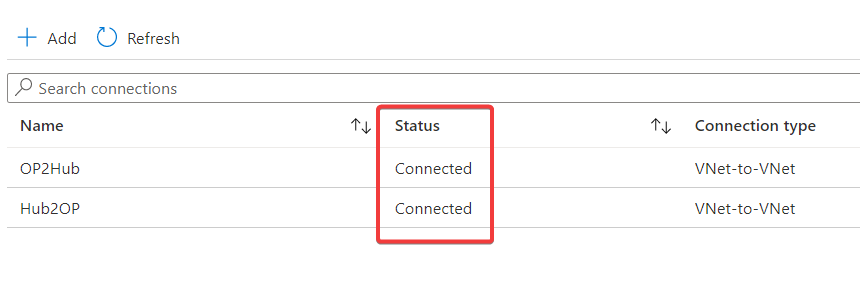
Wait for the Status of both connections to show Connected before proceeding to requirement 3. If it has been several minutes and the status has not changed to Connected try refreshing the browser.
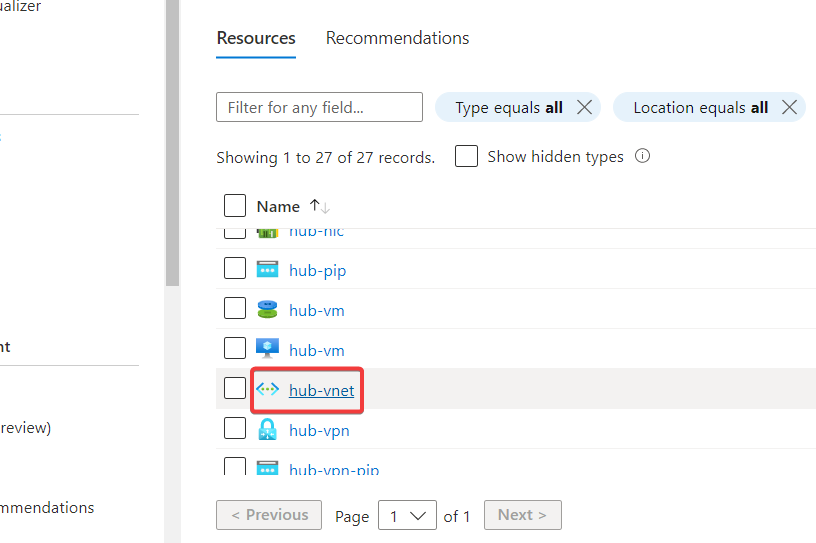
Navigate back to resource group and click on hub-vnet.
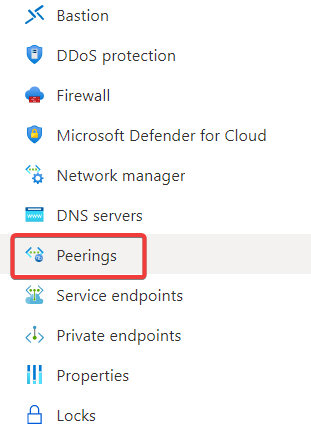
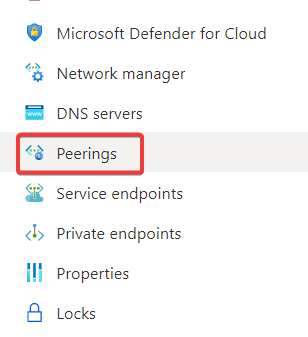
Click on Peerings.
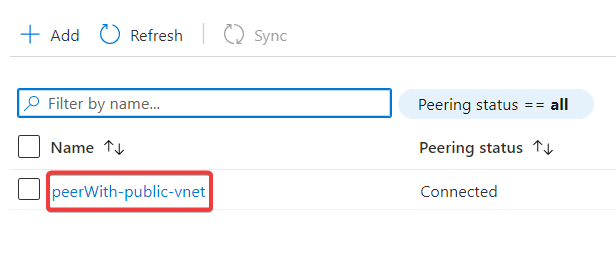
Click on peerWith-public-vnet.
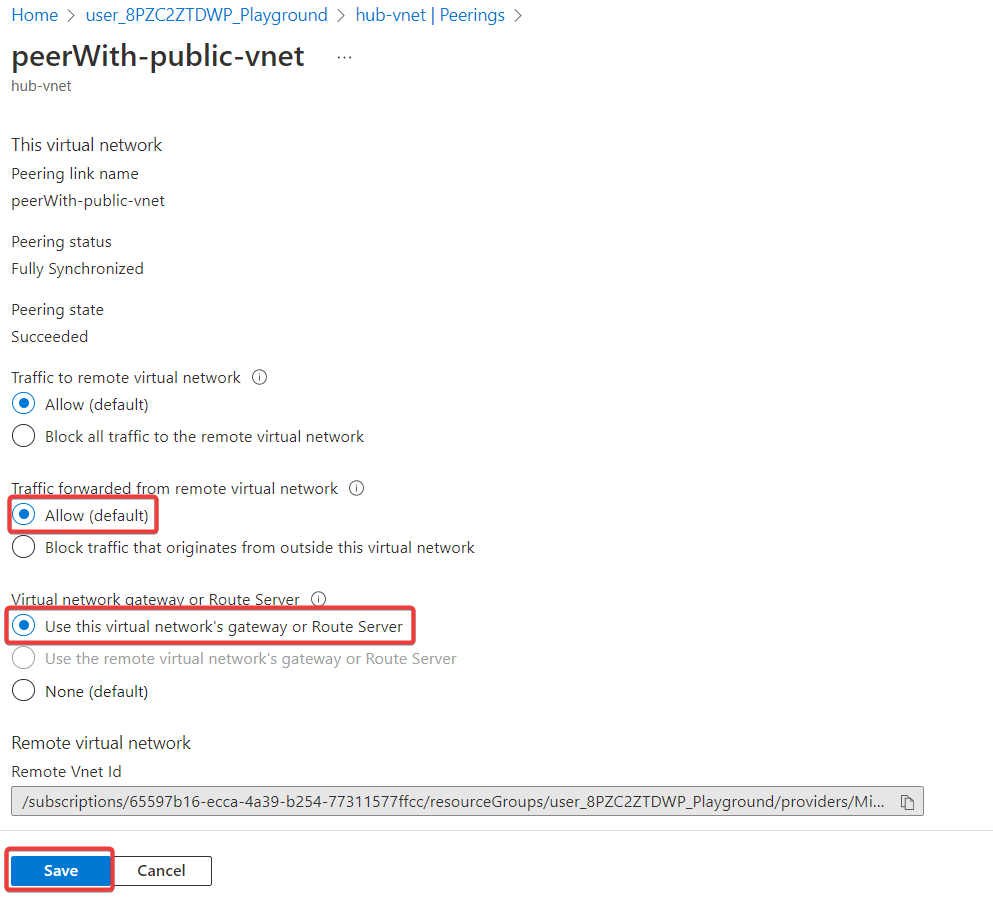
Configure the peer settings as the following and click on Save. - Allow the traffic forwarded from remote virtual network. - Select Use this virtual network's gateway or Route Server for virtual network gateway or route server.
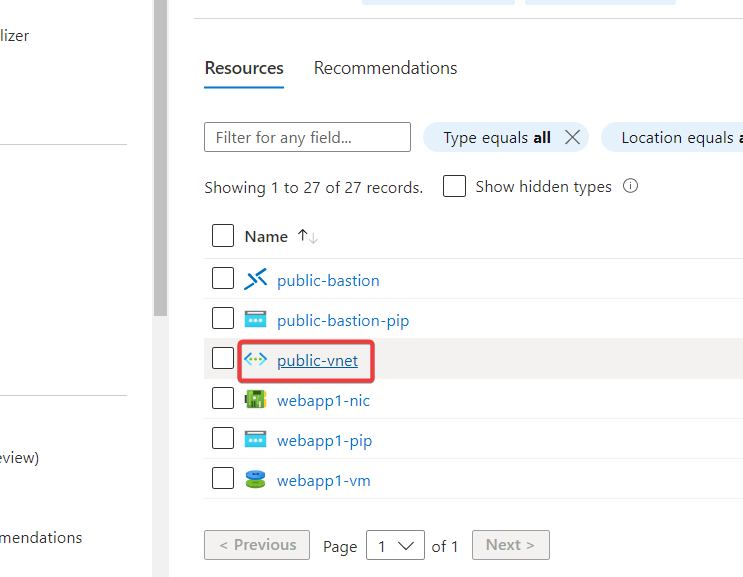
Navigate back to resource group and click on public-vnet.
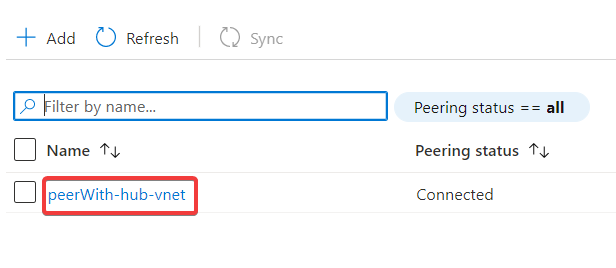
Click on Peerings.
click on peerWith-hub-vnet.
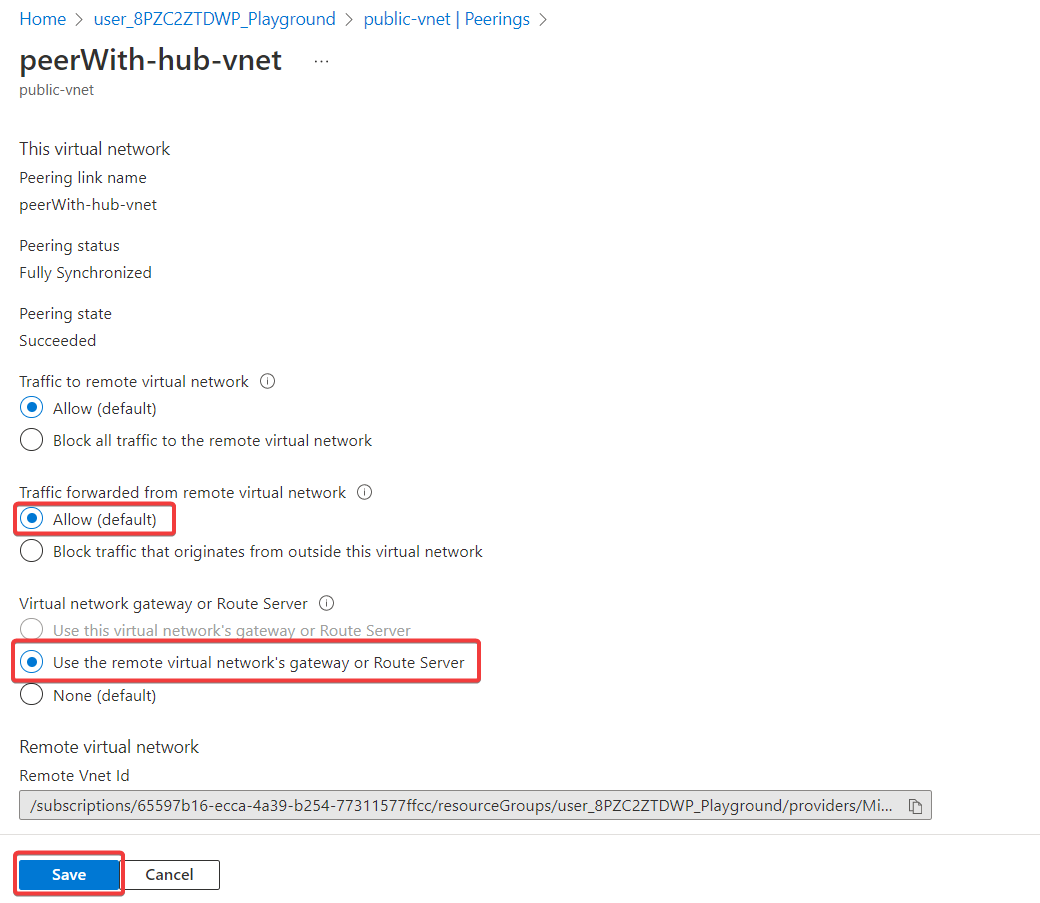
Configure the peer settings as the following and click on Save. - Allow the traffic forwarded from remote virtual network. - Select Use the remote virtual network's gateway or Route Server for virtual network gateway or route server.
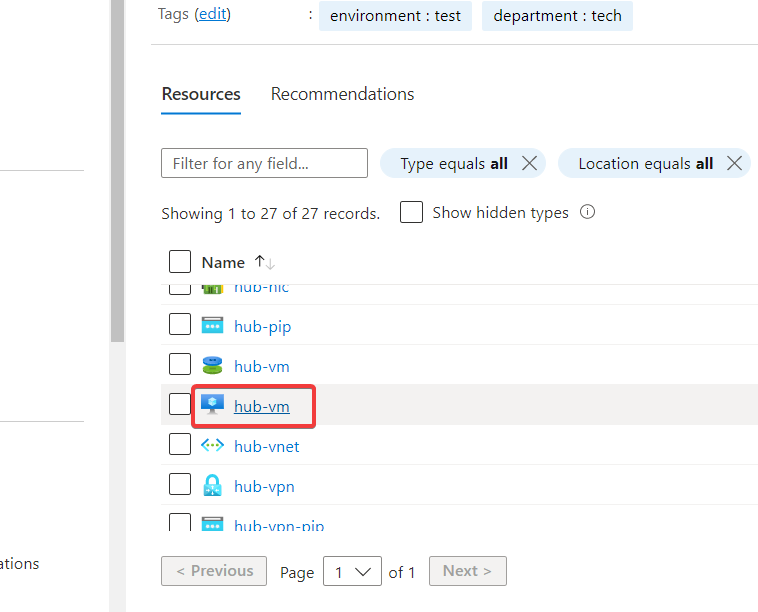
Navigate back to the resource group and click on hub-vm.
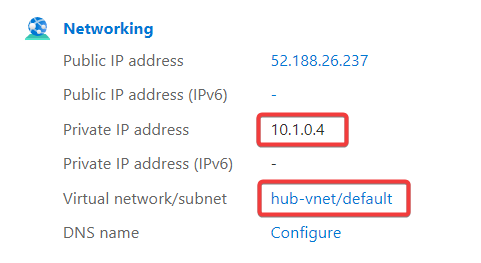
Notice the private IP address and virtual network connected. This VM is connected to hub-vnet.
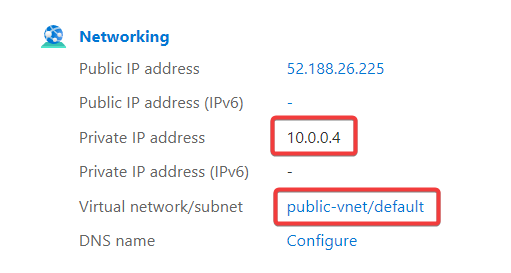
Navigate back to the resource group and click on webapp1-vm.

Notice the private IP address and virtual network connected. This VM is connected to public-vnet.
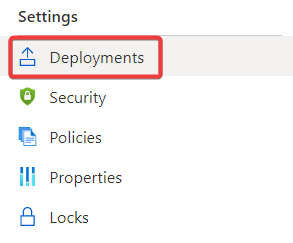
Navigate back to the resource group and click on Deployments from the left navigation.
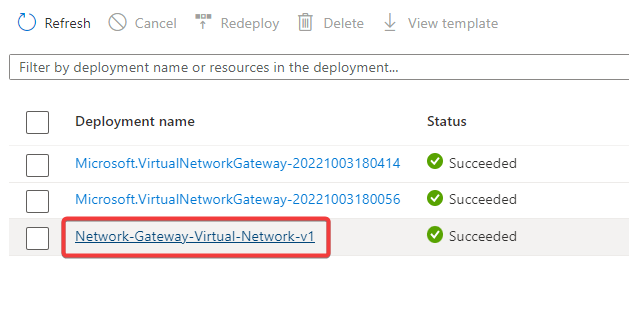
Click on Network-Gateway-Virtual-Network-v1.
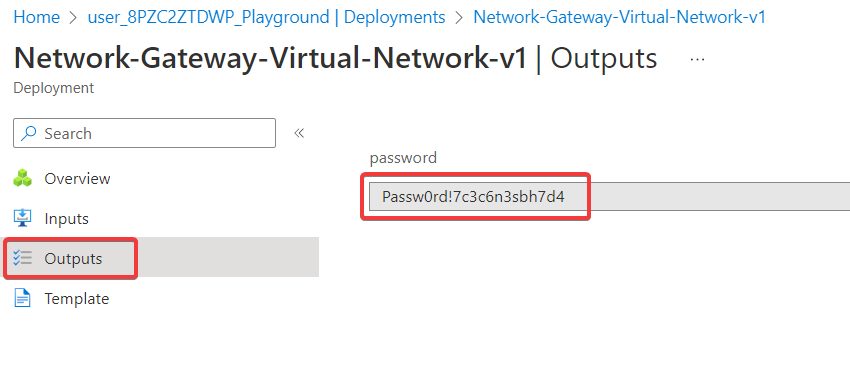
Click on Outputs and copy the password.
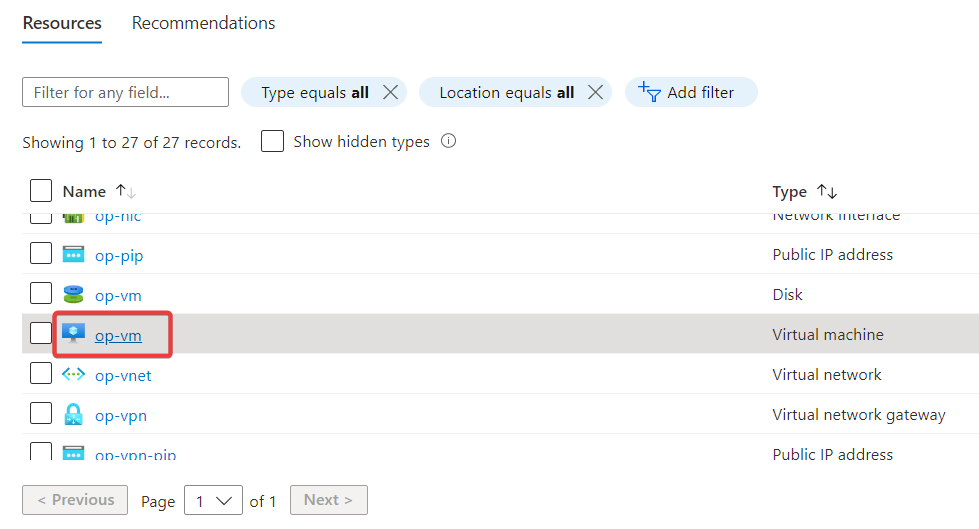
Navigate back to the resource group and click on op-vm.
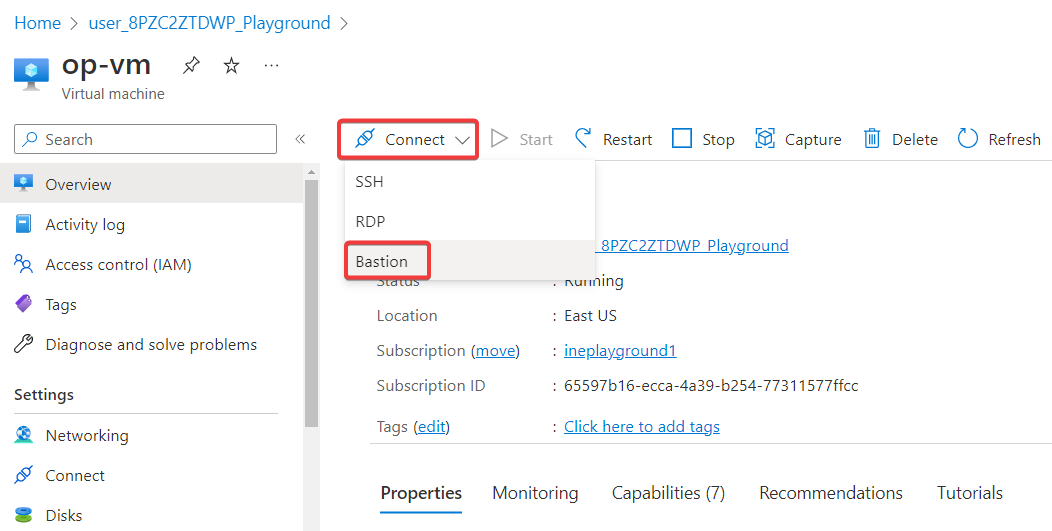
Connect with virtual machine. Click on Connect and select Bastion.
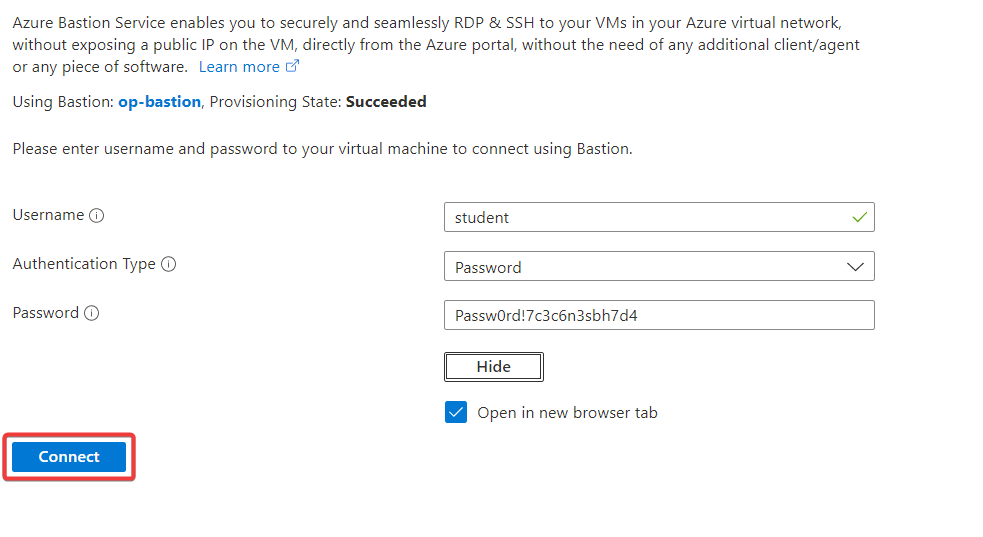
Enter the username as student and paste the copied password and click on Connect.
Check the IP address using the following command.
ip addr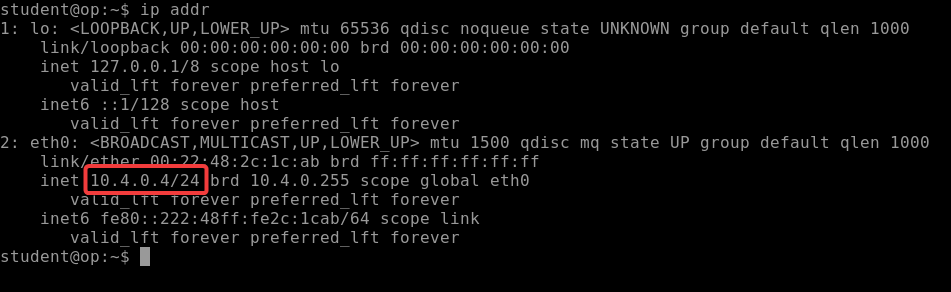
Test connectivity to a virtual machine on the hub-vnet virtual network with the following command.
ping -c 3 <private IP address of VM connected to hub-vnet>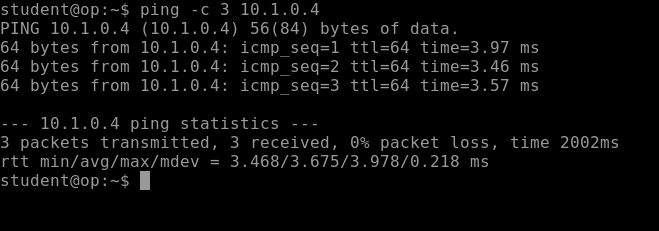
Test connectivity to a virtual machine on the public-vnet virtual network with the following command.
ping -c 3 <private IP address of VM connected to public-vnet>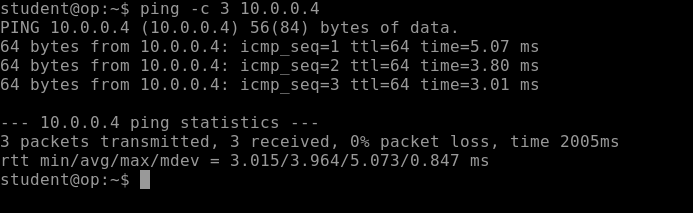
Successfully verified the connectivity across VPN tunnel.