In this task you will provision and configure an Azure container registry. You will set up RBAC based on Azure AD and verify that you can authenticate using an Azure AD account and upload an image to the registry.
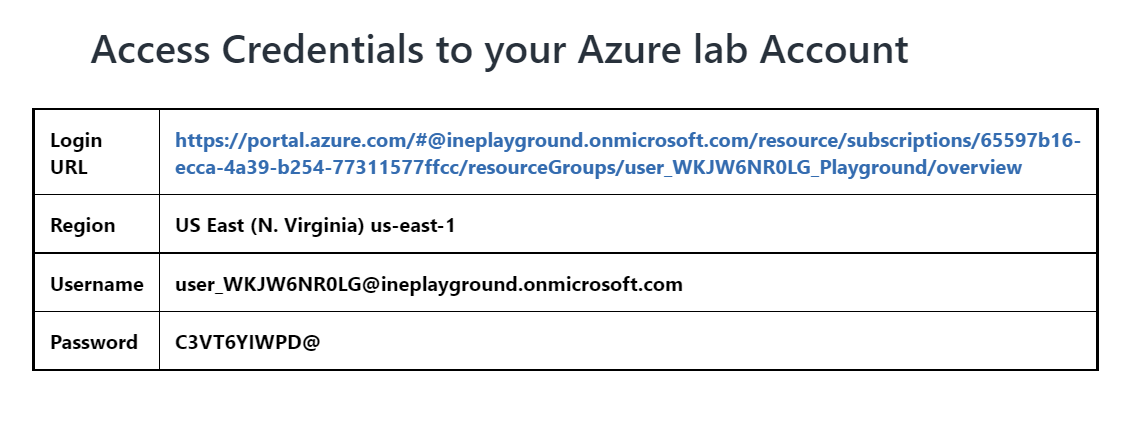
Click on the login URL and enter the given credentials to log in to the Azure portal.
Note: Your credentials will be different from the ones shown in the image.
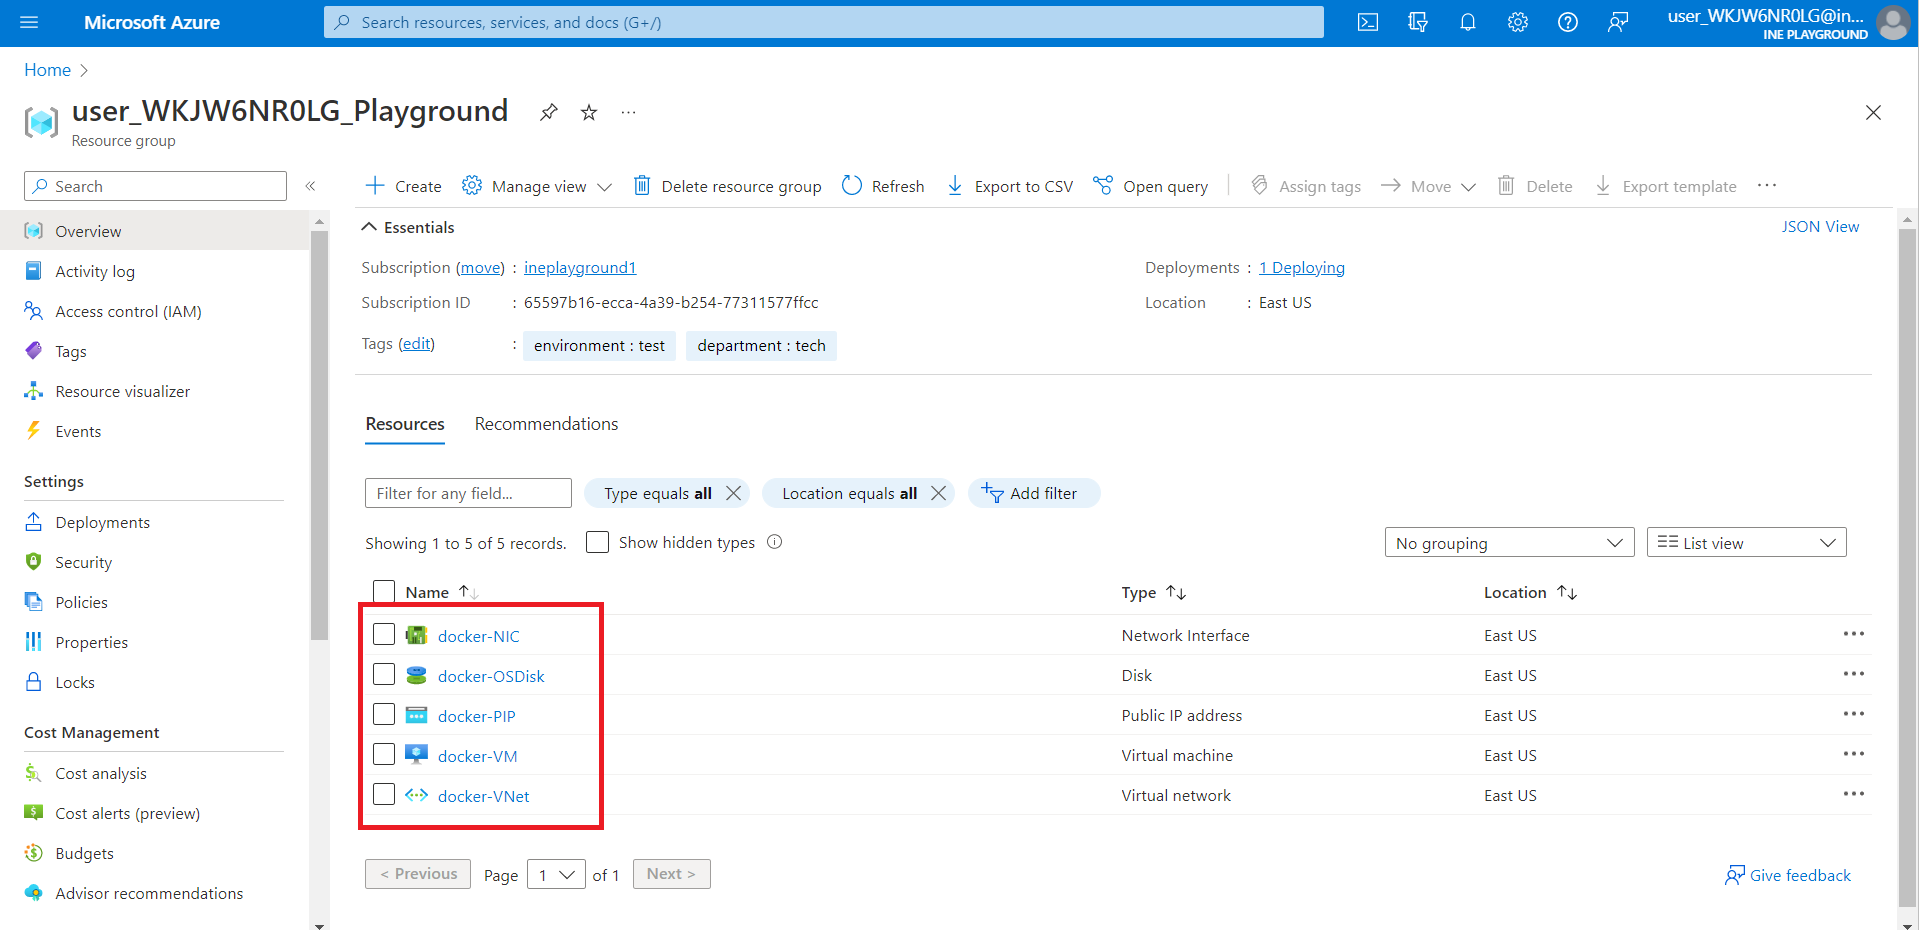
After logging in to the portal using the credentials. You will see a resource group with some pre-defined resources created for the lab, you will be using this resource group throughout the lab.
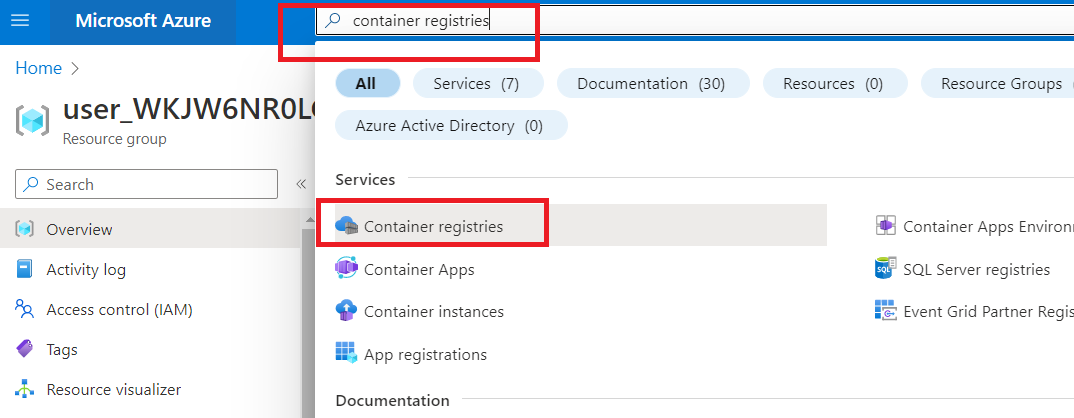
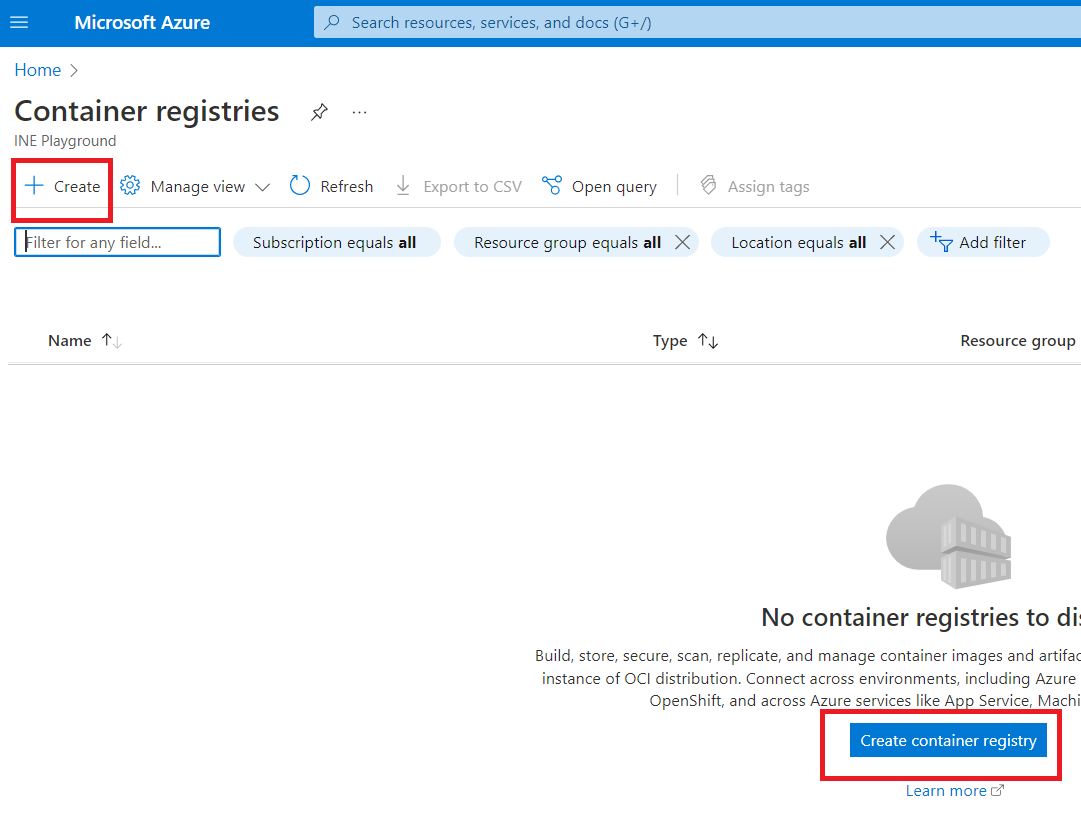
Type "container registries" in the search box and click on "Container registries".
Now, click on the "Create" or "Create container registry".
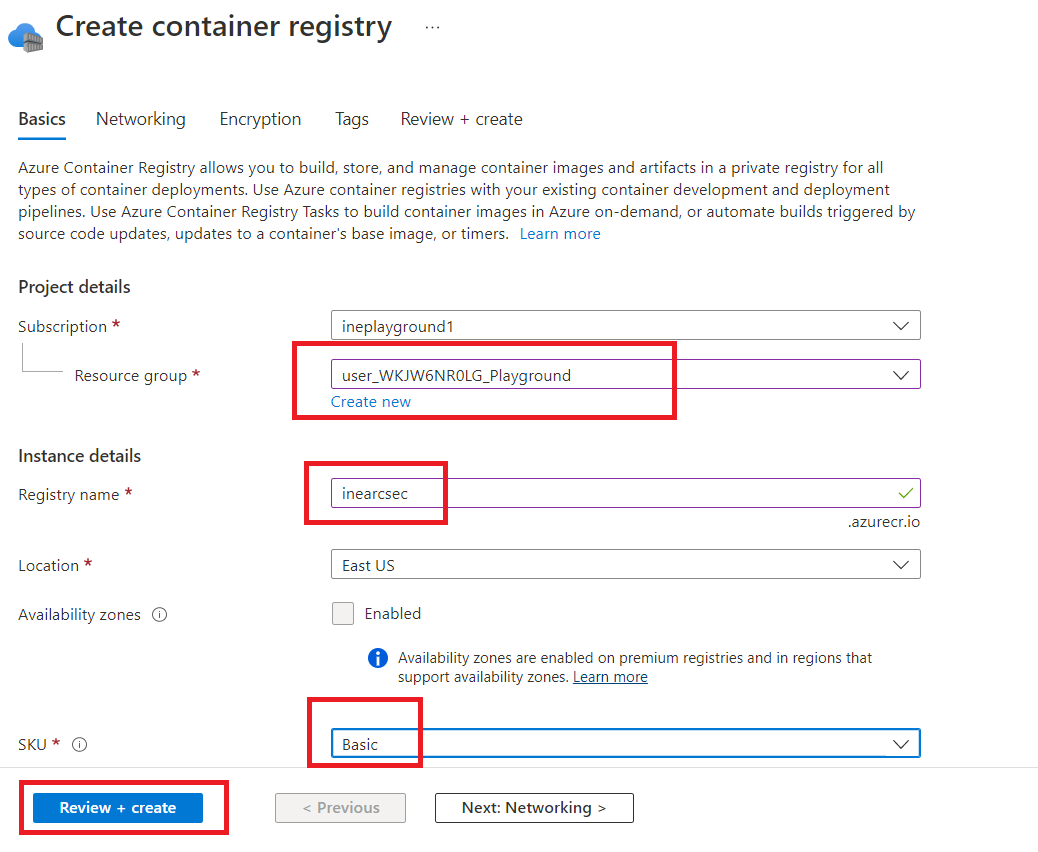
Select the pre-defined resource group. Give container registry a name and select "Basic" from the drop-down menu of SKU. Now, click on "Review + create".
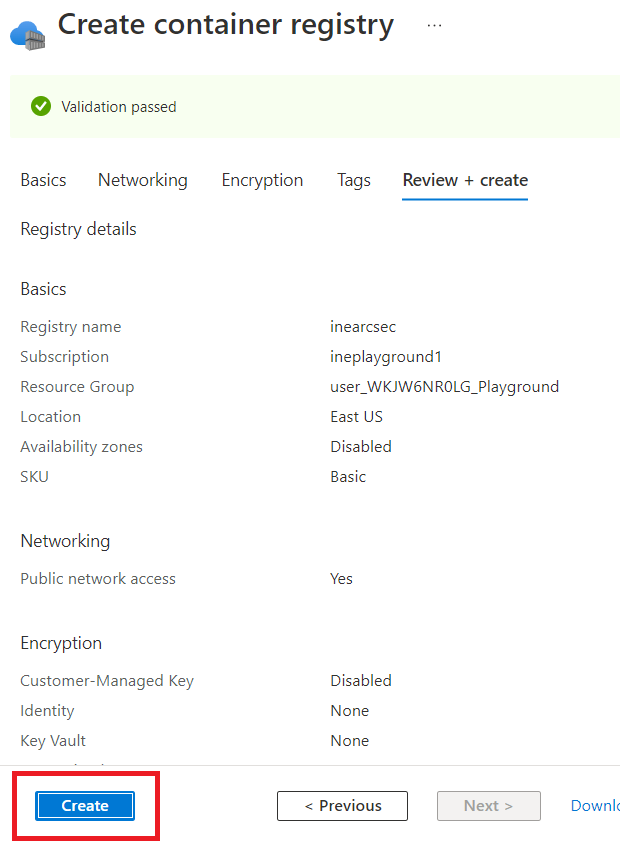
Click on the "Create".
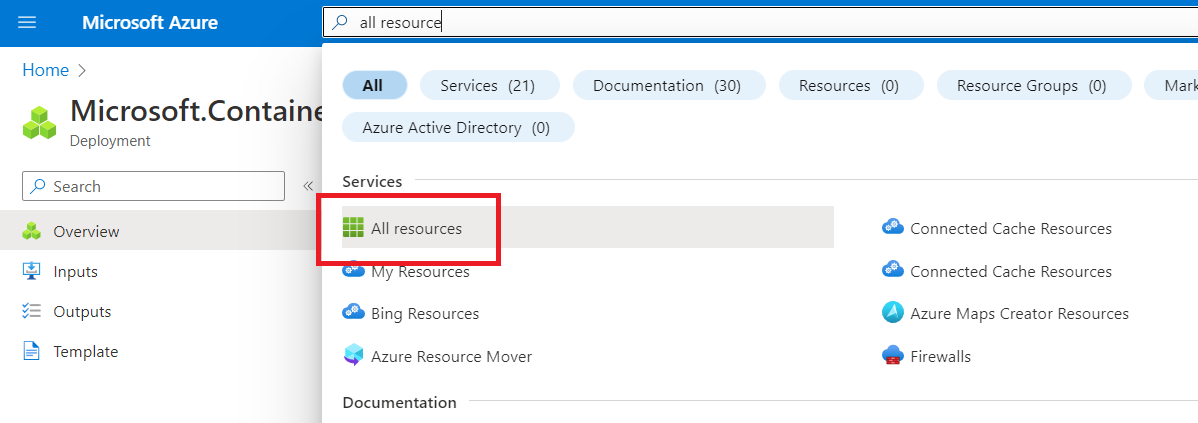
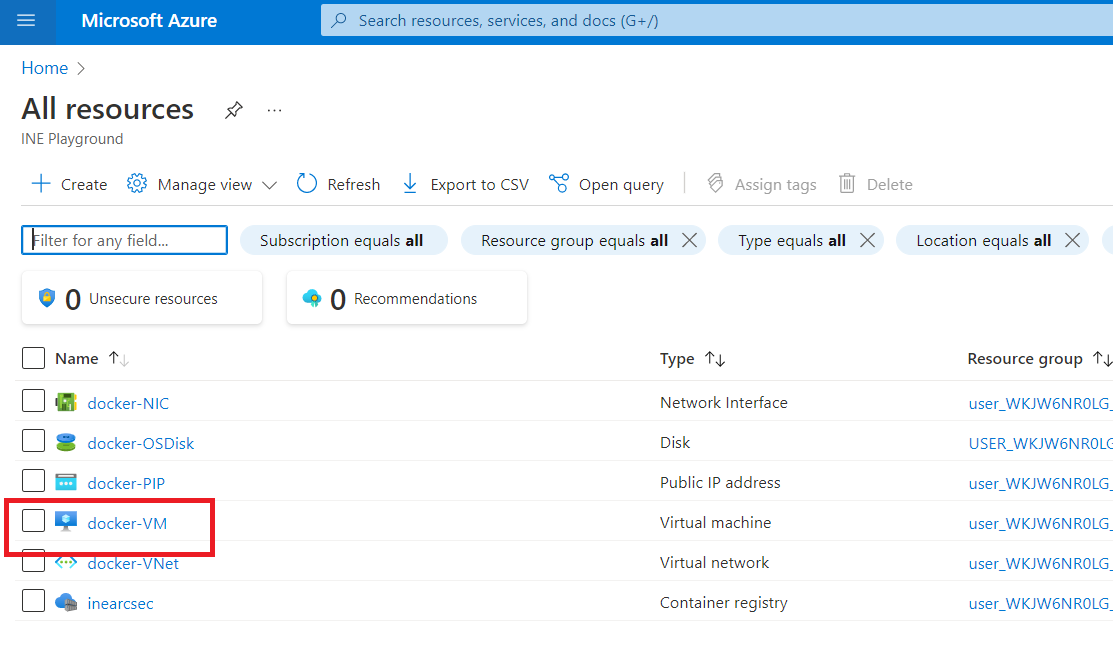
Now, search "all resources" in the search box and click on that.
Click on the "docker-VM".
Now, copy the Public IP address of the docker-VM.
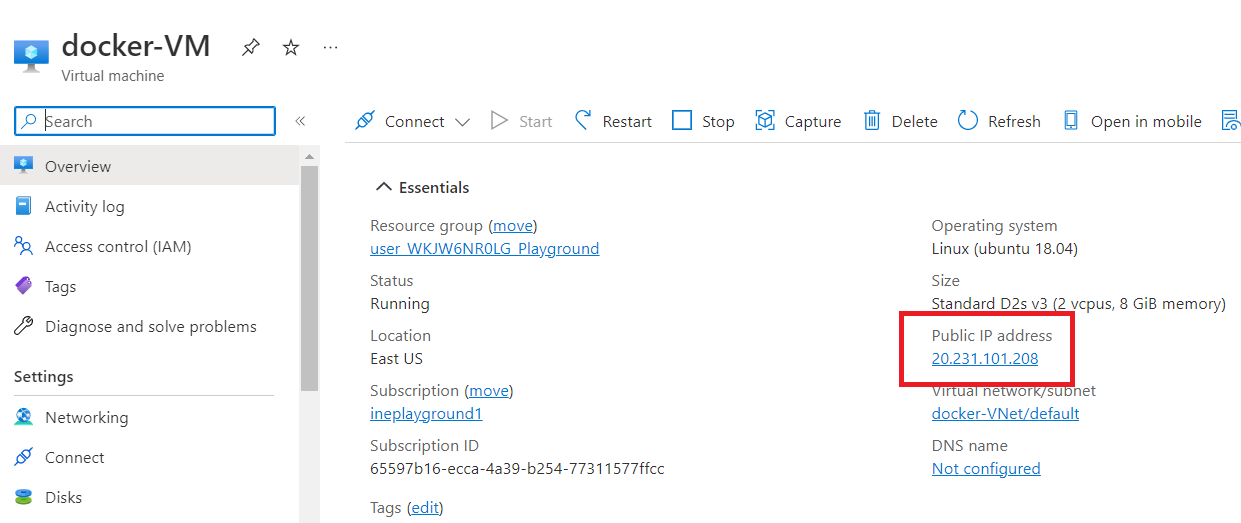
NOTE: Save this Public IP address somewhere for future reference.
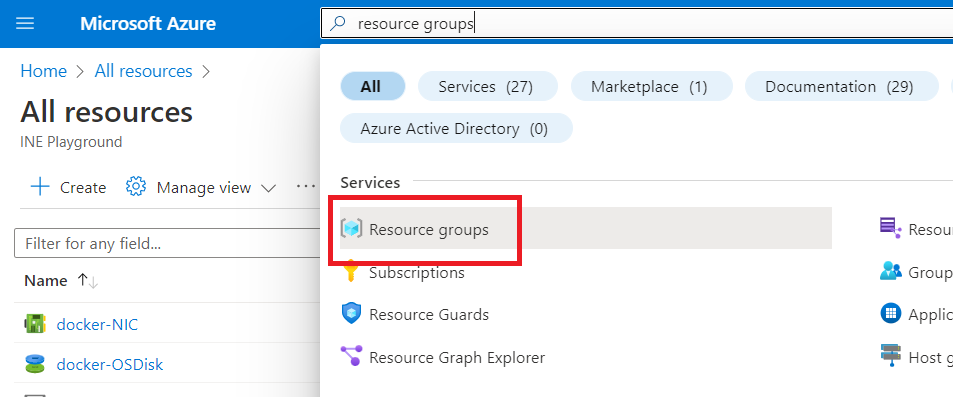
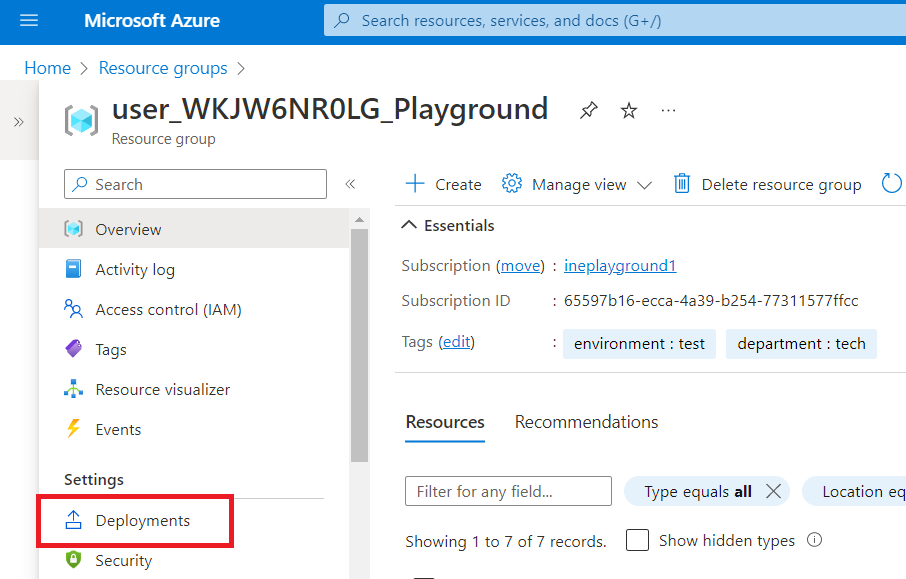
Search "Resource groups" in the search box and click on that.
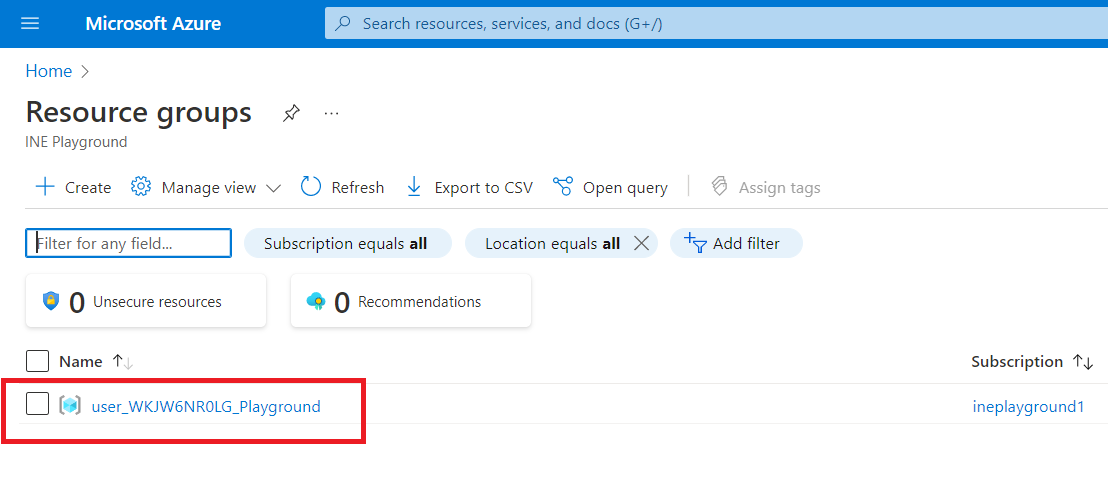
Click on the pre-defined resource group.
Click on the "Deployments".

Select "AzureContainerRegistryAzureADAuthentication-v2".

Go to "Template" and look for the "adminPassword".
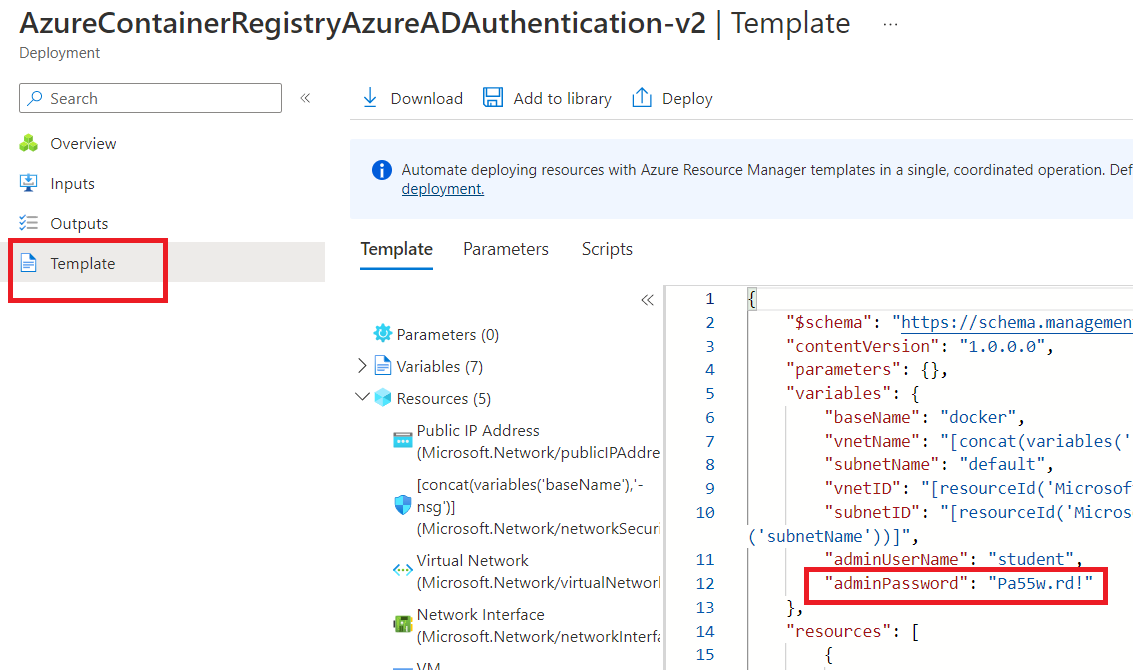
NOTE: Save the adminPassword somewhere for the future reference.
Now, open the cloud shell by clicking the icon as shown in the below image.
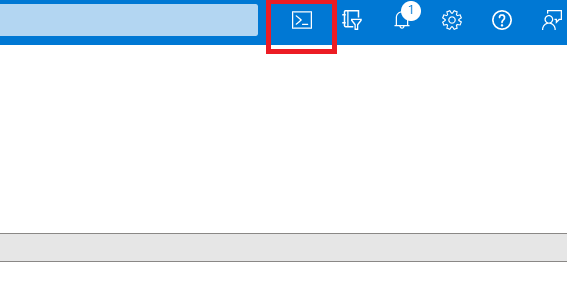
Click on the "Bash".

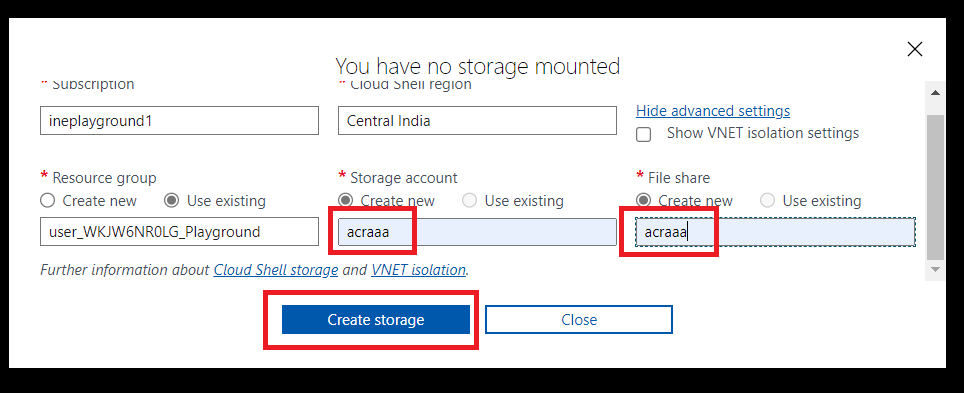
Select the "Show advanced settings" option.

Give the "Storage account" and the "File share" a name and click on "Create storage".
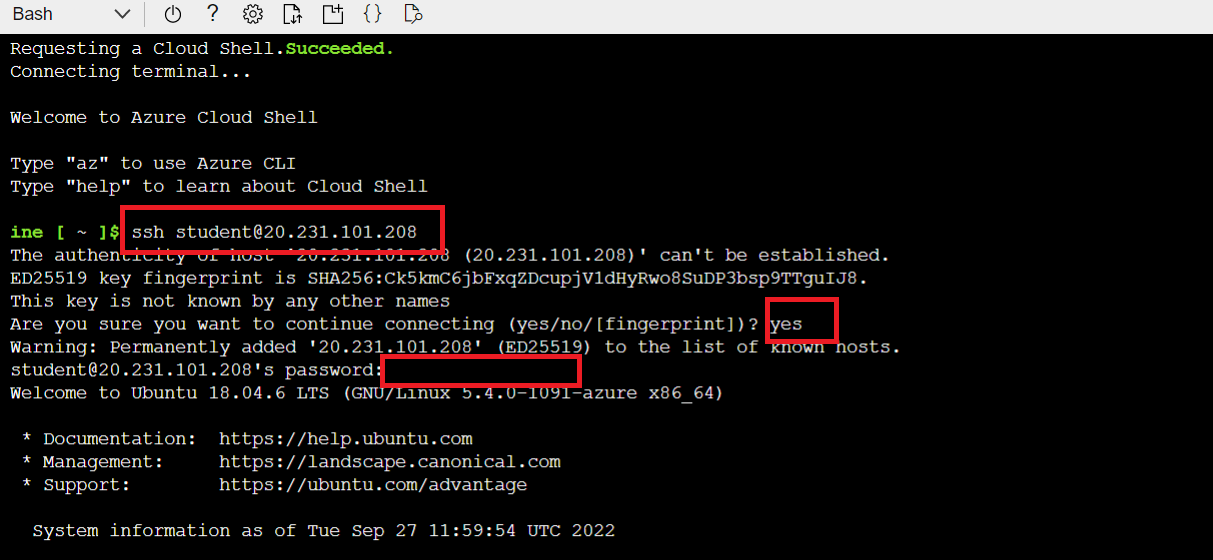
Wait for the shell to get configured and type the below-mentioned command to connect to the virtual machine.
ssh student@<Public IP Address of docker-VM>Type "yes" when asked for continue connecting.
Enter the password ("Pa55w.rd!") which you saved earlier.
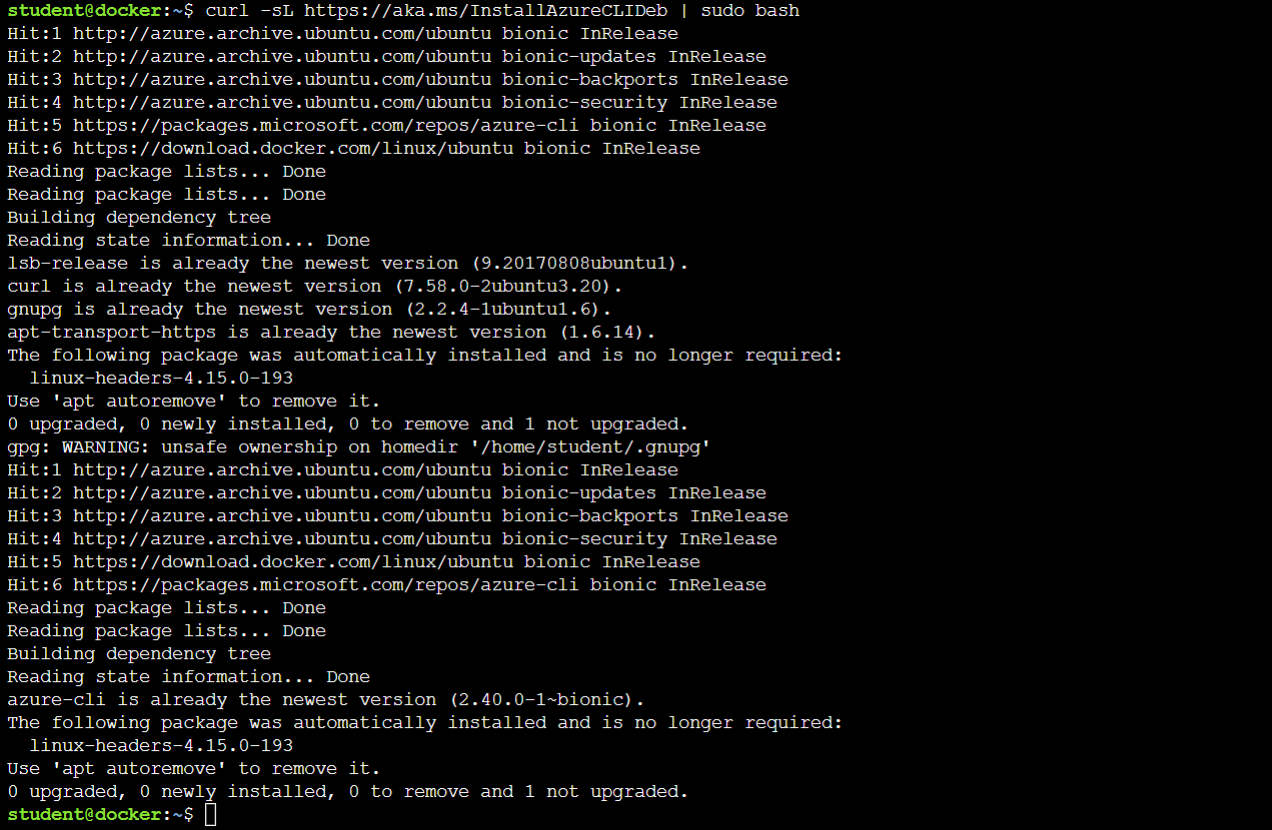
Now install the Azure CLI with the help of the following command:
curl -sL https://aka.ms/InstallAzureCLIDeb | sudo bash
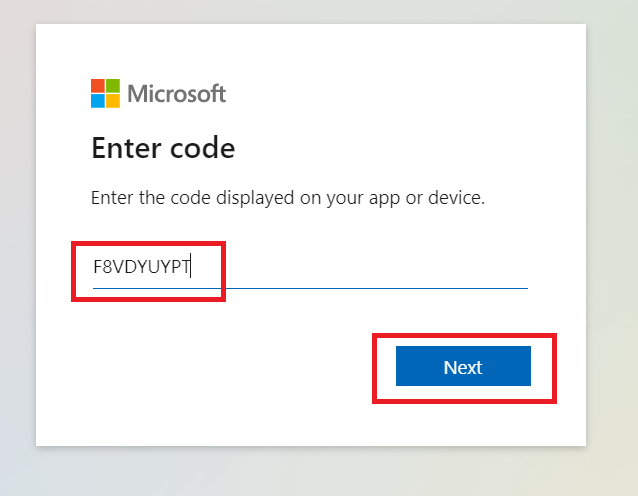
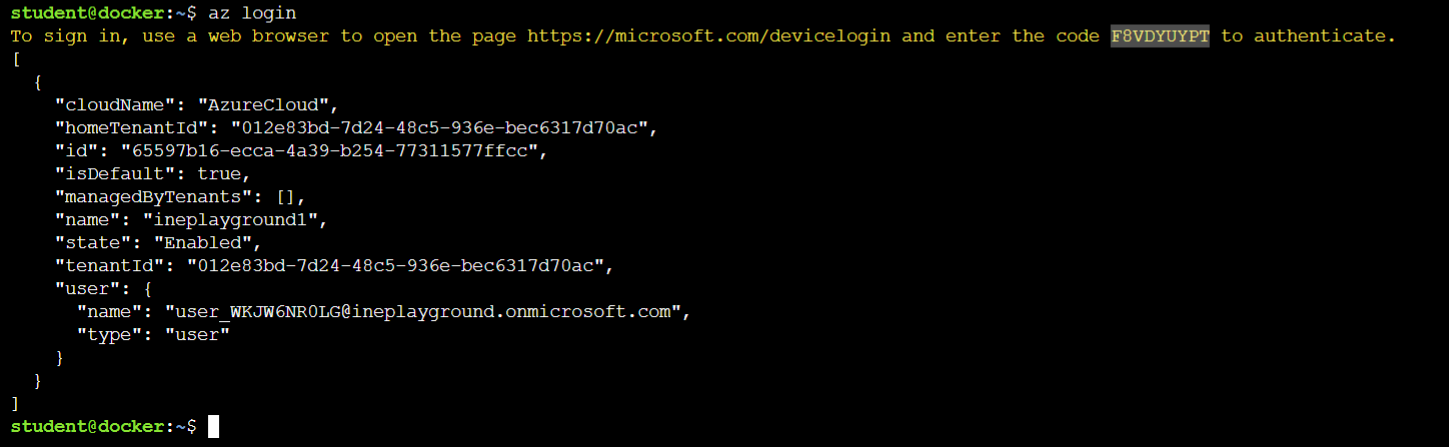
Now login to the Azure CLI.
az loginNOTE: If clicking on the URL is not returning anything in the response, copy the URL and paste it into the browser manually ."

Enter the code and click on the "Next" button.
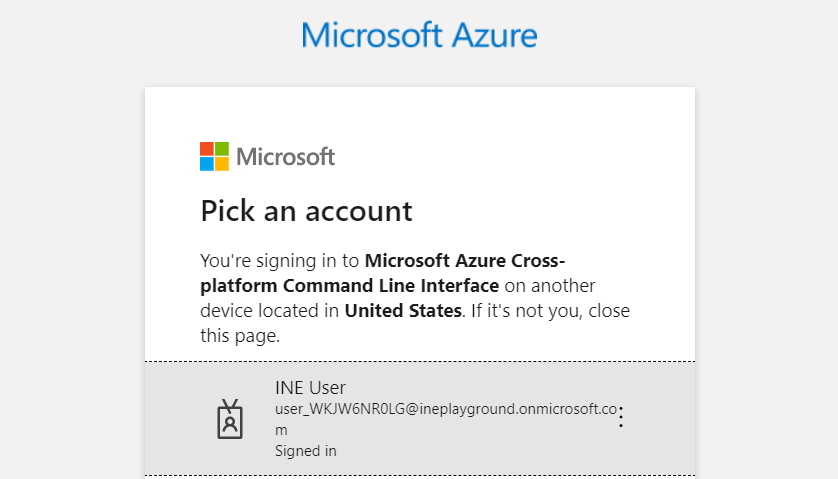
Select the account you are using for this lab.
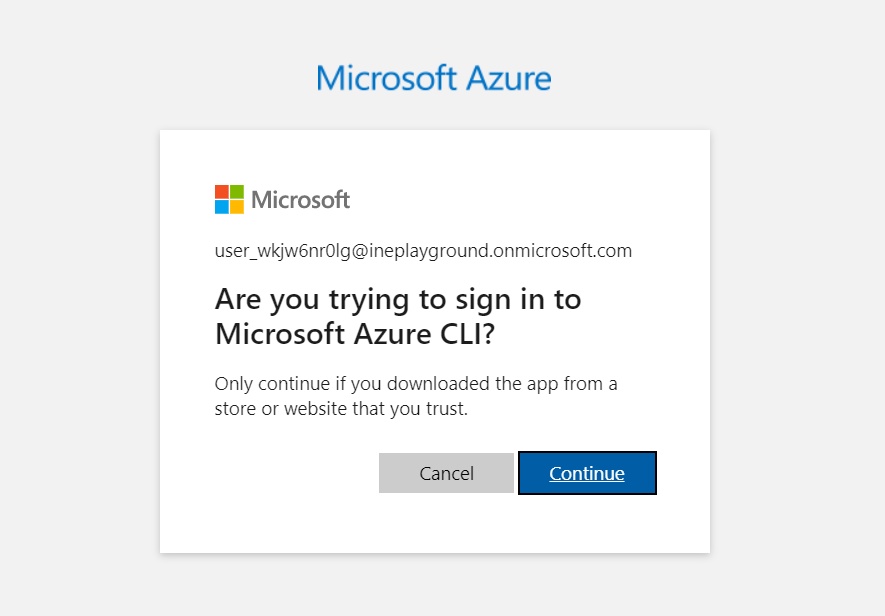
Click on the "Continue".
Go back to the azure portal, you will see the following output.
Now, login to the acr repository.
sudo az acr login --name <Name of the Repository>
Pull the docker image.
sudo docker pull twallace27603/pythonserver:latest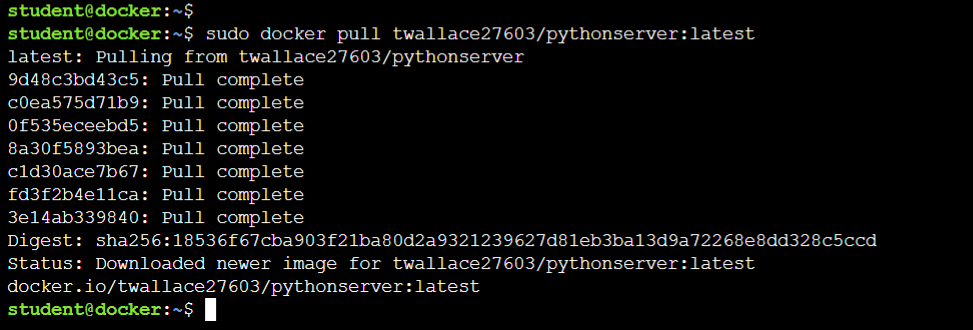
Go to the "Resource Group", click on the Deployment. (Without closing the cloud shell)
Click on the "MicrosoftContainerRegistry".
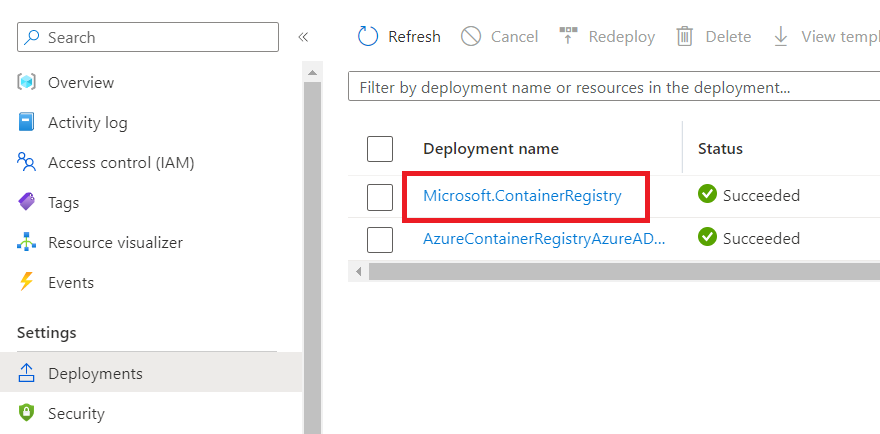
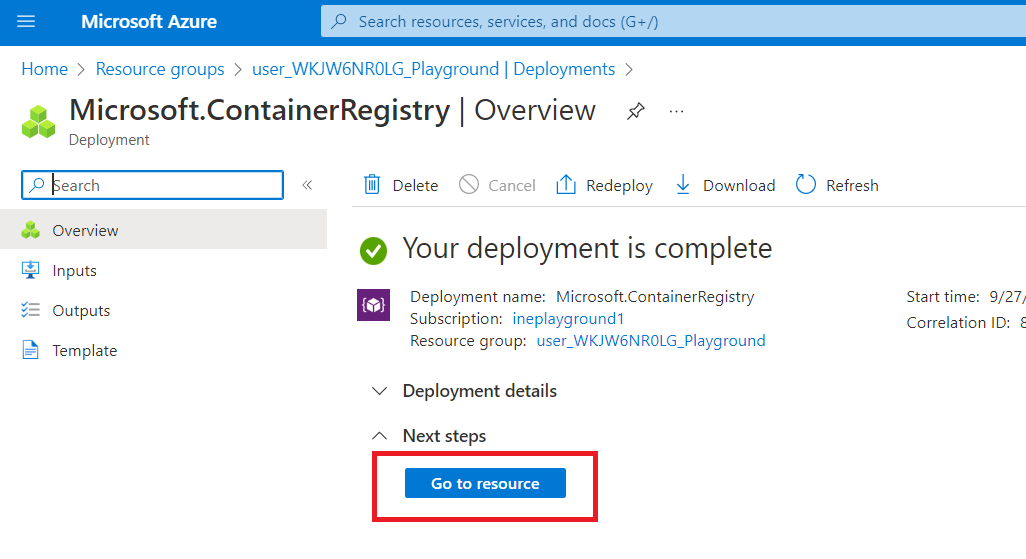
Click on the "Go to resource".
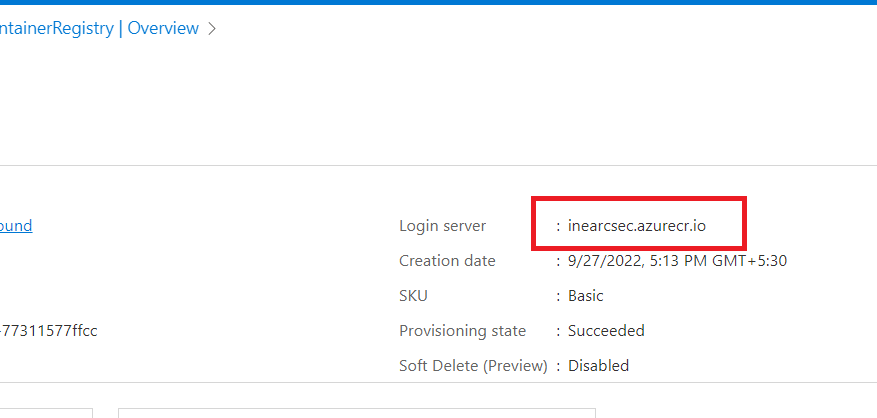
Copy the Login server name.
Now tag the docker image.
sudo docker tag twallace27603/pythonserver:latest <your ACR server>/pythonserver:1.0
Replace the name of your ACR server in the command before running.

Push the docker image.
sudo docker push <your ACR server>/pythonserver:1.0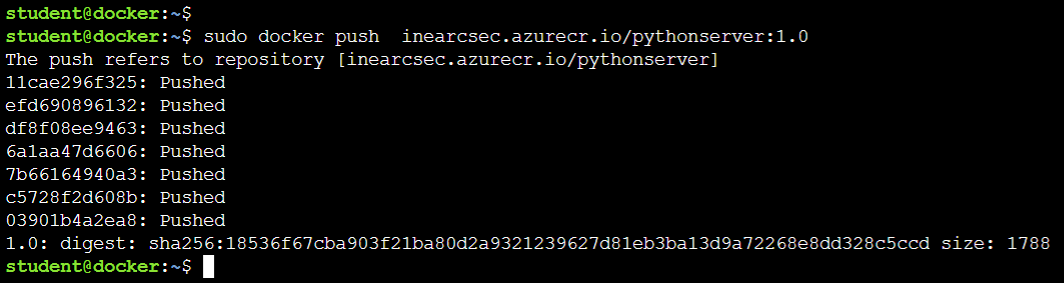
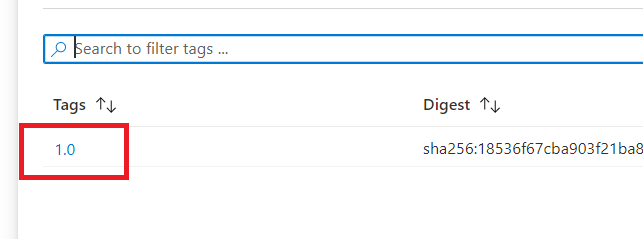
Go to the Container registry select the Repositories and click on the "pythonserver".
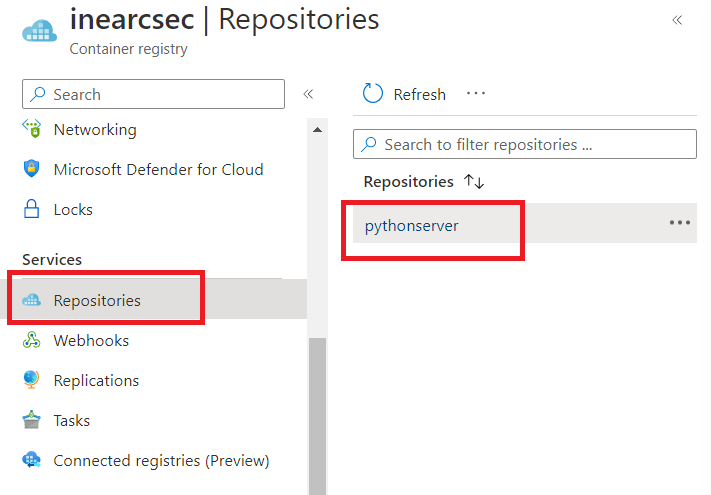
You will see, the version 1.0 is present there!