Creating a Local Kubernetes Cluster with Minikube
Learn how to run a Kubernetes cluster locally using Minikube.
Starting minikube to create a cluster#
The folks behind Minikube made creating a cluster as easy as it can get. All we need to do is to execute a single command. Minikube will start a virtual machine locally and deploy the necessary Kubernetes components into it. The VM will get configured with Docker and Kubernetes via a single binary called localkube.
📝 A note to windows users#
You might experience problems with VirtualBox. If that’s the case, you might want to use Hyper-V instead.
-
Open a Powershell Admin Window and execute the
Get-NetAdaptercommand, noting the name of your network connection. -
Create a
hypervvirtual switchNew-VMSwitch -name NonDockerSwitch -NetAdapterName Ethernet -AllowManagementOS $truereplacingEthernetwith your network connection name. -
Then, create the Minikube vm:
minikube start --vm-driver=hyperv --hyperv-virtual-switch "NonDockerSwitch" --memory=4096.
Other minikube commands such as minikube start, minikube stop and minikube delete all work the same whether you’re using VirutalBox or Hyper-V.
A few moments later, a new Minikube VM will be created and set up, and a cluster will be ready for use.
Understanding the process#
When we executed the minikube start command, it created a new VM based on the Minikube image. That image contains a few binaries. It has both Docker and rkt container engines as well as localkube library.
rkt is an application container engine developed for modern production cloud-native environments.
The localkube library includes all the components necessary for running Kubernetes. We’ll go into details of all those components later. For now, the important thing is that localkube provides everything we need to run a Kubernetes cluster locally.
Remember that this is a single-node cluster running locally on our machine only. While that is unfortunate, it is still the easiest way to “play” with Kubernetes locally. It should do, for now. Later on, we’ll explore ways to create a multi-node cluster that will be much closer to a production setup.
Verification#
Let’s take a look at the status of the cluster.
The output is as follows.
Minikube is running, and it initialized a Kubernetes cluster. It even configured kubectl so that it points to the newly created VM.
Exploring the Kubernetes dashboard#
You won’t see much UI in this course. We believe that a terminal is the best way to operate a cluster. More importantly, we are convinced that one should master a tool through its commands first. Later on, once we feel comfortable and understand how the tool works, we can choose to use a UI on top of it. We’ll explore the Kubernetes UI in one of the later chapters. For now, you can have a quick glimpse of it.
The above command will redirect you to the following page on your browser.
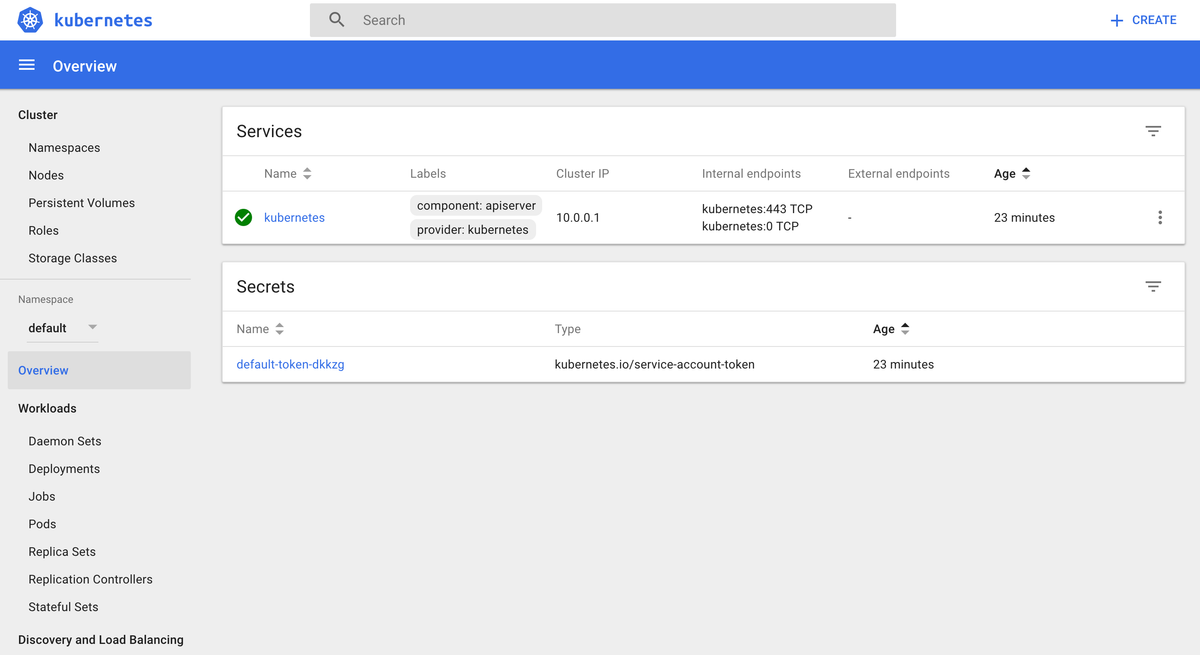
Feel free to explore the UI but don’t take too long. You’ll only get confused with concepts that we did not yet study. Once we learn about pods, replica-sets, services, and a myriad of other Kubernetes components, the UI will start making much more sense.
