
Snort is a powerful open source IDS which can be used to perform many tasks. This lab will go through the basic usages and functionalities that snort provides.
We can examine a pcap file in snort using this command:
snort -r file.cap
But, since we need to read a specific number of packets, we need to add the --n option to specify the number of packets we want to display.
# snort -r example.com-7.pcap -n 5
After issuing the command, snort will start the initialization process and display the packets we specified.
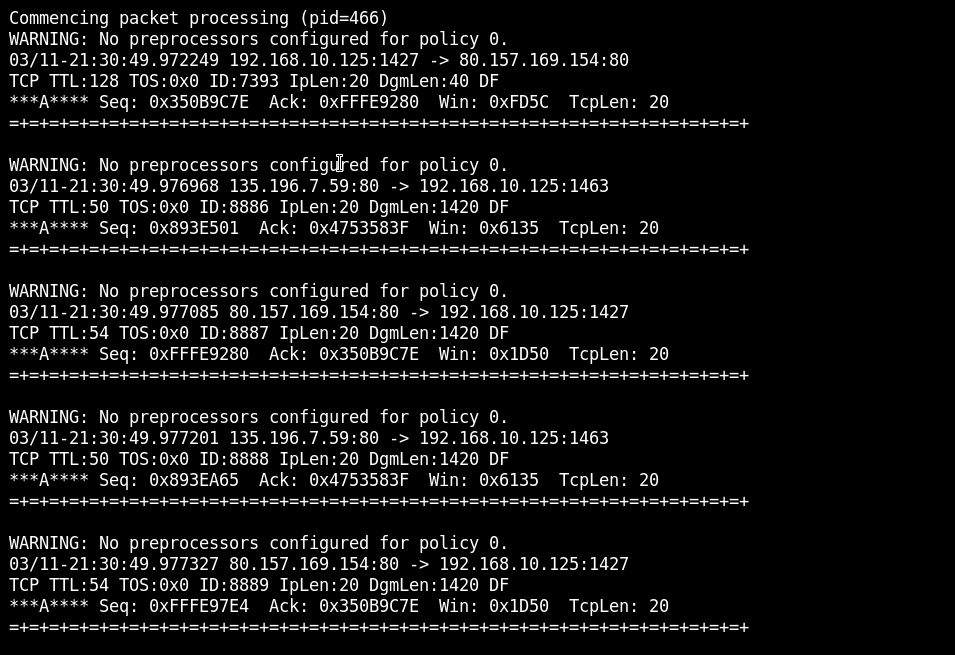
The first packet originated from 192.168.10.125 and sent to 80.157.169.154 we only want the addresses for now; however, if we wanted to examine the payload of the packets, we could have added the -d option.
# snort -r example.com-7.pcap -n 5 -dWhenever Snort is invoked on a file, it displays statistics on that file at the end of the result. However, we have to invoke the command again to get the result about the whole file.
# snort -r example.com-7.pcap
It seems the file contains 1383 IPv4 packets where 1309 of them are TCP segments, and 74 of them are UDP datagrams.
We can run snort on sniffing mode using the following command
# sudo snort -vv -i eth0The result of running that command may vary depending on the protocols and services on the machine you're working at.

Let's prepare the logging directory by issuing the command
# mkdir logdirJust to avoid having permission issues, we'll change the ownership of the file to our current account using the following command
# sudo chown $(whoami) -R logdirLet's then run snort in sniffing mode and pass the new directory as a parameter to it.
# sudo snort -v -i eth0 -l logdir -K ASCIIWhile the sniffing is in progress, you'll notice that snort creates a folder for every IP address that participates in the communication.

Inside each folder, snort will dump each connection's packet in a separate file

The way snort organized the directory we used for logging can make the analysis process much easier.
However, what if we wanted to dump specific packets from a previously captured file? In that case, we need to read the file and log it into the destination directory and provide the BPF to select which traffic we want to filter.
For example, we can filter UDP traffic using the following command (after creating another directory like we did earlier):
# sudo snort -r example.com-7.pcap udp -l logdir2Access the folder and examine the file inside using Wireshark
# sudo Wireshark snort.log.1517270987

The file is located at: /etc/snort/snort.conf
Let's copy it using the cp command to any other destination.
# cp /etc/snort/snort.conf /root/Desktop/
We can open the config file

It seems that IPVAR is snort's way of declaring an IP address variable and PORTVAR is the type of port address variable.
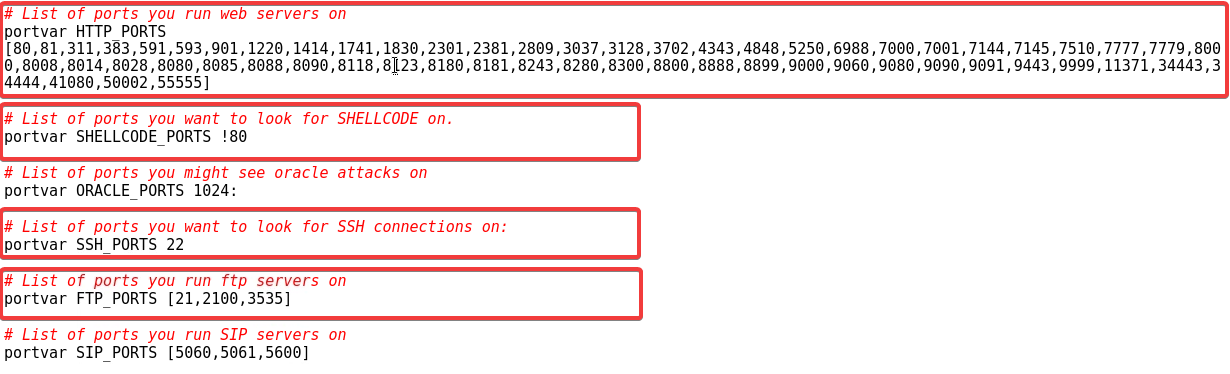
Below, we can find the clear declaration of which ports does snort expect some of the network services or attacks.
To check the syntax of the config file, we can use this command:
# snort -T -c snort.confThis will parse the file looking for any improper configuration and display it on the screen.
Once we've verified that everything is OK, let's go ahead and create a directory and a rule file inside it.
We'll call the rule file ICMP.rules, and open it using featherpad.
# featherpad rules/ICMP.rulesWe want to detect any ICMP packet destined to our network; such a rule can be made like this:
alert icmp any any -> any any (msg:"ICMP Packet Detected"; sid:100001;)
Just a quick reminder that the general rule syntax is:
| Rule Action | alert |
|---|---|
| Protocol | icmp |
| Src IP | any |
| Dest IP | any |
| Direction | -> |
| Dest IP | any |
| Dest PORT | any |
| Rule Options | (msg:"ICMP Packet Detected"; sid:100001;) |
Now it's time to start Snort with the rule above, which can be done like this:
# sudo snort -c rules/icmp.rules -l logdir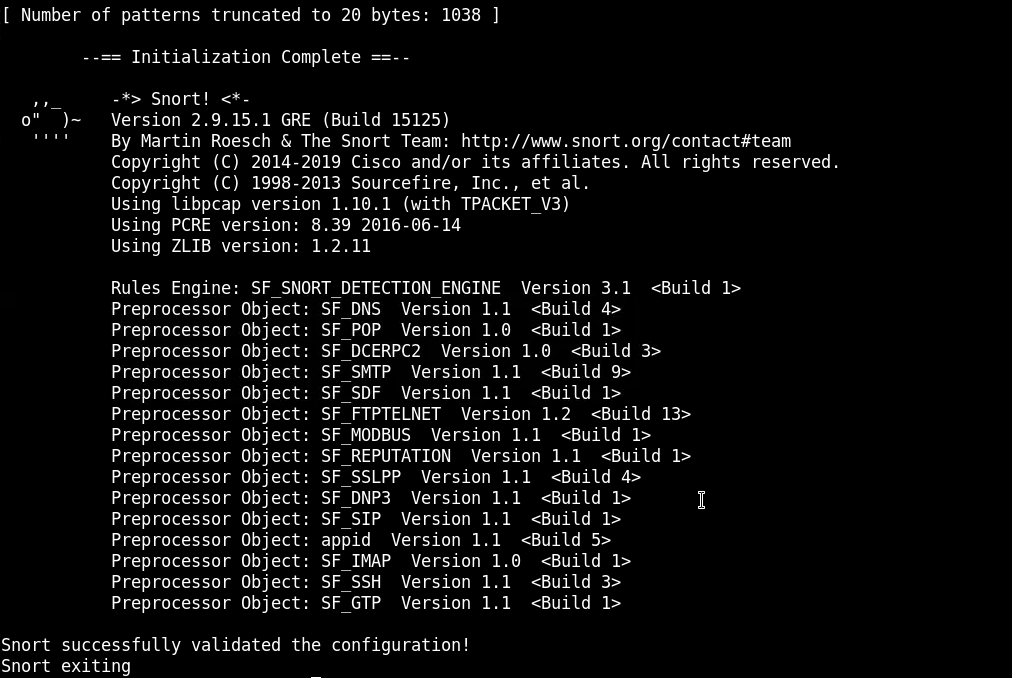
Now from another terminal, try to ping any IP address on your network.
After that, go to the logdir directory and open the alerts file to verify that snort has indeed logged alerts for the ICMP messages that went through eth0.
# featherpad alert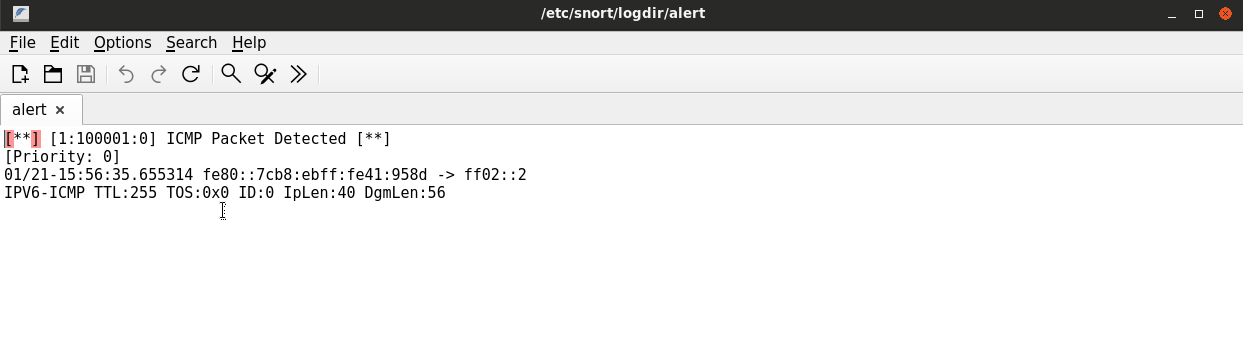
Let's create another rule to raise an alert if someone tries to use telnet.
Will have to repeat the same steps we did in the last task, however, the rule this time will be like this
alert tcp any any -> any 23 (msg: "Policy Violation: someone is using telnet in our network!";sid:100005;)
# sudo snort -c rules/telnet.rules -l logdir -K ascii Finally, to test whether the new rule works or not, we can open port 23 on our machine using netcat
# nc -lvp 23And try to connect to it from another terminal also using netcat or nmap
# nc -nv 172.16.81.101 23After that, open the Alerts file and examine the messages.